
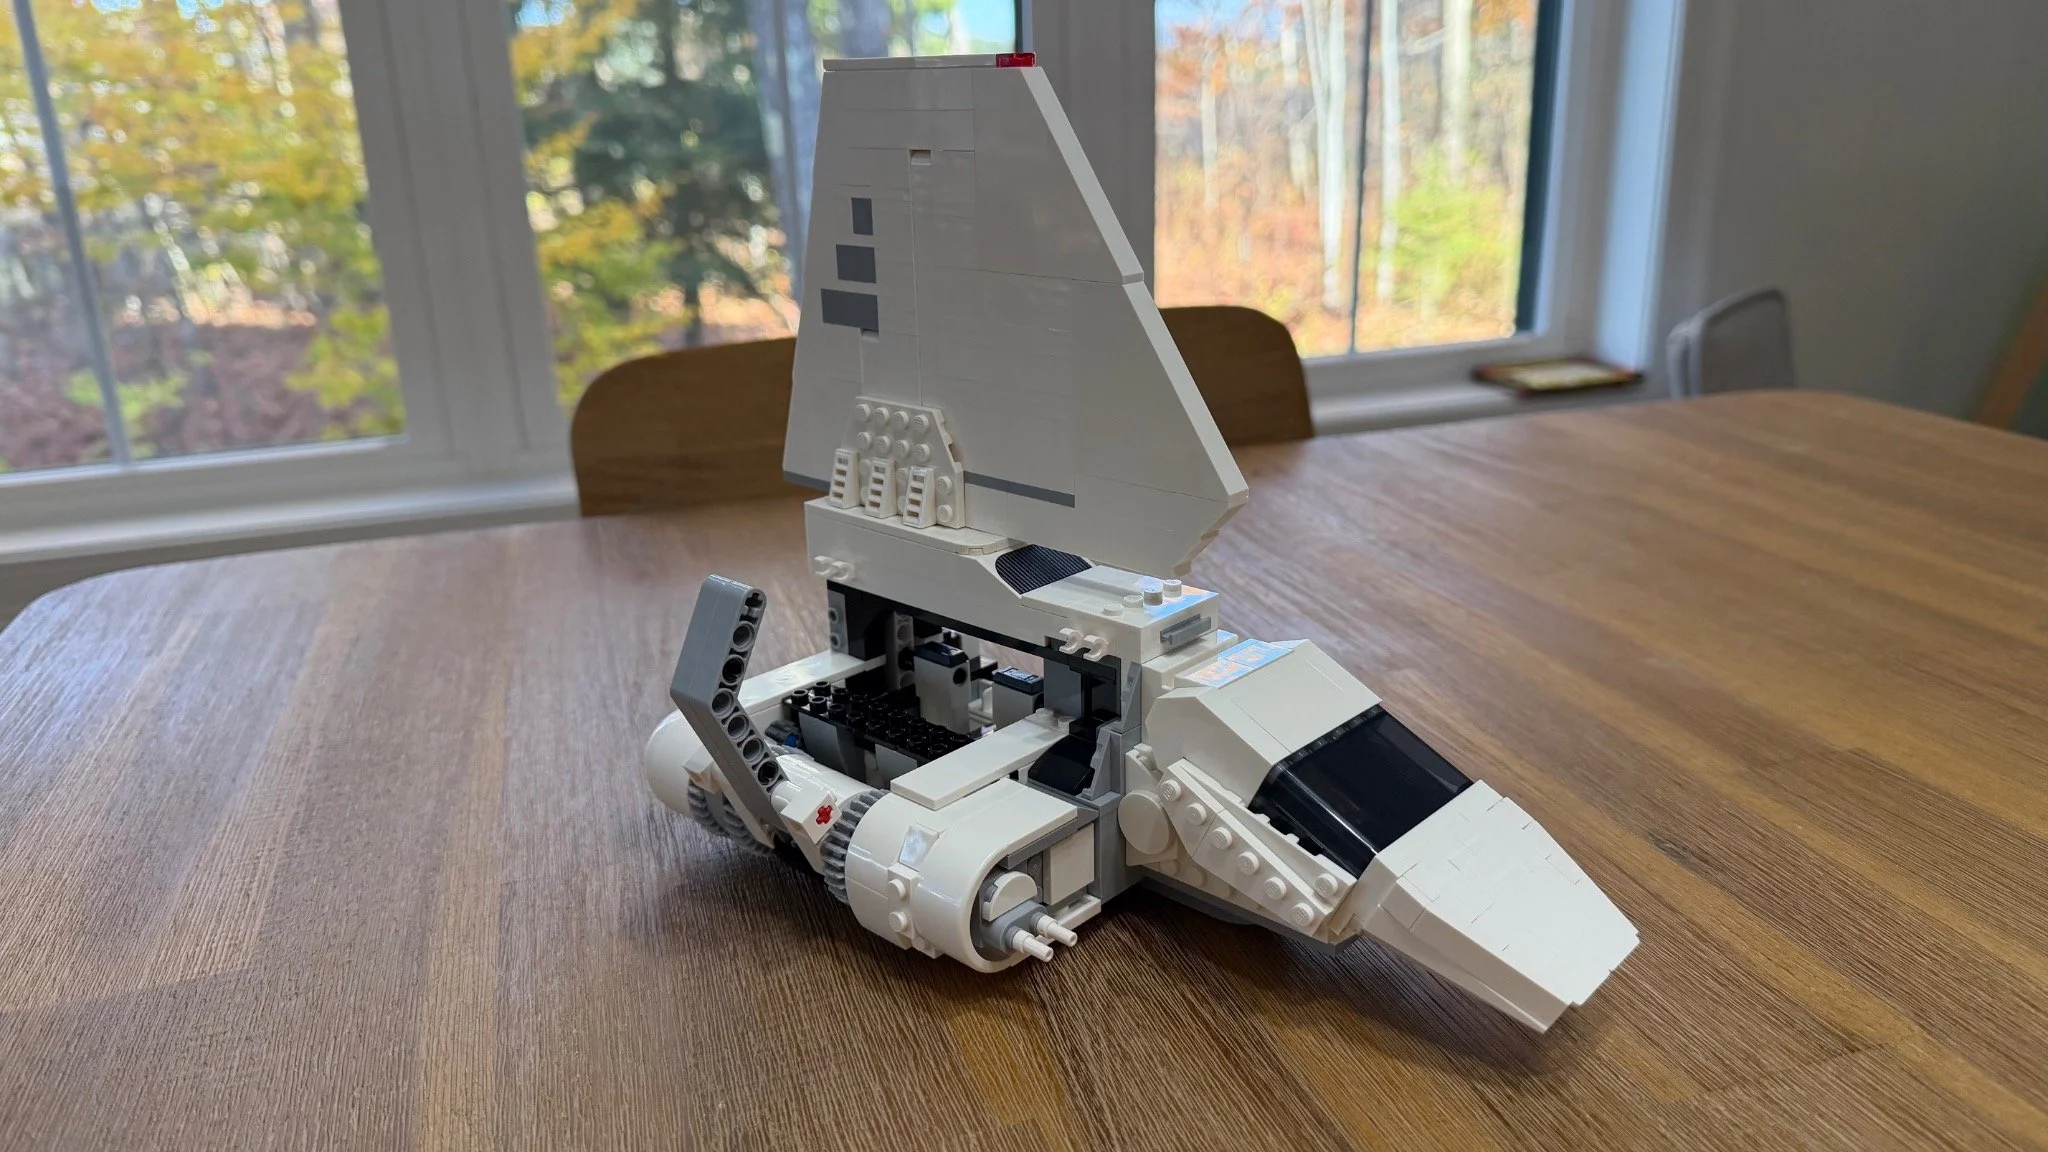
The completed shuttle with Dr. Pershing, the Mandalorian, Moff Gideon, the pilot and a Stormtrooper.
I did not go into the Imperial Lambda-Class Shuttle expecting the wing mechanism to be the part I would want to build twice. That turned out to be the surprise of this set.
LEGO Star Wars 75459 starts with a fairly straightforward cabin and grows into a surprisingly sizable shuttle, with a tall central fin, rotating side wings and landing gear that actually folds away. The cockpit assembly was an early highlight, but the wing roots were what really won me over. There are also some awkward connections, especially near the end, that deserve more warning than the finished model’s sturdy appearance suggests.
I built all nine bags on October 29, 2026. It exceeded my expectations enough that I would call it a sleeper set, with a few reservations behind my 7.3/10 overall rating.
At a Glance
Set: LEGO Star Wars Imperial Lambda-Class Shuttle, 75459
Pieces: 961
LEGO age recommendation: 14+
Numbered bags: 9
Recorded bag time: 1 hour, 59 minutes, 55 seconds
Difficulty bag average: 3.9/10
Repetition bag average: 4.6/10
Dexterity / connection-demand bag average: 4.7/10
My overall set rating: 7.3/10
Stickers: 0 recorded in my set overview; individual bag sticker counts were not recorded
Instructions: LEGO Builder used; app step count not recorded. The booklet has 304 numbered main steps, including its final feature demonstrations.
Minifigures: The Mandalorian, a Stormtrooper, an Imperial Shuttle Pilot, Dr. Pershing and Moff Gideon
Affiliate disclosure: I may earn a commission if you purchase through the LEGO.com links in this review, at no additional cost to you.
View Imperial Lambda-Class Shuttle 75459 on LEGO.com
Build Time and Ratings
My nine recorded bag sessions add up to 1:59:55. I did not specify in these notes whether photos, breaks, sorting or other interruptions were included, so this is the sum of the bag timers, not a claim of two hours of uninterrupted construction. There is no separate overall-timer reading available for comparison.
The ratings on each bag are instruction-based editorial estimates, reviewed against my written build observations. I did not assign numerical bag scores during this build. Each bag receives equal weight in the three averages; those averages are separate from my own 7.3/10 overall set rating.
Difficulty covers understanding, orientation and execution. Repetition covers repeated placements and subassemblies, even when I enjoy doing them again. Dexterity covers precision, access, support and demanding connections. A short, particularly tight connection can raise that last score without making an entire bag difficult to understand.
The Build, Bag by Bag
Bag 1: A welcoming start, plus the Mandalorian
Time: 11:42 · Difficulty: 2.0/10 · Repetition: 2.0/10 · Dexterity: 2.0/10
The Mandalorian makes a good first impression. I liked the detail in the figure, particularly the armor and helmet, before getting into the shuttle itself.
The base, cockpit foundation and upright supports make this an enjoyable opening bag. There are some small connector assemblies underneath the larger plates, but nothing here stood out to me as especially difficult. It is a good entry into the set before the taller structure starts getting in the way.
Bag 2: More structure, less room to work
Time: 6:42 · Difficulty: 2.0/10 · Repetition: 3.0/10 · Dexterity: 4.0/10
This is a short bag, adding depth and support around the interior and rear of the shuttle. The finished blue-green engine detail comes later; for now, the structure is getting more substantial.
My main annoyance was working around the tall white 15-module Technic beam (4542578). Reaching across it to place parts on the opposite side was awkward. That is an access issue rather than a complicated sequence, and it is worth turning the model to bring the next connection closer instead of reaching around the beam every time.
Bag 3: A Stormtrooper and the growing roof
Time: 14:21 · Difficulty: 3.0/10 · Repetition: 3.0/10 · Dexterity: 4.0/10
I always appreciate another Stormtrooper, and I still love the look of those helmets. The shuttle then grows upward as the roof structure starts to close over the passenger compartment.
The printed vent detail was a welcome touch. It is exactly the sort of decoration I could imagine being handled with a sticker, so I was happy to see it printed.
Just as I was getting used to working around the first tall beam, the build adds another white 15-module beam (4542578). I could shift it left or right while working, but the obstruction was still mildly annoying. The instructions are building toward a strong central fin; getting there involves a bit of working around its supports.
Bag 4: The central fin earns its height
Time: 10:30 · Difficulty: 4.0/10 · Repetition: 5.0/10 · Dexterity: 4.0/10
This is where the tall central fin becomes a broad, recognizable part of the shuttle. I enjoyed the way the stacking works upward and outward, with Technic connections hidden inside to hold the sections together.
There is repeated building across the fin’s surfaces, but the structure is the interesting part. It felt very stable on my completed build. That gave me more confidence handling it than I would have expected from such a tall, relatively thin section.
Bag 5: The cockpit comes together beautifully
Time: 10:38 · Difficulty: 3.0/10 · Repetition: 3.0/10 · Dexterity: 3.0/10
The Imperial Shuttle Pilot arrives here, along with more fin detail and the cockpit canopy. Up to this point, the cockpit was my favorite assembly.
It has that satisfying combination of straightforward building and a clever final connection. The canopy takes shape separately, attaches to the shuttle, and fits neatly where it should. I found the result surprisingly stable. It is a small part of the build compared with the central fin, but it does a lot to make the shuttle look right.
Bag 6: My favorite mechanism
Time: 16:44 · Difficulty: 5.0/10 · Repetition: 4.0/10 · Dexterity: 5.0/10
The first wing-root assembly was the highlight for me. There is a satisfying amount going on inside the rounded housing: axles, gears and connecting arms come together before the assembly joins the main body. It felt well supported both as its own subassembly and once attached to the shuttle.
This was also where I found LEGO Builder particularly useful. Being able to rotate the model in 3D helped me keep track of orientation. I would take the time to check which way each connector faces here. The mechanism is enjoyable to build, but it rewards paying attention before everything is enclosed.
Bag 6 was my favorite: the first wing-rotation assembly.
Bag 7: A repeat I was happy to make
Time: 15:22 · Difficulty: 5.0/10 · Repetition: 7.0/10 · Dexterity: 5.0/10
The figure I had not identified in my original notes is Dr. Pershing. After assembling him, the main task is the opposite wing-root mechanism, mirroring the work from Bag 6.
This is clearly repetitive, and the rating reflects that. I just happened to enjoy the first assembly enough that I was happy to do it again. Keep checking the mirrored orientation rather than assuming every part faces the same way as it did on the first side.
Bag 8: Good-looking details with awkward attachments
Time: 17:52 · Difficulty: 6.0/10 · Repetition: 7.0/10 · Dexterity: 7.0/10
The paired engine strips at the rear involve repeated placements of translucent pieces. I liked the finished appearance, but attaching that detail to the model felt delicate and awkward.
The build then moves into more of the outer shell and wing-root detailing. With the wing mechanisms already in place, some of these assemblies were difficult to make secure. This was the most difficult bag so far for me, with the challenge coming from access and attachment as much as from understanding what to build. Support the area you are pressing against and check the connection before moving on.
Bag 9: Wings, landing gear and a few tight pins
Time: 16:04 · Difficulty: 5.0/10 · Repetition: 7.0/10 · Dexterity: 8.0/10
The last minifigure is Moff Gideon, with his Darksaber. The remaining wing sections are enjoyable and generally not too challenging, but two steps deserve a clear warning: 277 and 298 in the booklet, on pages 164 and 177.
Those steps secure the wings with four light gray friction connectors with cross holes (6321747), two per side. On my copy, access was tight and sliding them into place took a lot of force. This is a short part of the bag, not a description of every connection, but it was the strongest hand-demand issue I recorded. Support the wing close to the connection and make sure the holes line up before pressing.
The movable landing gear was a pleasant surprise. At step 299, make sure the light gray L-shaped Technic liftarms (6271831) match the illustrated orientation on the two red 6-module axles (6130002). If the paired pieces do not line up correctly, the gear cannot move as intended. Steps 300–301 finish the feet and show the movement.
Finally, pay attention to the orientation of the blaster bolts when loading them. On my build, the distinct top pattern needed to face upward for the launcher to work. The two small white 2-module Technic beams (6215107) act as firing buttons. I thought that was a clever way to hide the controls in plain sight.
Build Progress
Browse the build from the unpacked bags through the cabin, central fin, wing mechanisms and completed shuttle. The final photos show different positions and access points on the finished model.
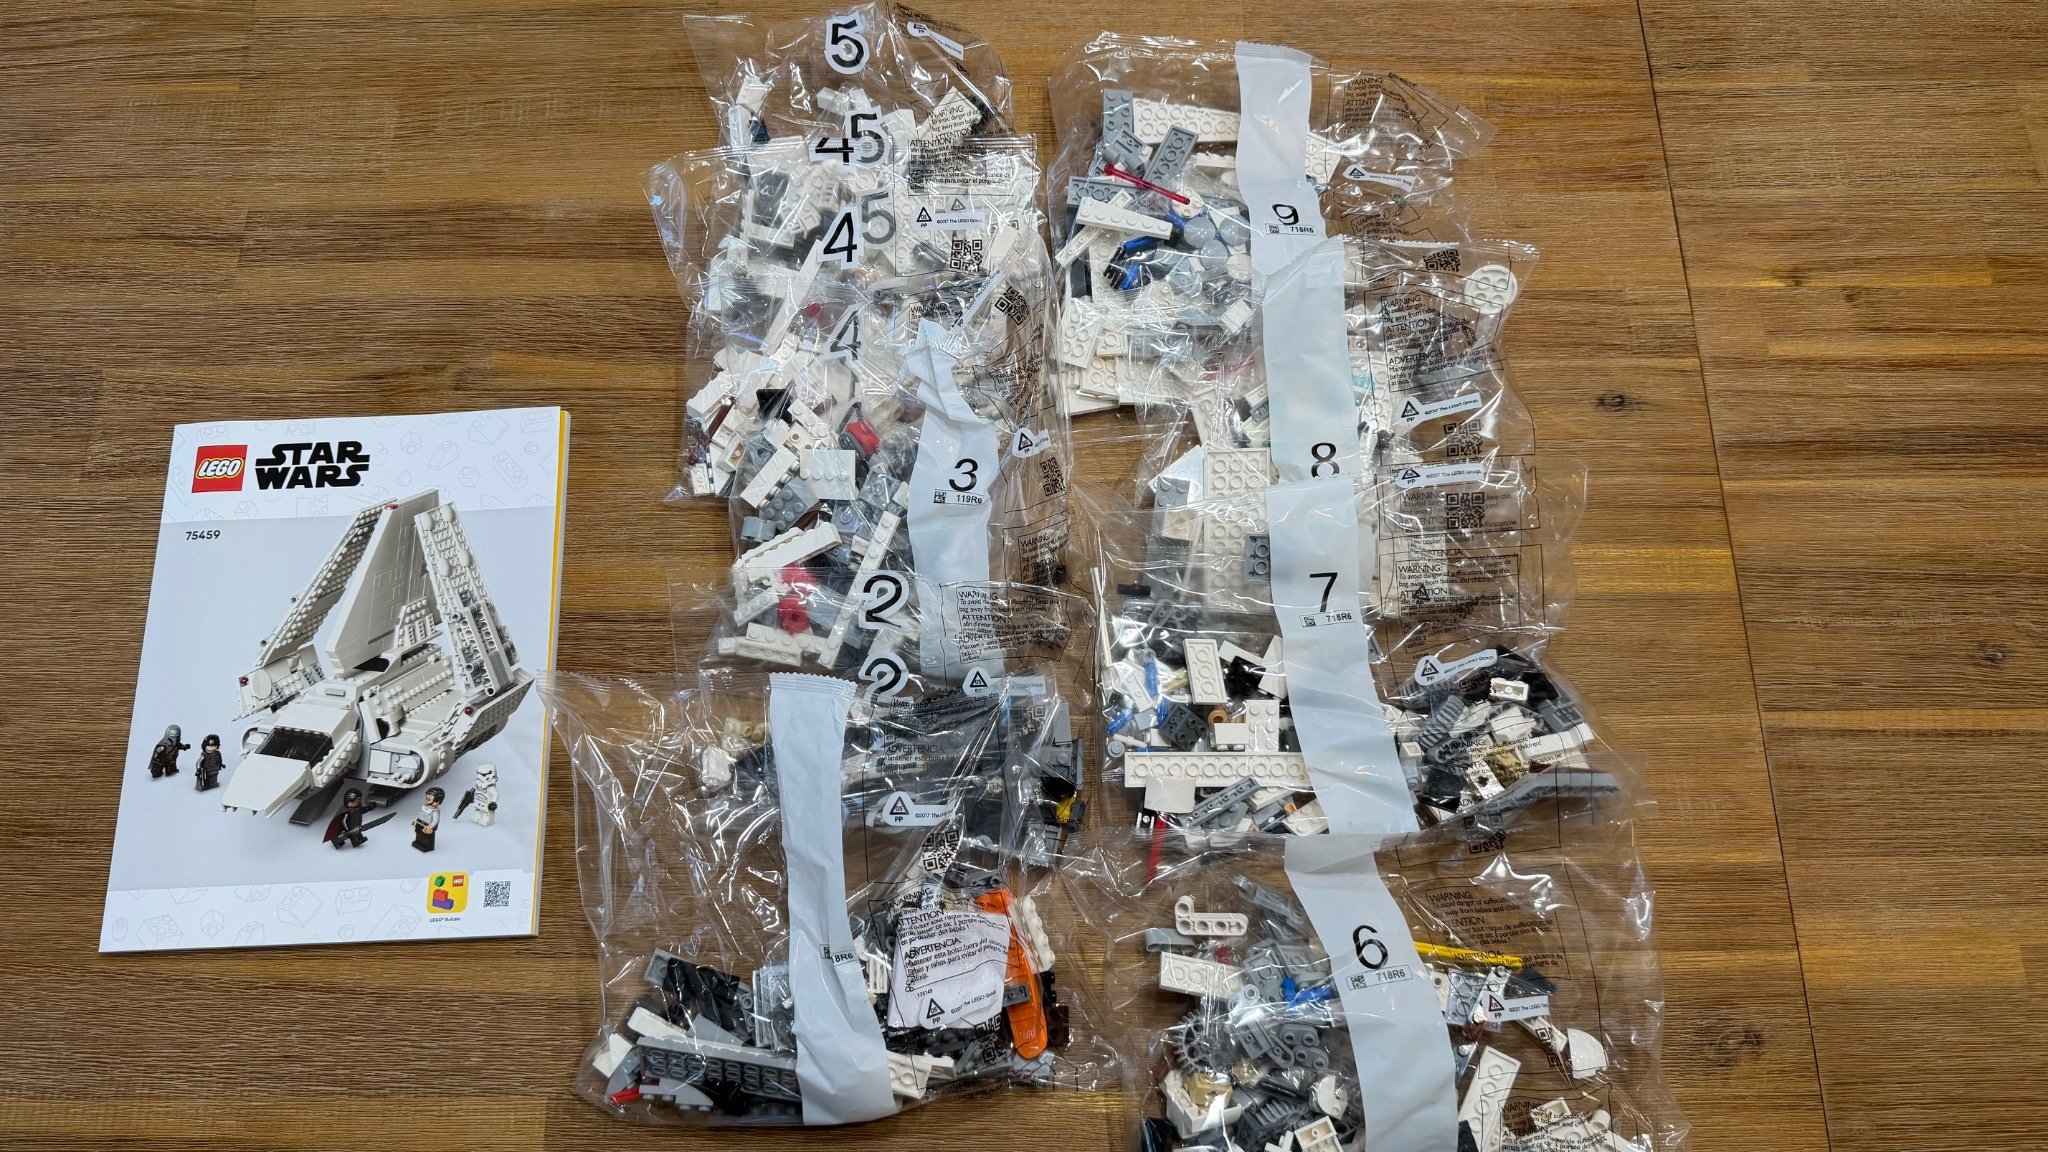
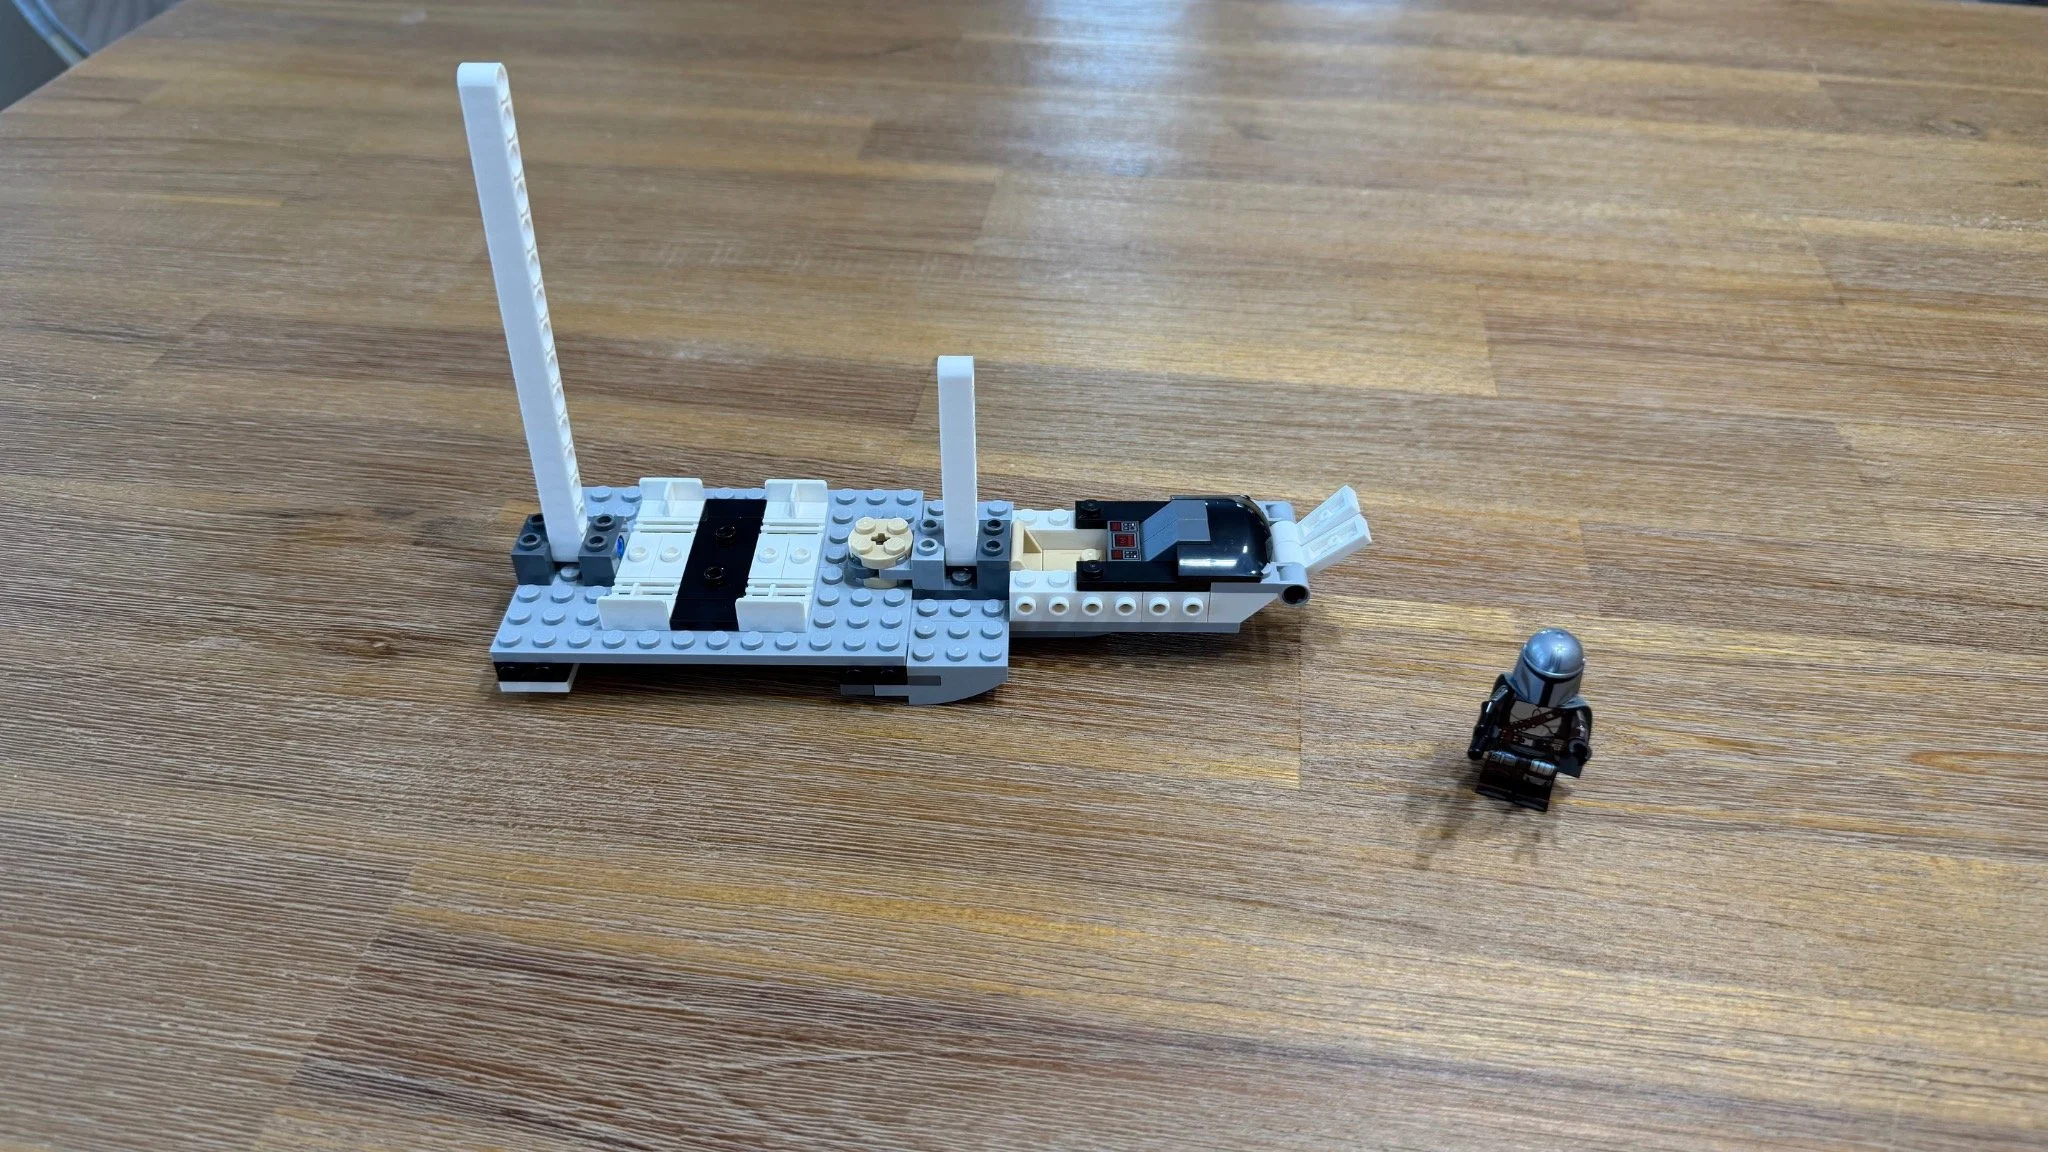
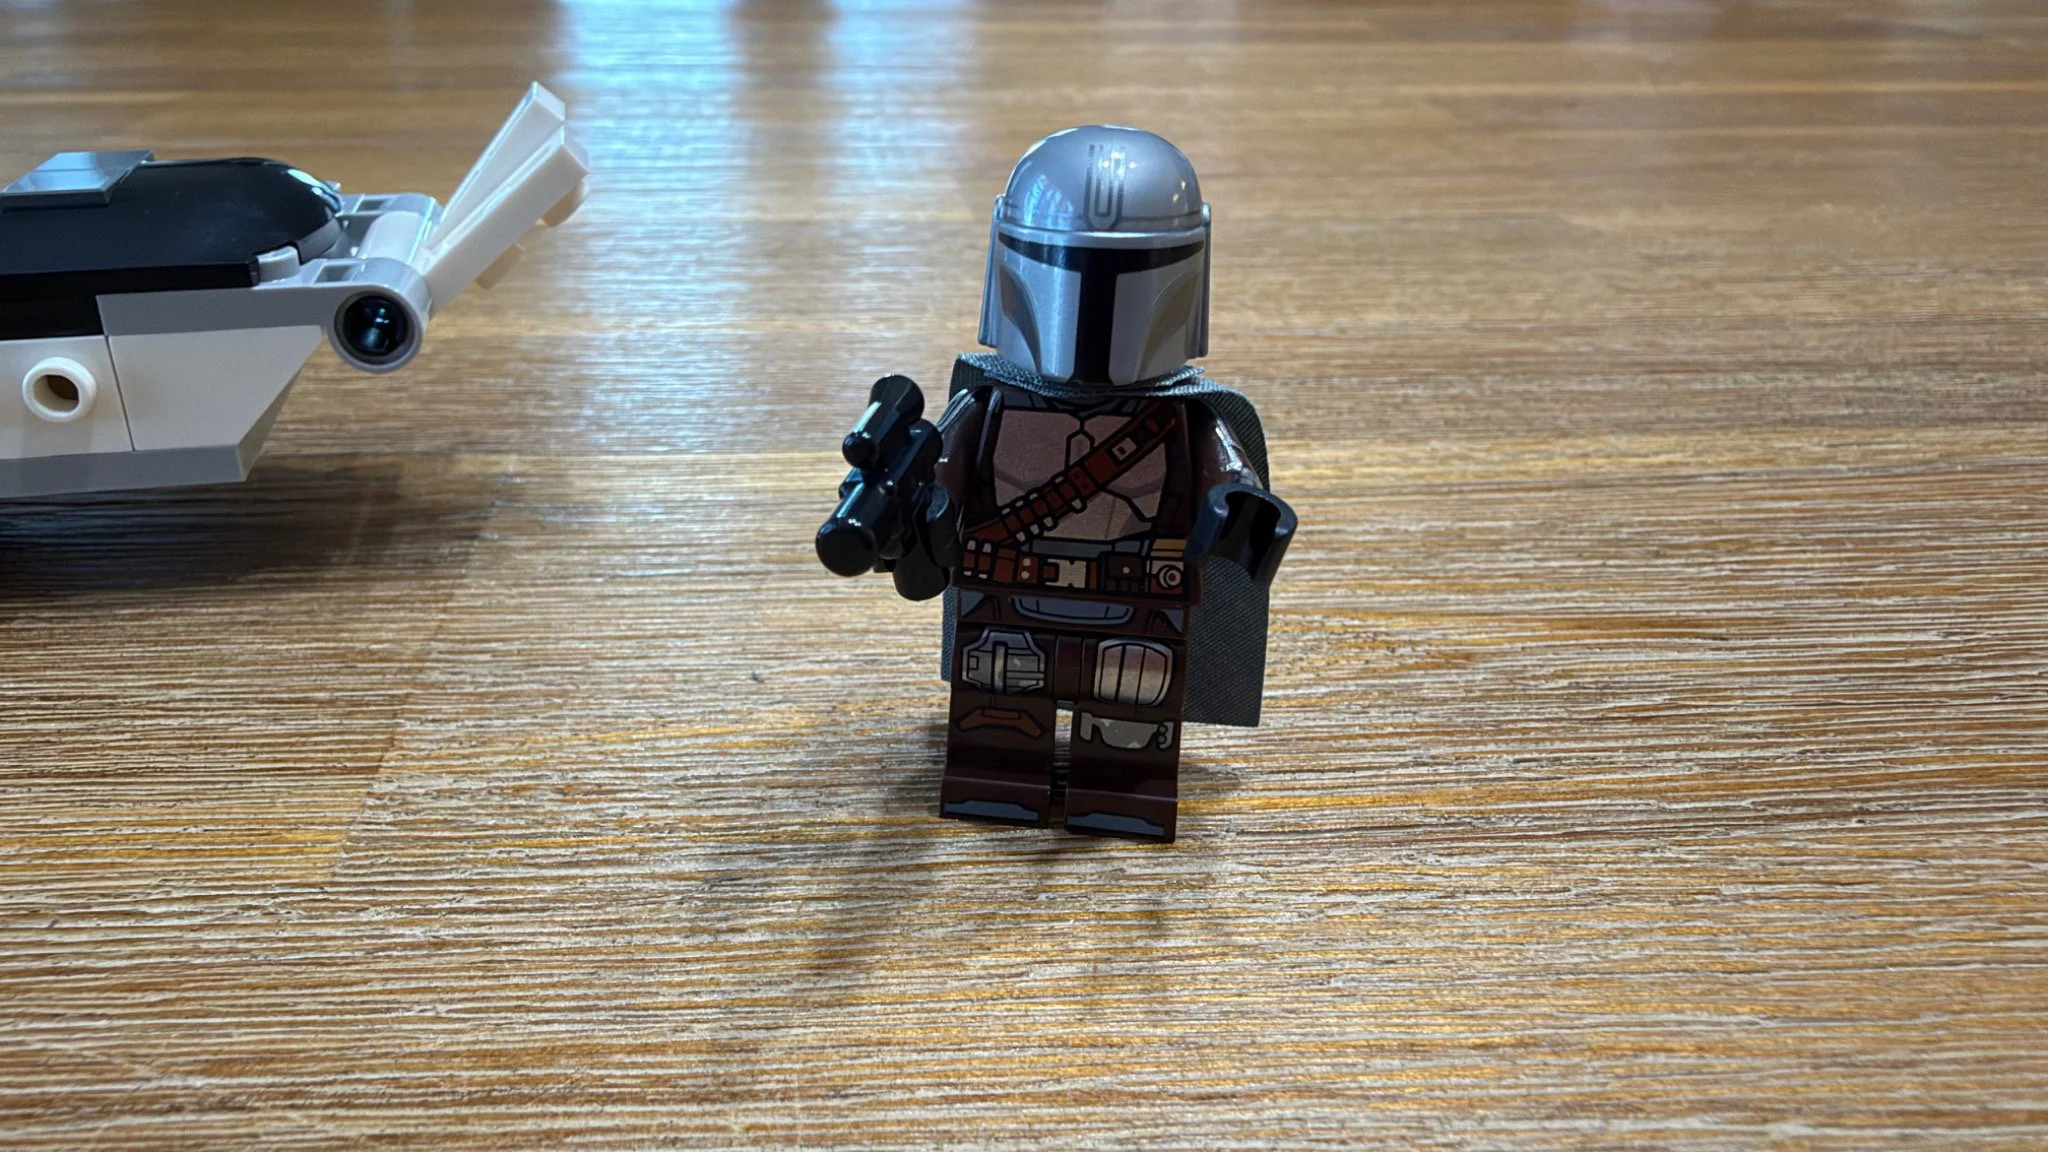
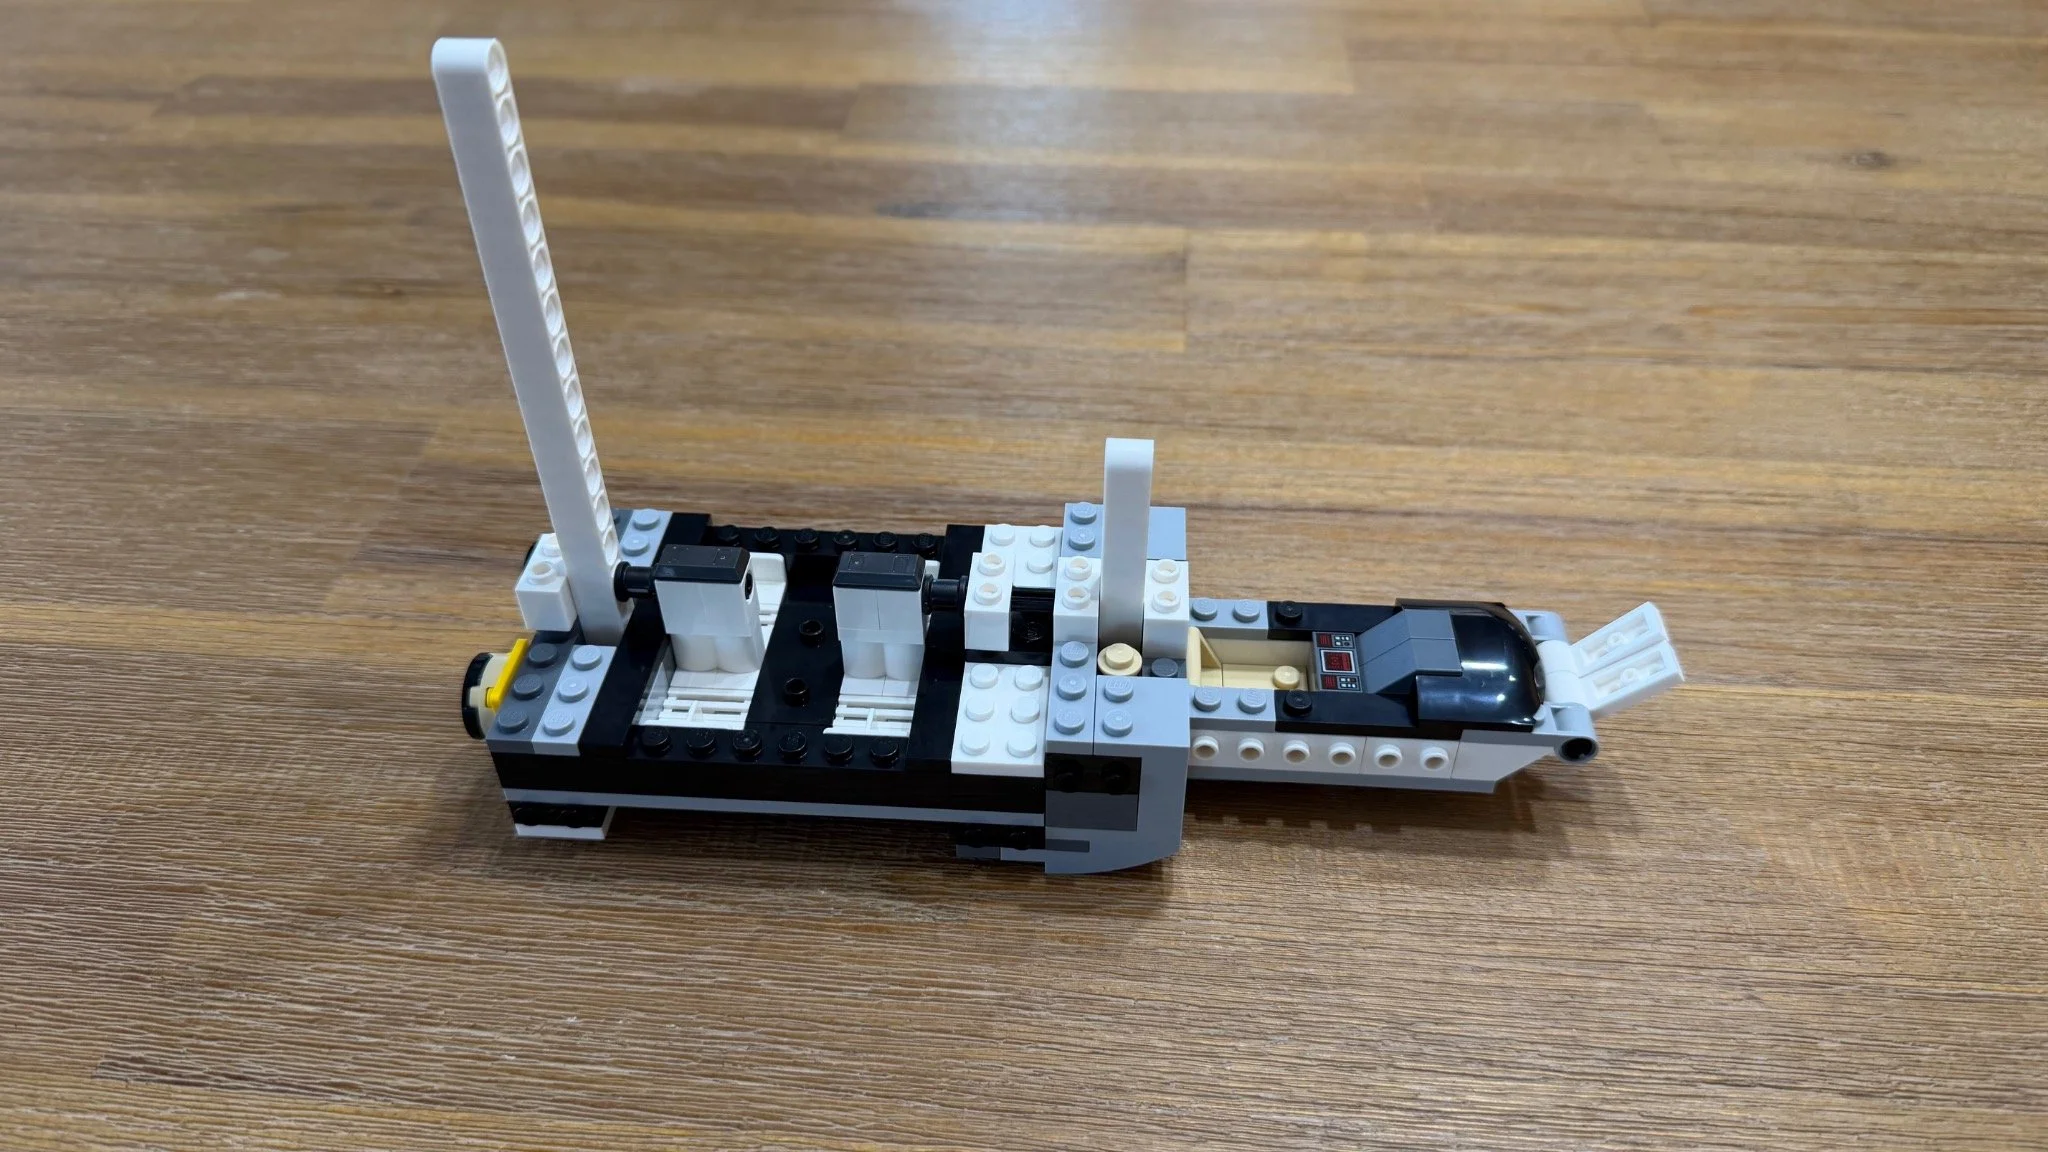
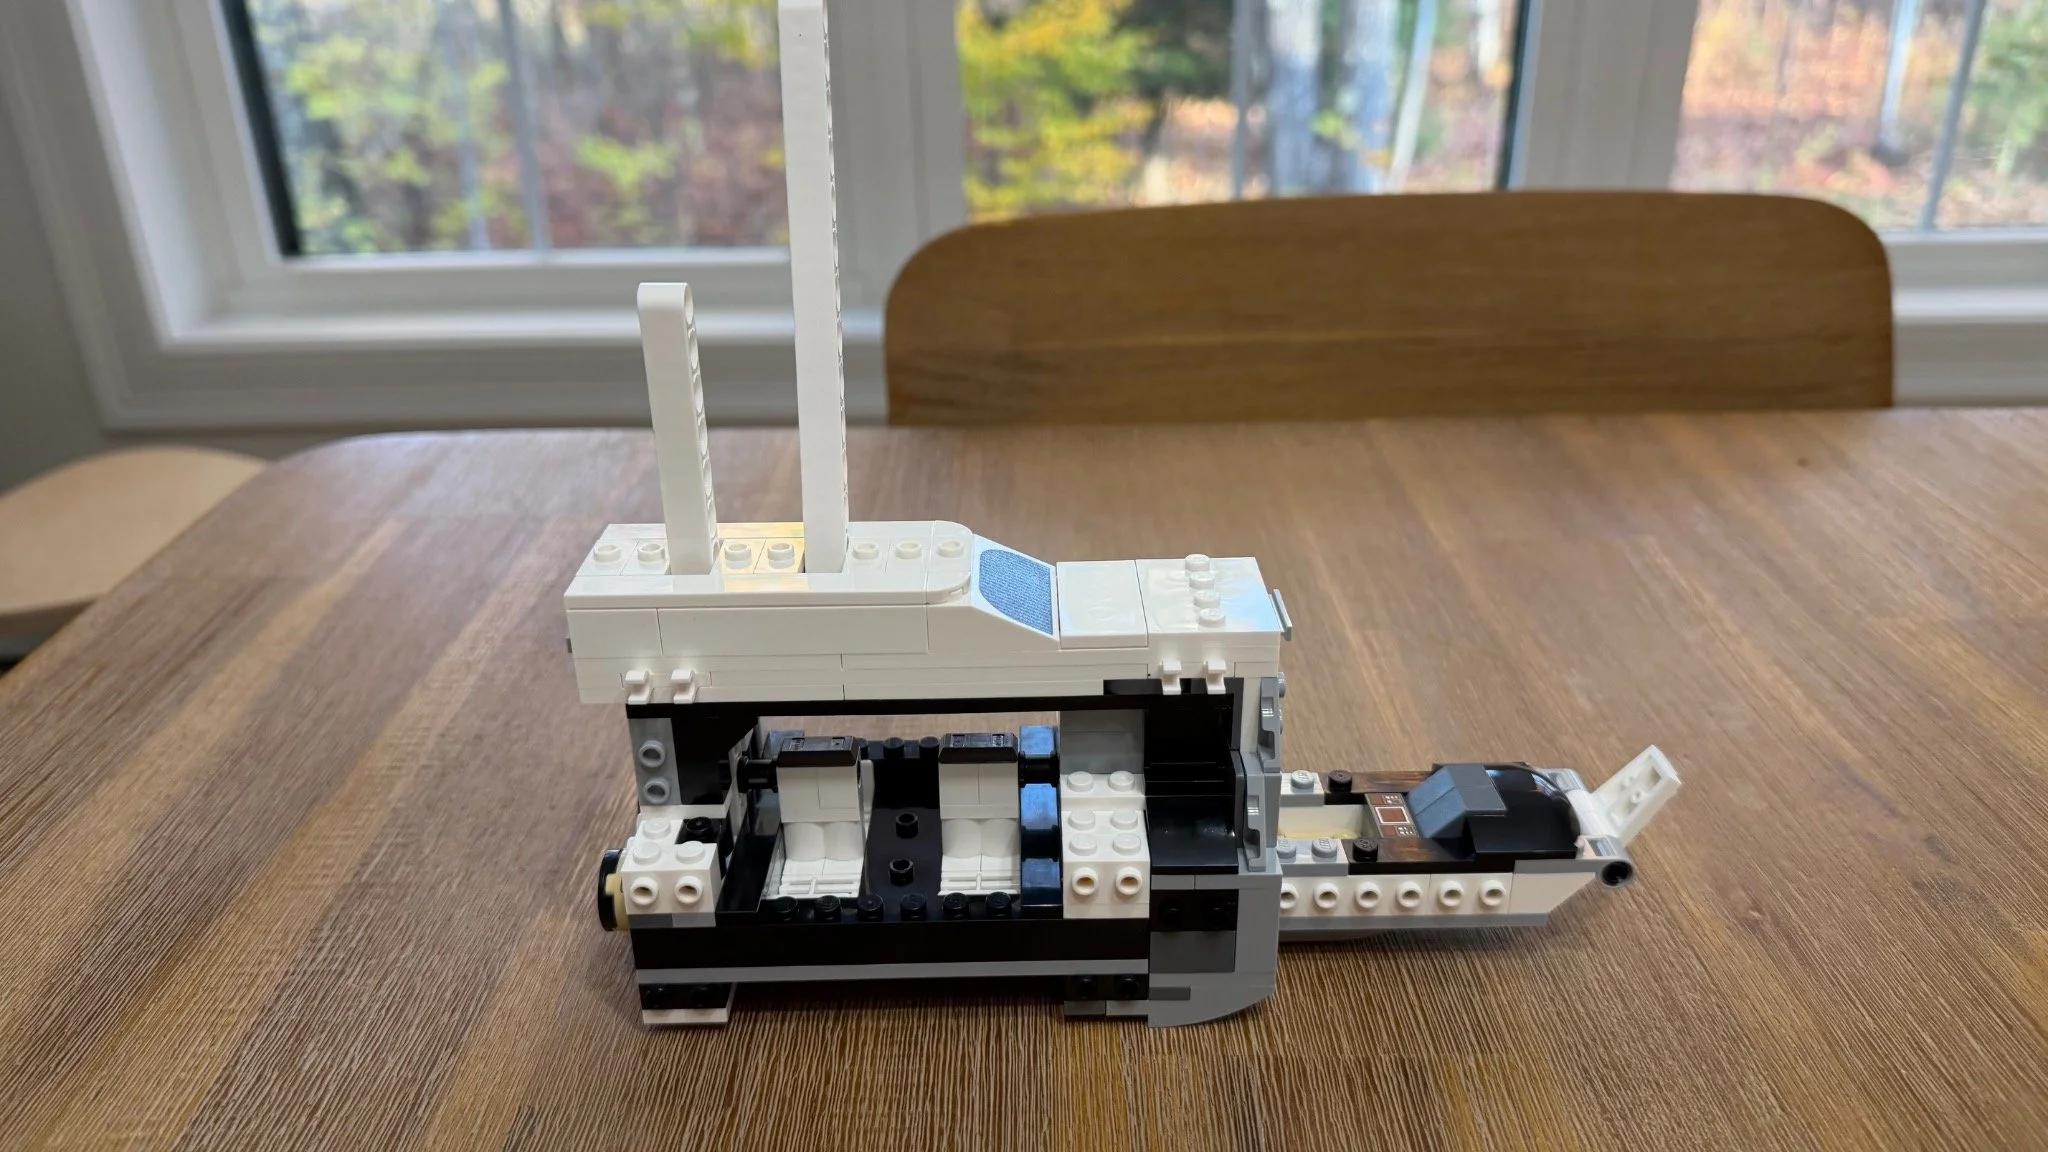
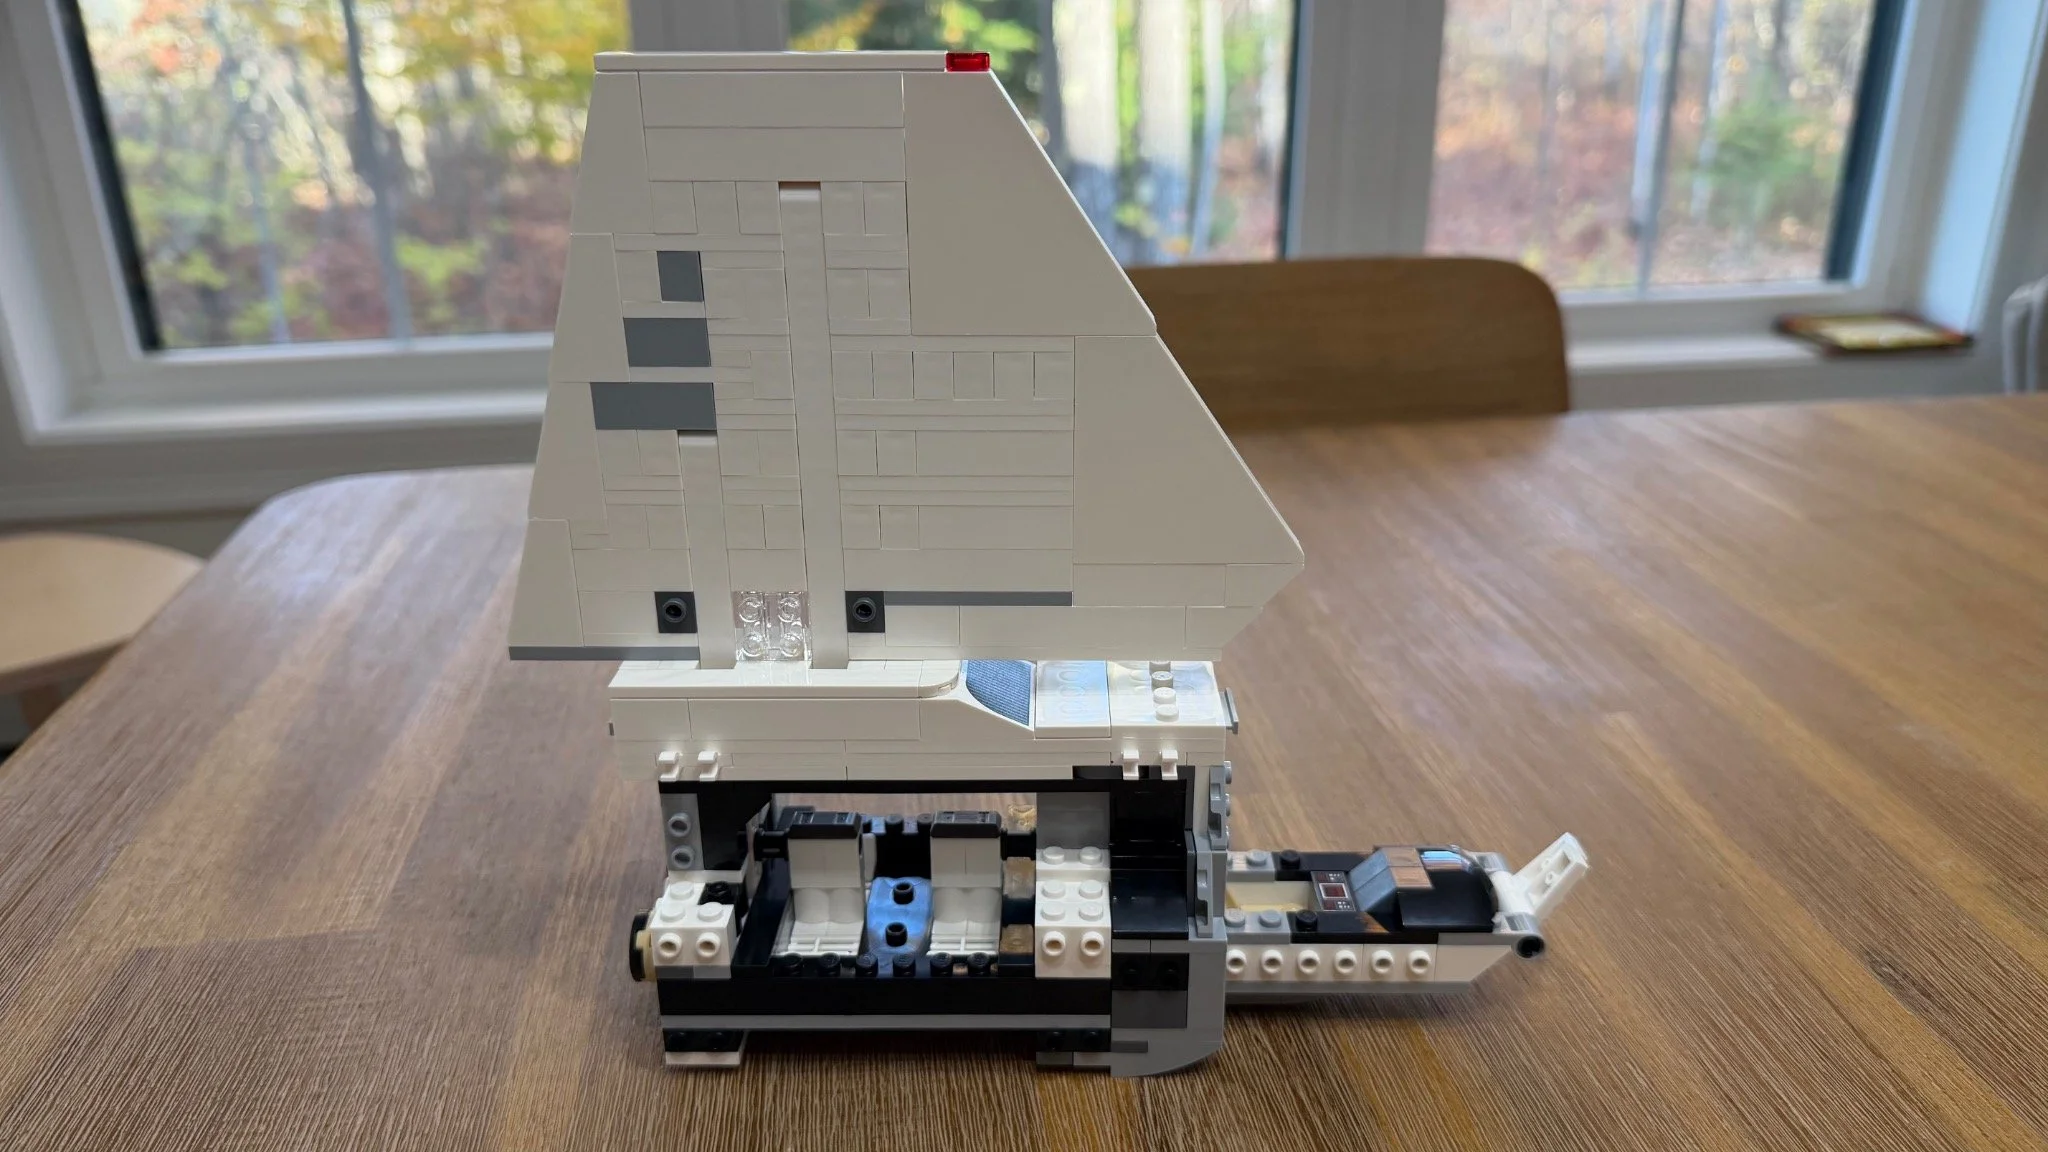
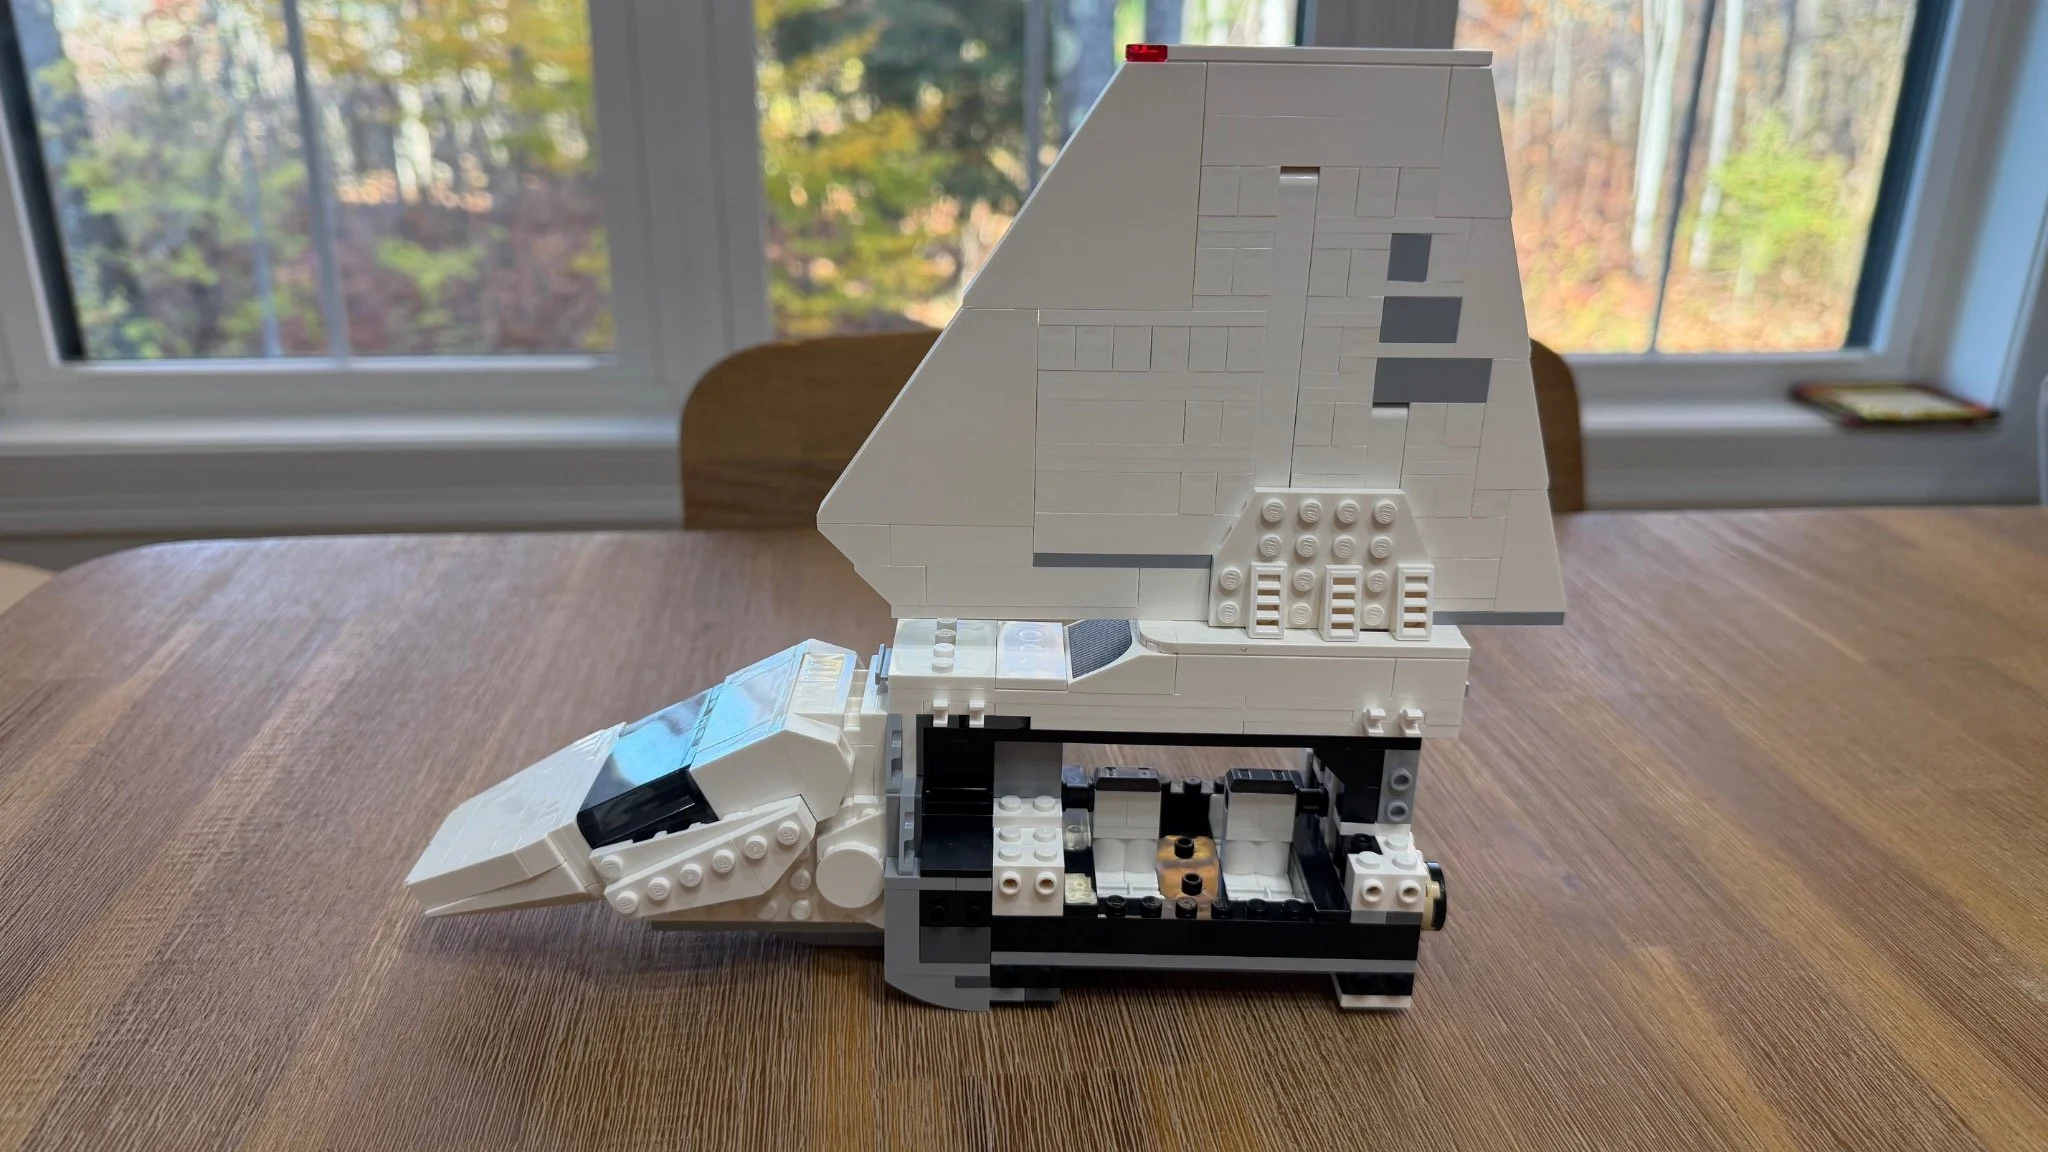
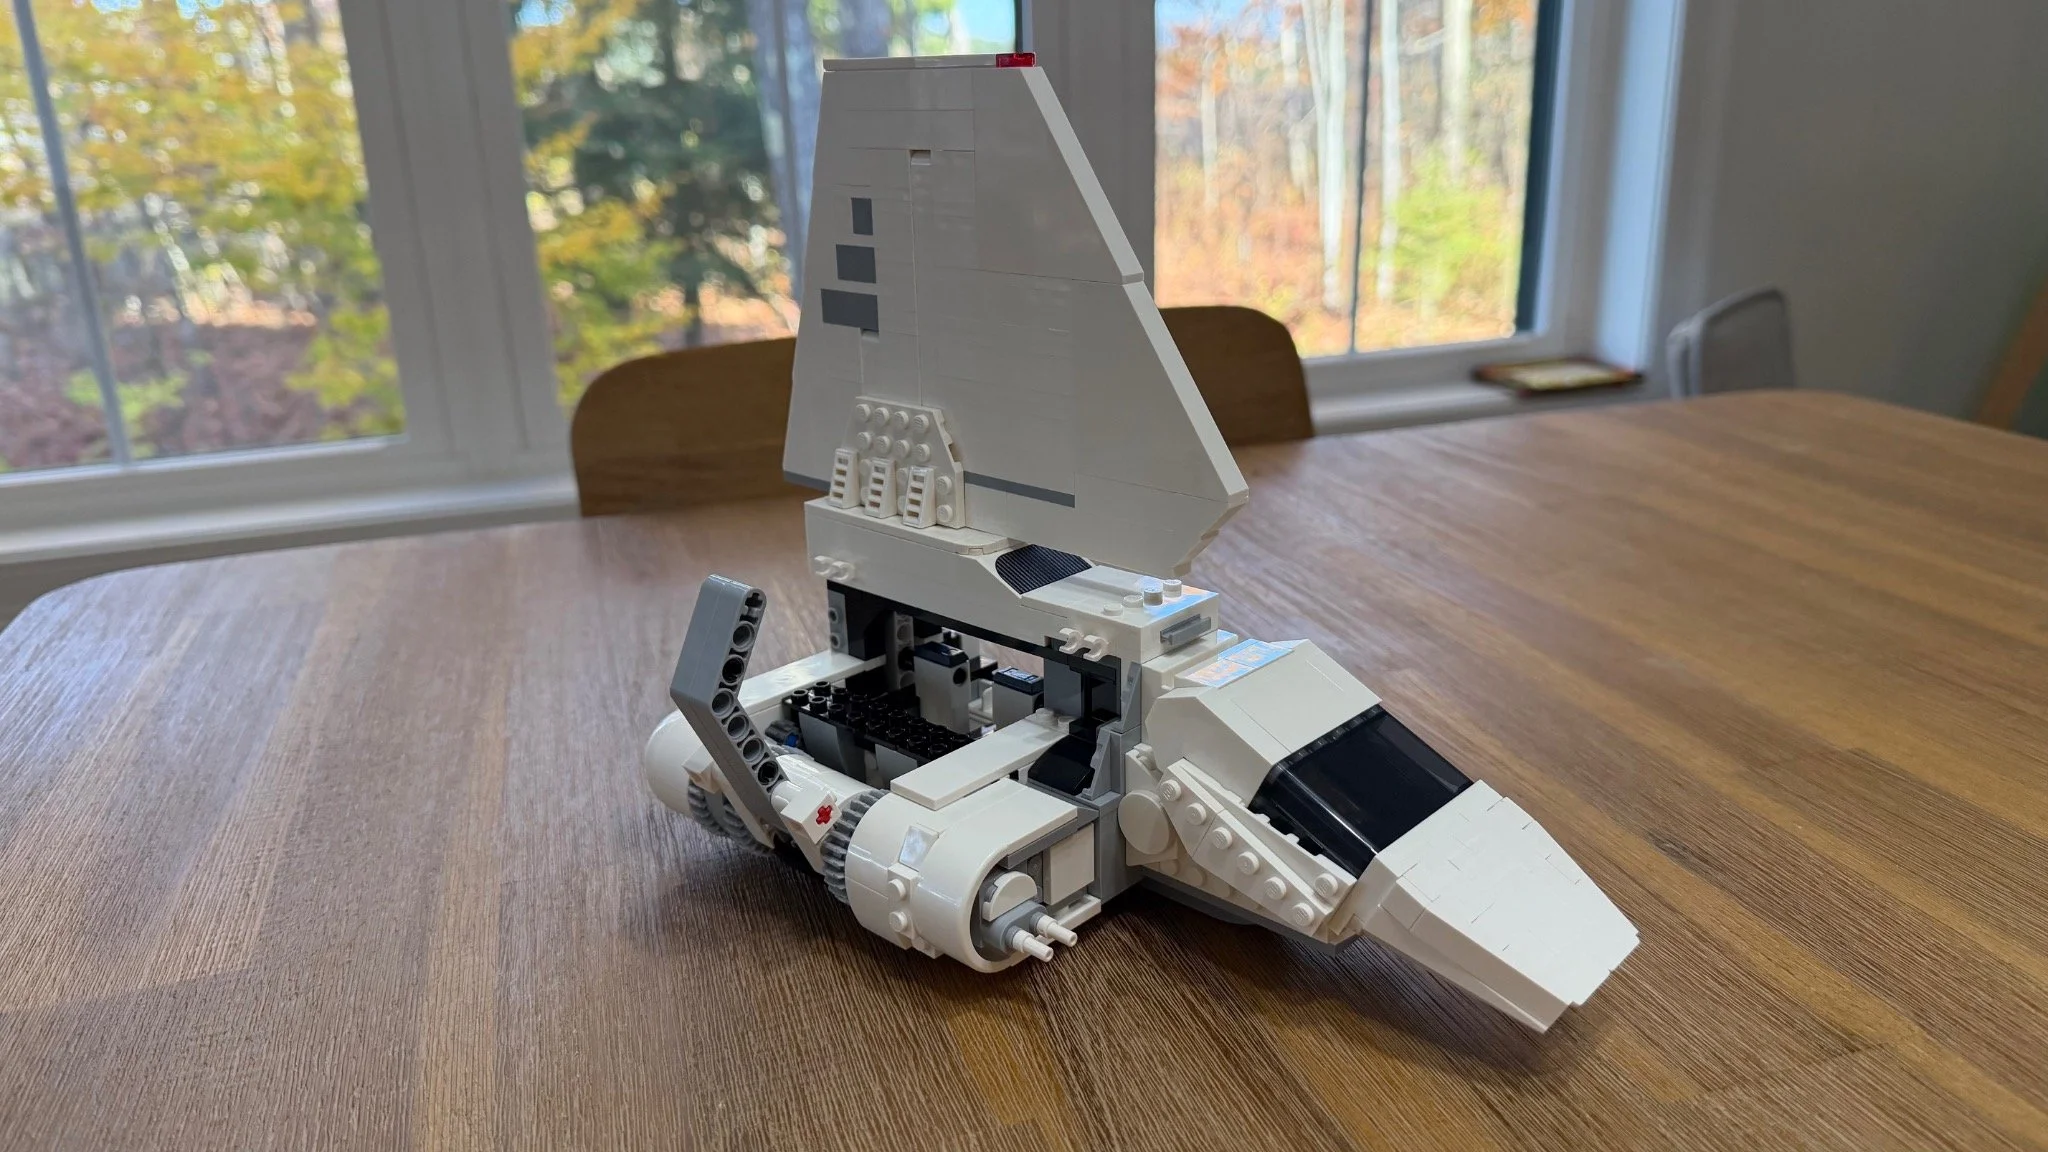
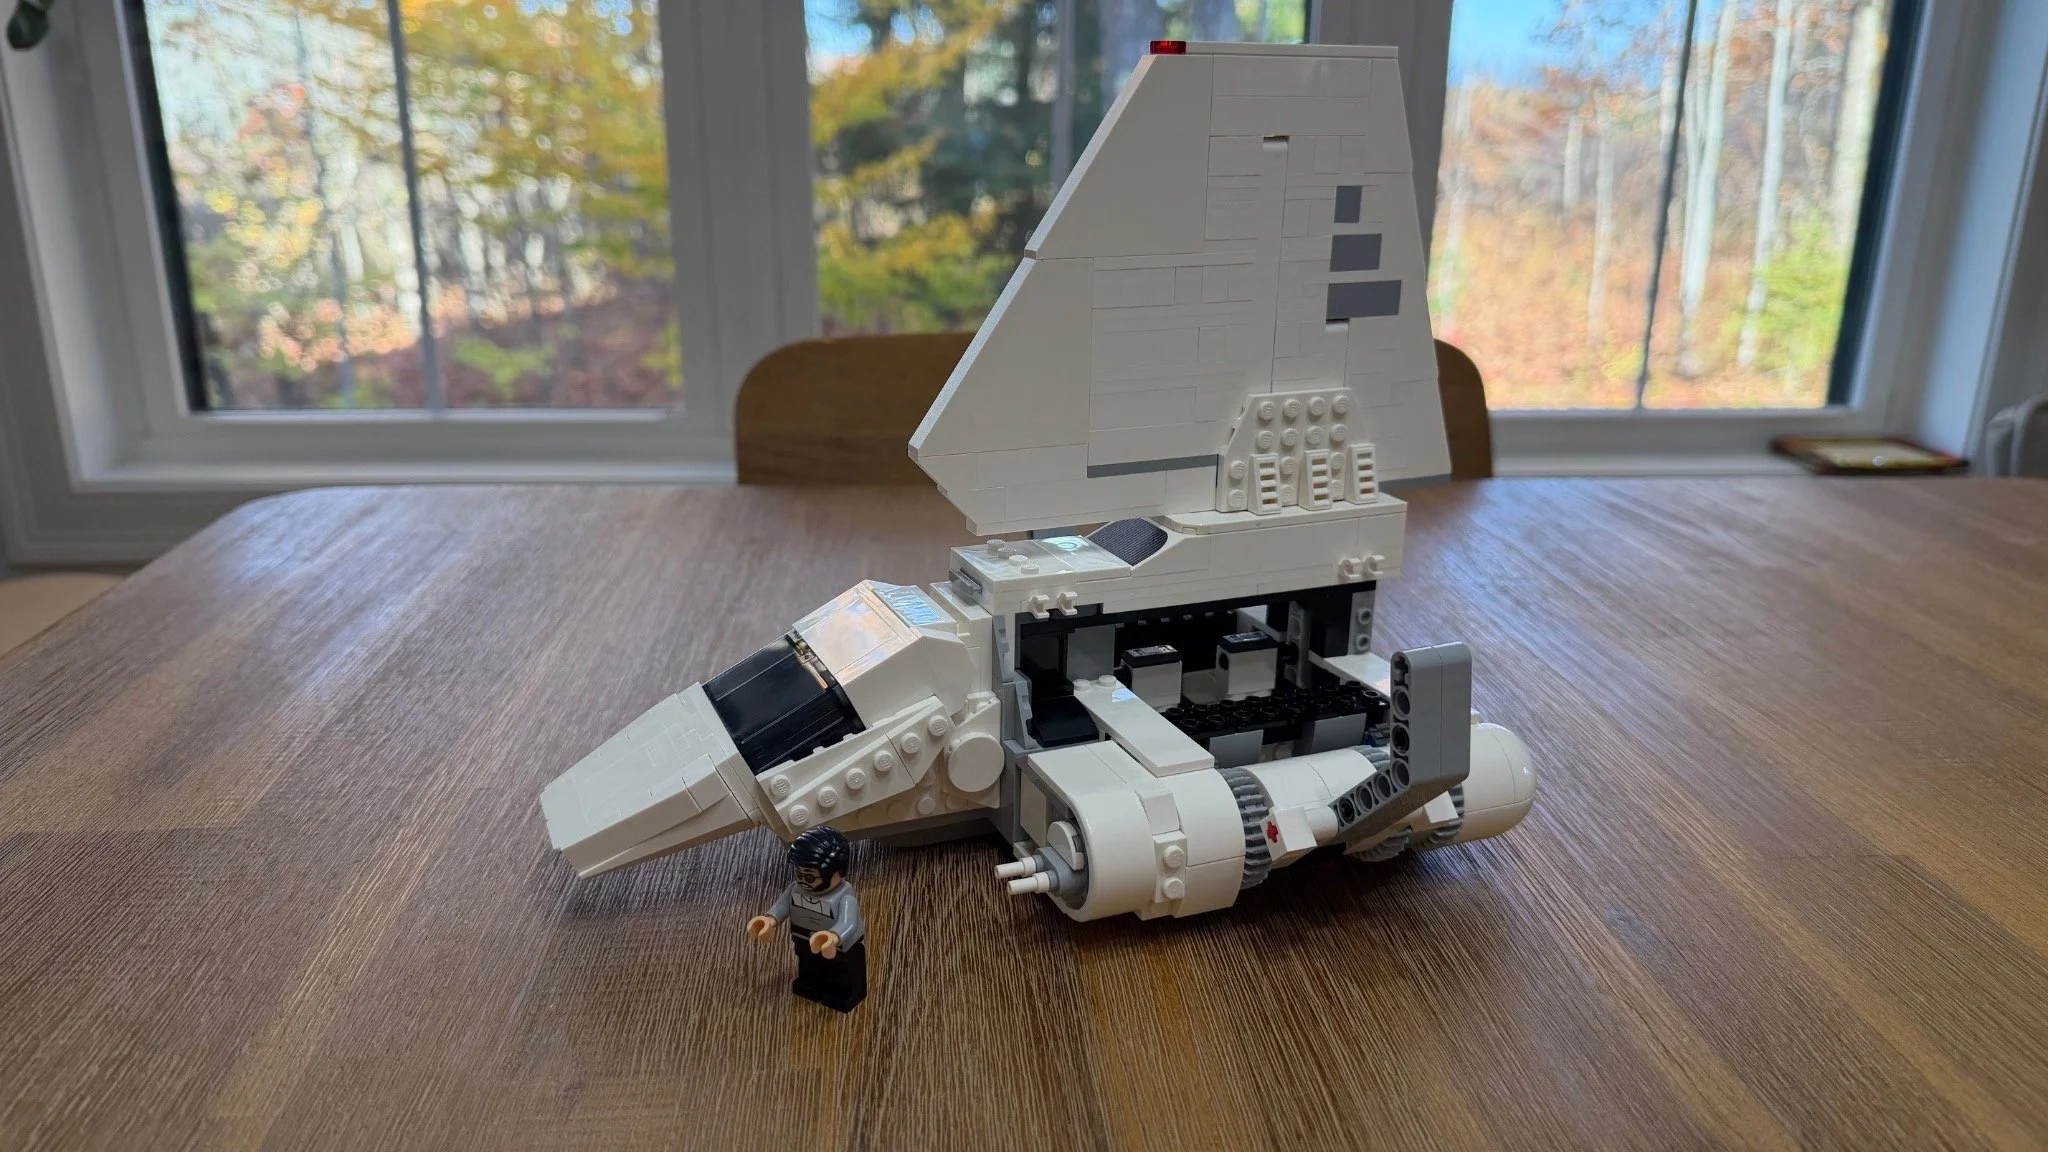
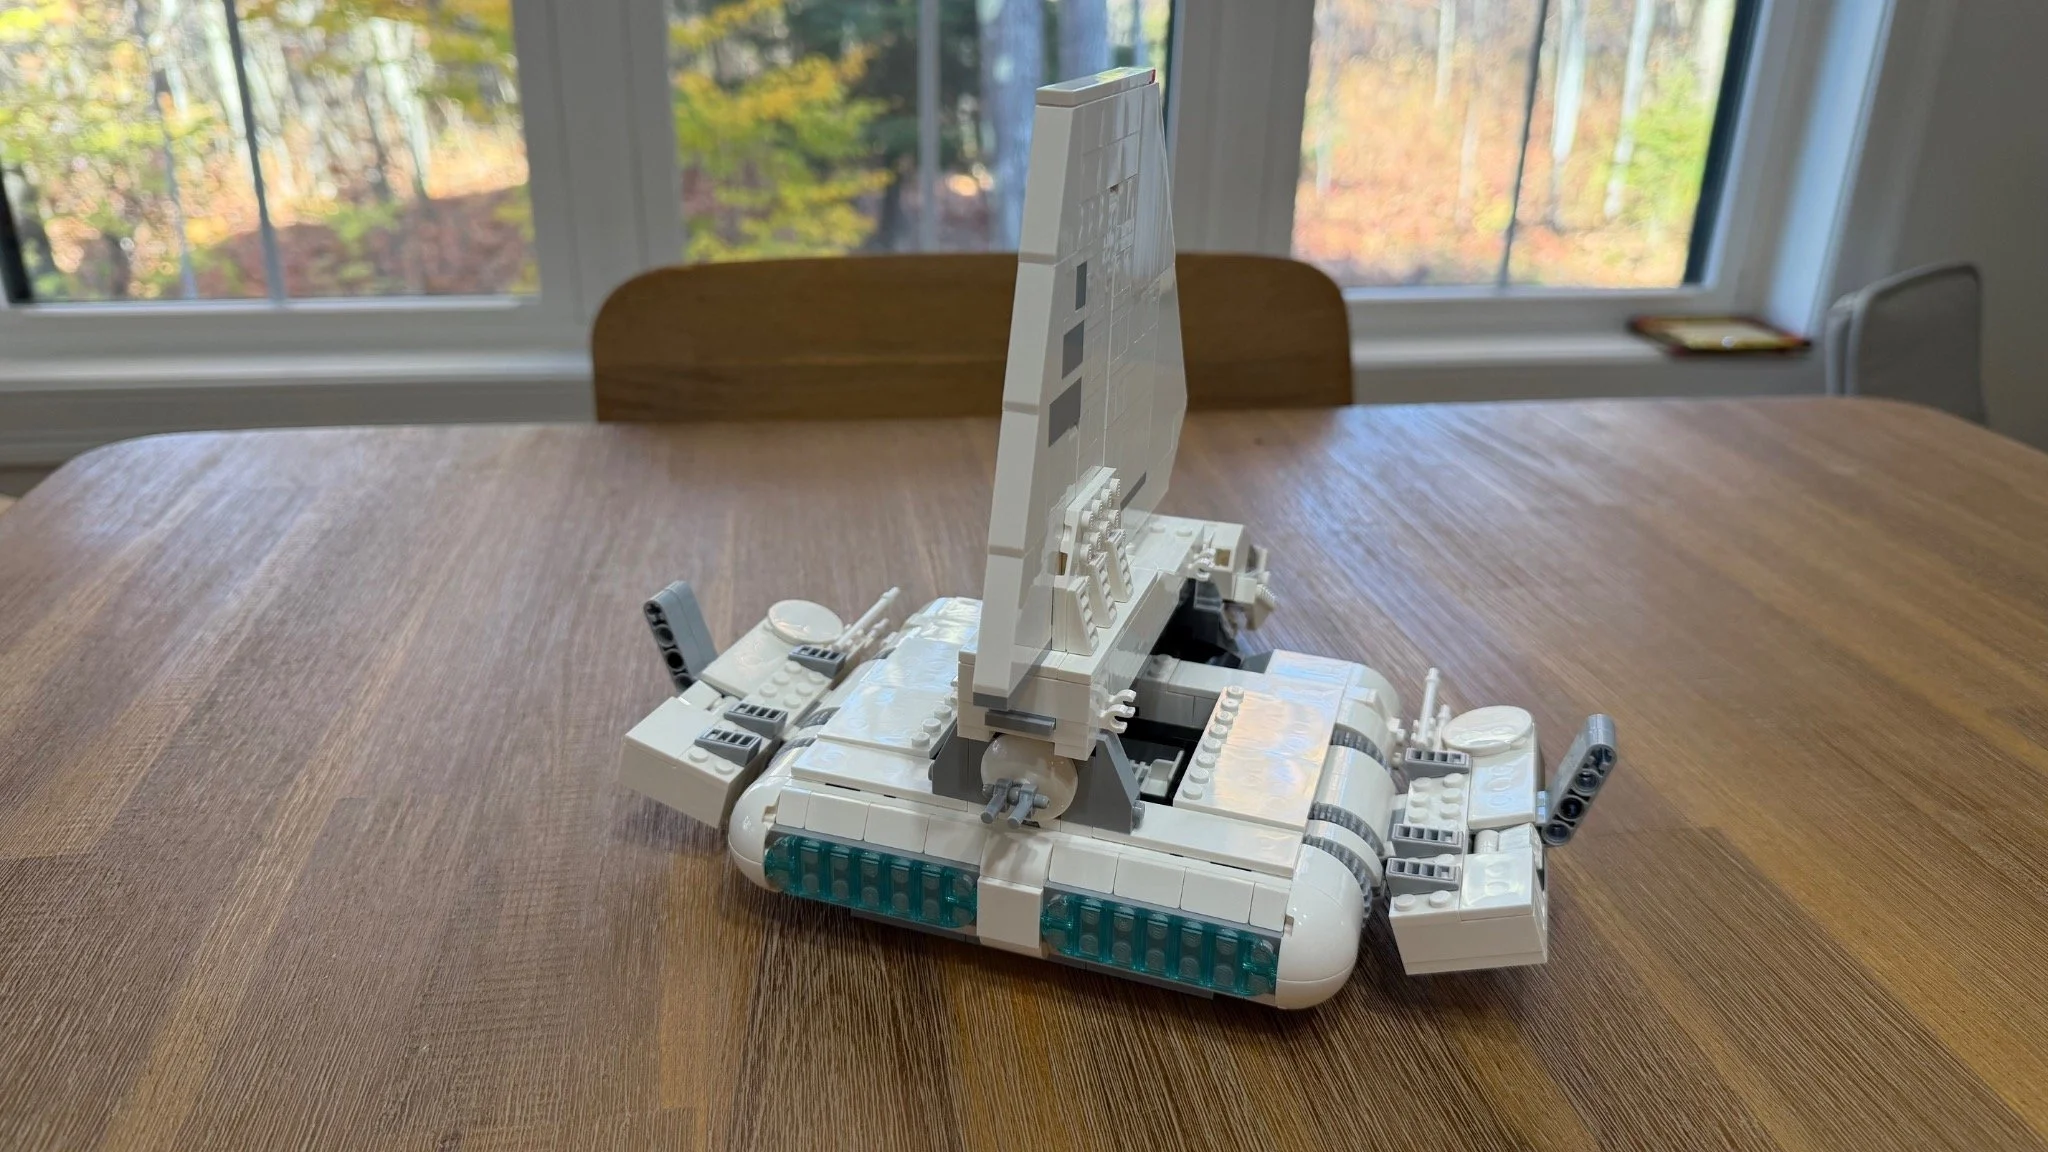

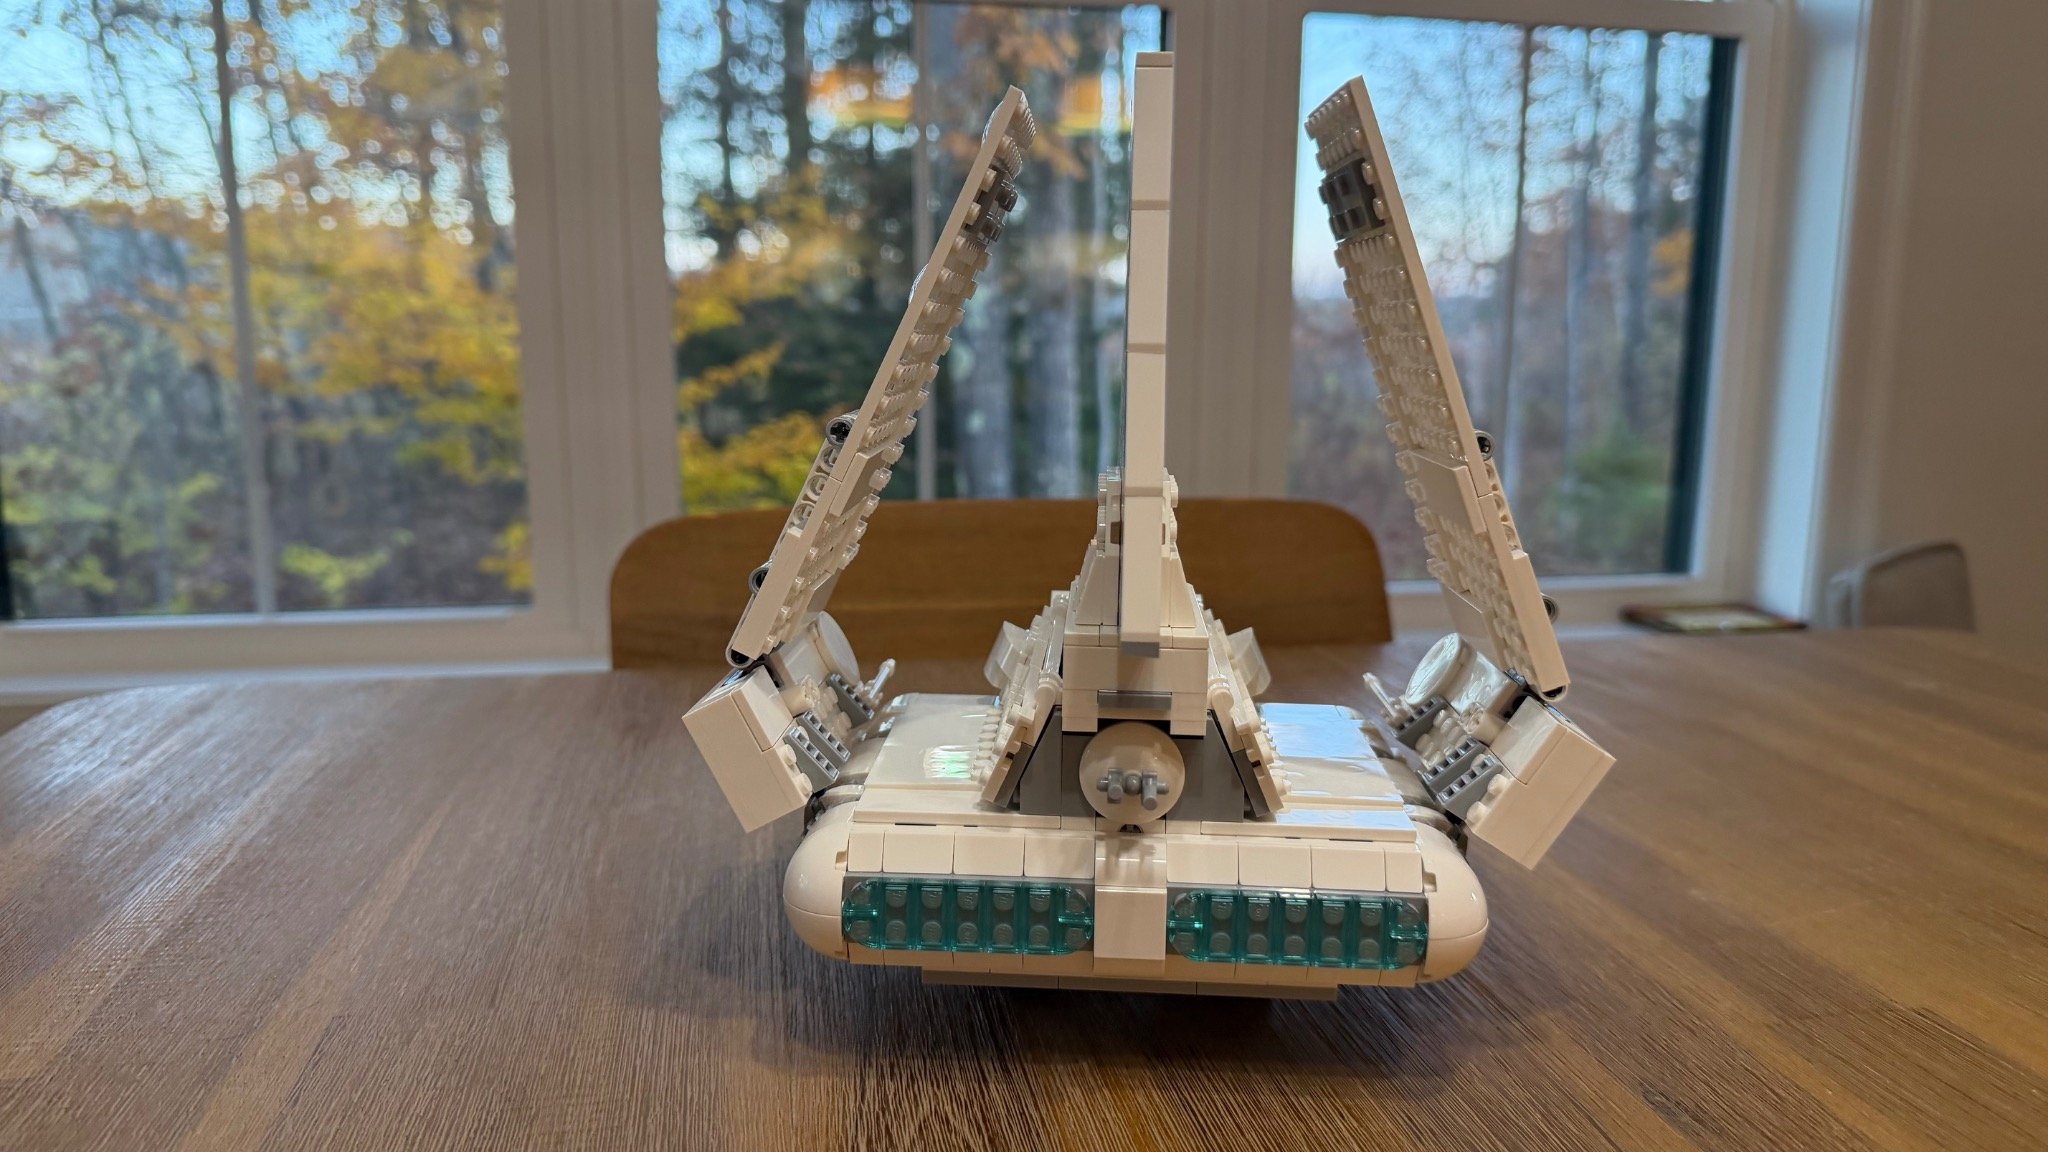
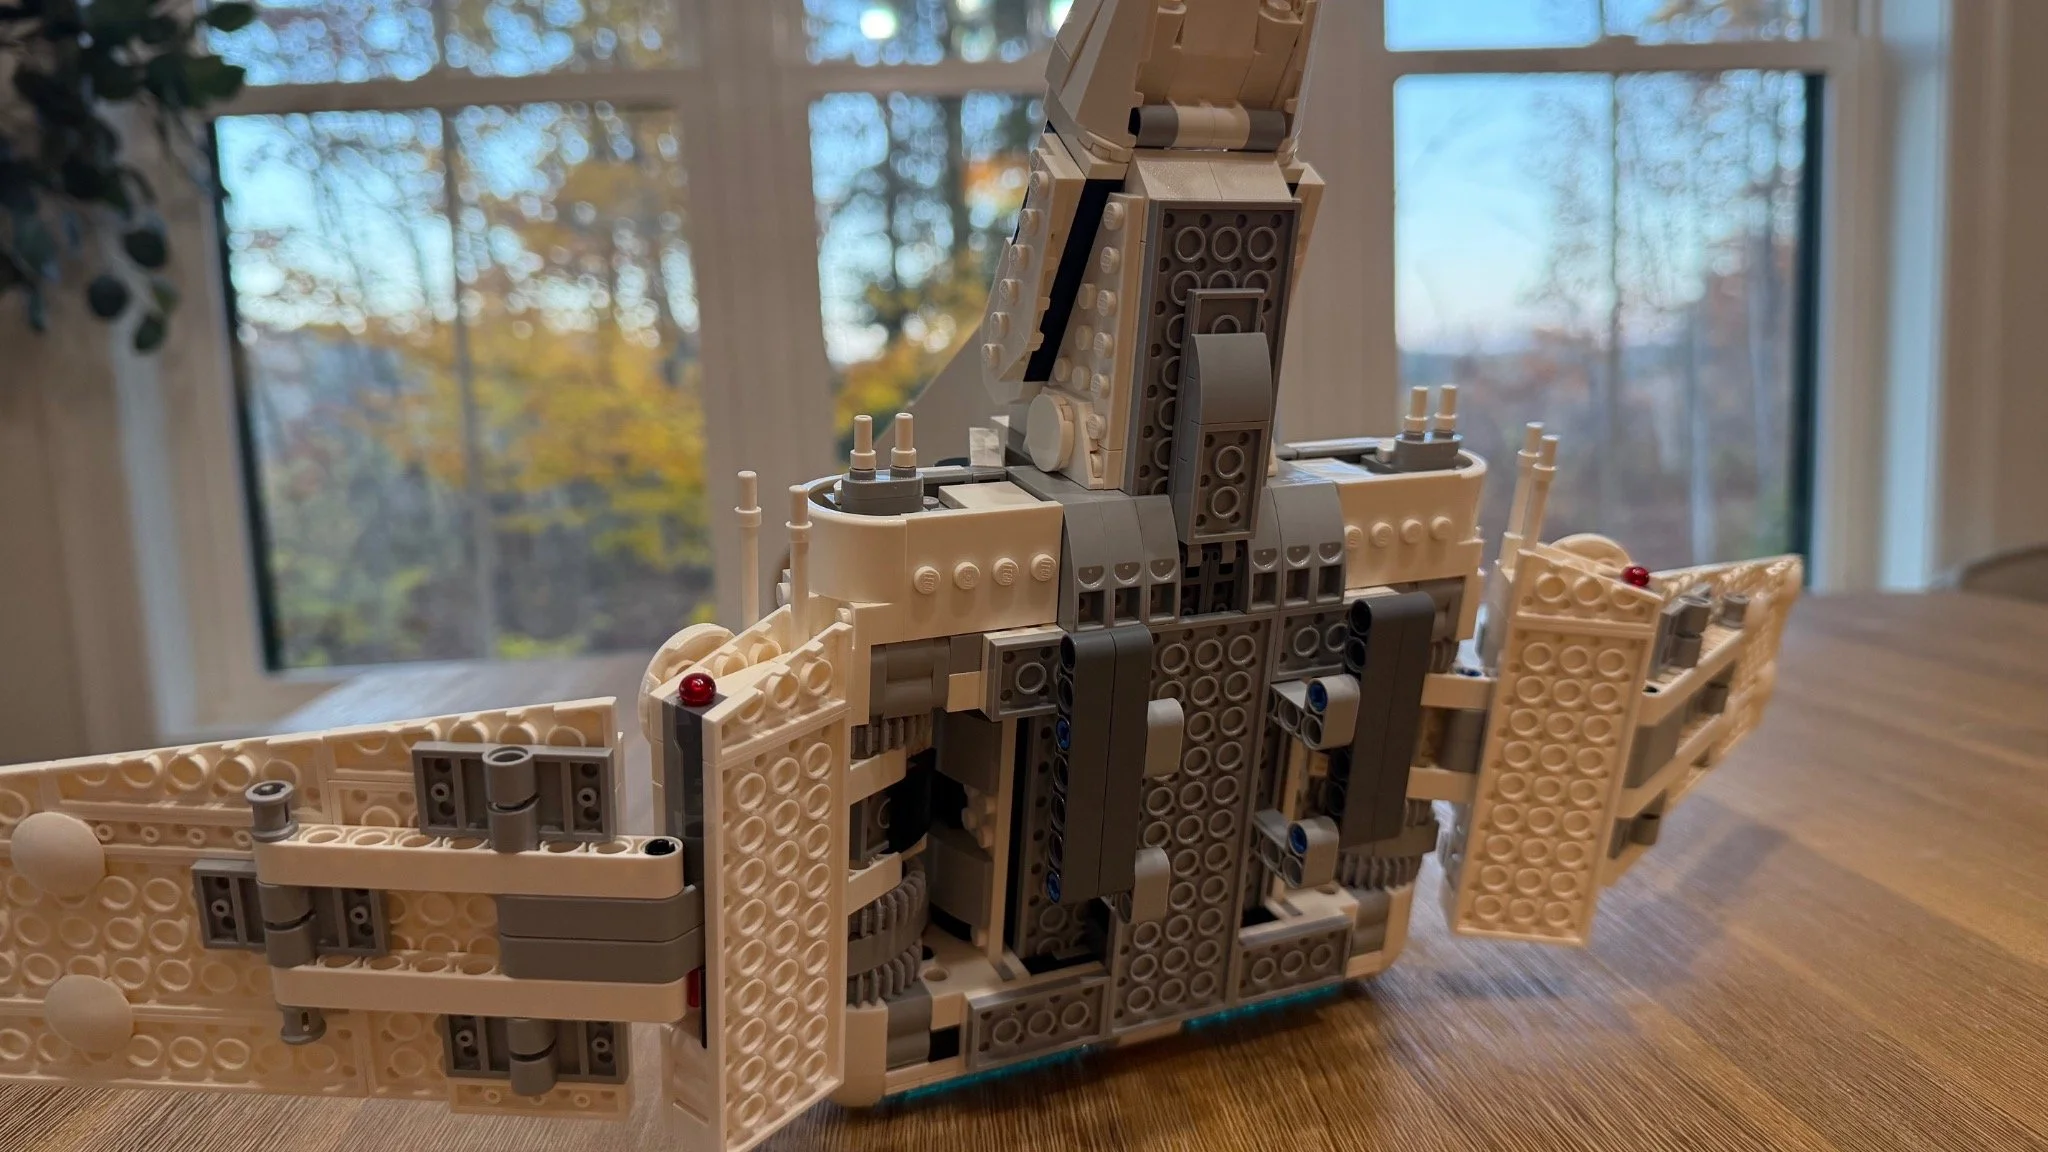
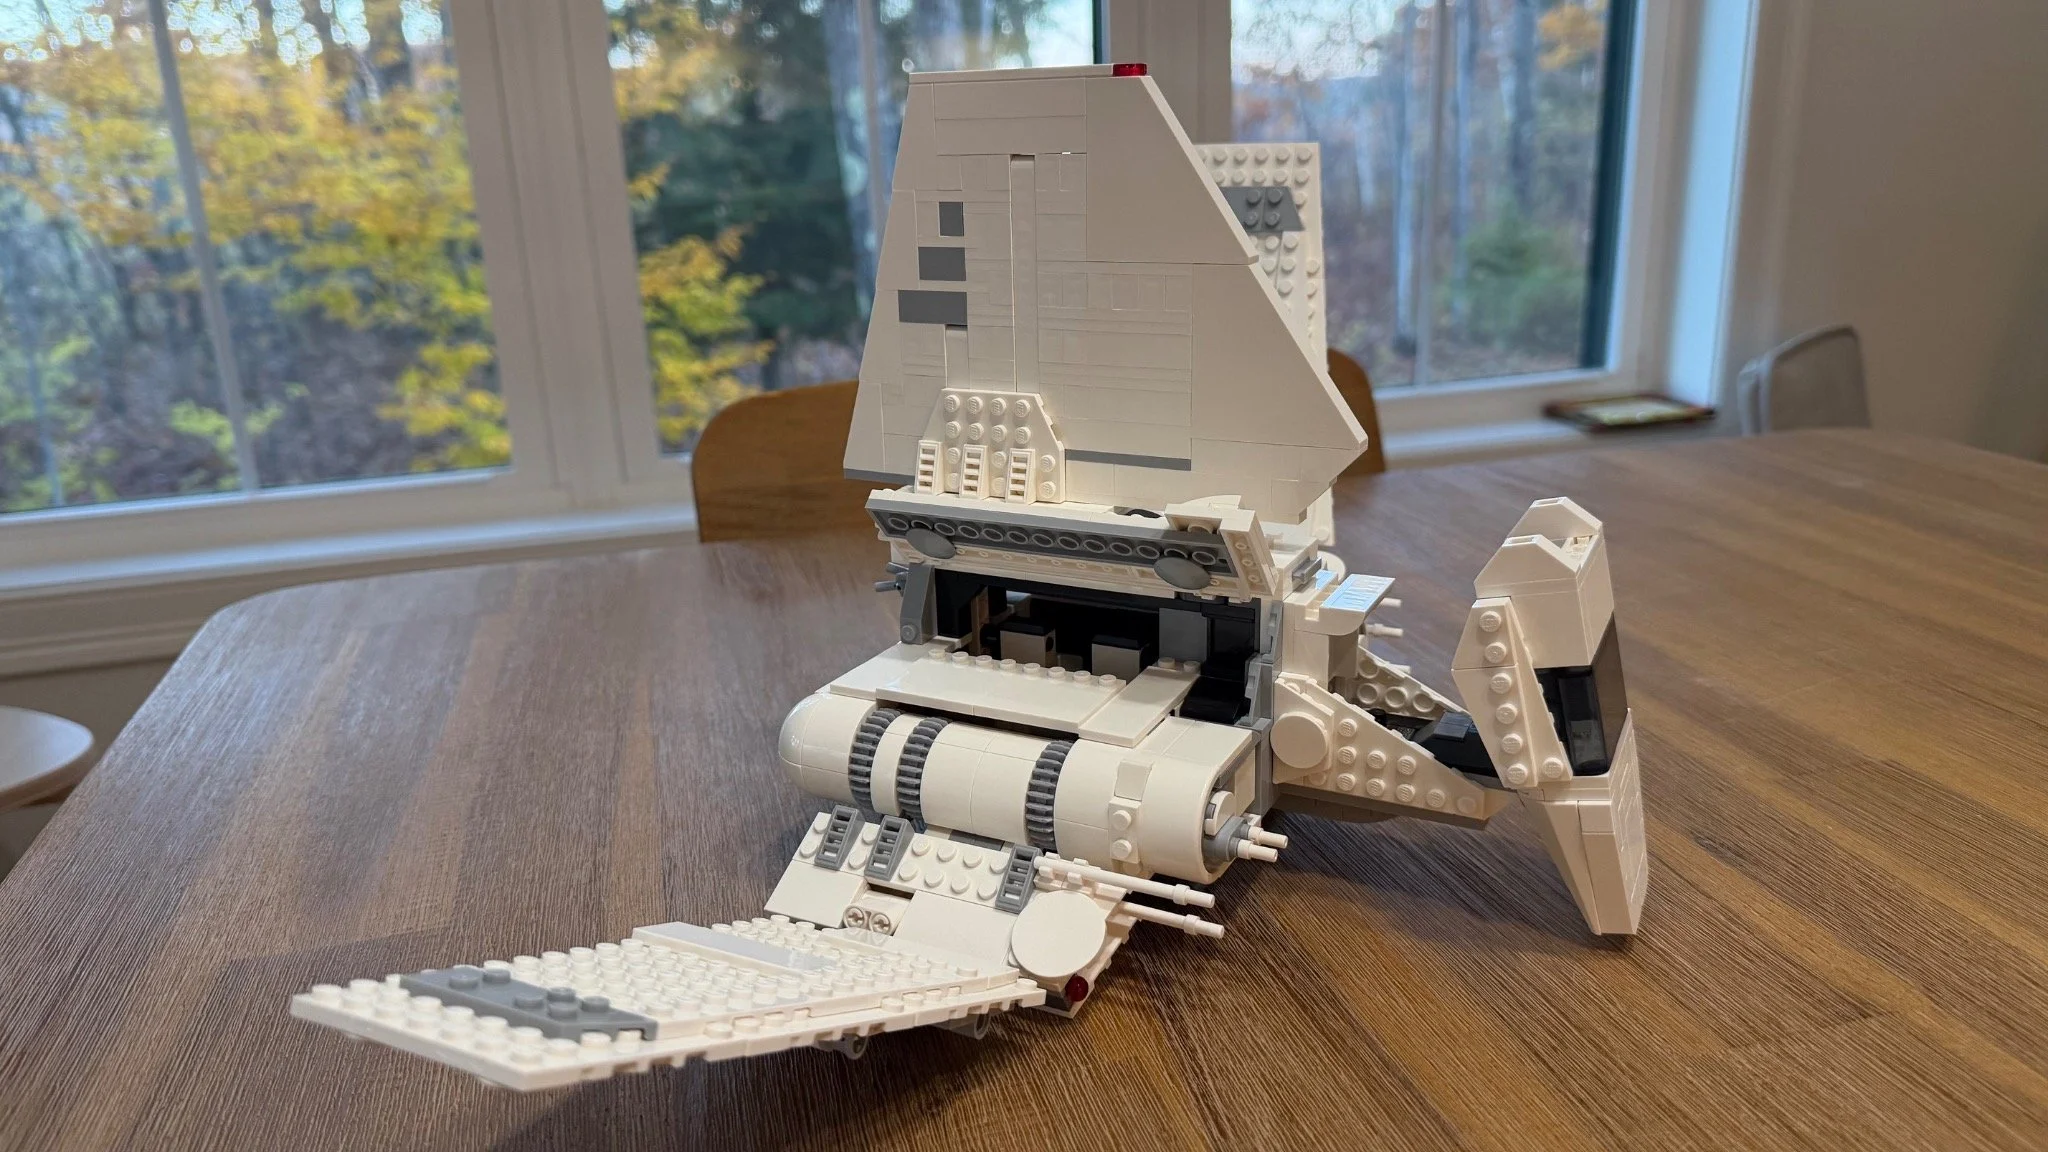
Stage key: Slides 1–3: setup and Bag 1, including the Mandalorian close-up. Slides 4–7: Bags 2–5. Slides 8–10: Bags 6–8. Slides 11–15: the finished model, wings, rear, underside and open cockpit/passenger hatch.
Details and Functions Worth Looking At
A sturdy finished model, with a compact interior
The shuttle was surprisingly sizable once complete, and I found it durable and stable for play. That does not mean every attachment was easy during construction. The delicate engine detail and awkward shell connections were build-stage frustrations; the completed model gave me a much sturdier impression.
I tested the rotating wings, folding landing gear, hidden launcher buttons, opening side doors and forward-folding cockpit. The cockpit and passenger compartment do hold the figures, but access is very tight. That is worth knowing if getting characters in and out is a big part of the appeal.
Connections worth slowing down for
The underside exposes the paired landing supports and the wing connections. This is a finished-model detail view.
The tall central supports are the recurring obstacle early on. Later, the concern shifts to wing-root orientation, secure shell attachments and those four tight wing connectors. The underside view makes the landing supports and wing connections easier to see, although it is a photograph of the finished model rather than a close-up taken during the difficult pin insertions.
Builders with less hand strength may appreciate help with the final pins. Less experienced builders may benefit most from checking the wing mechanisms from several angles in LEGO Builder before committing to the next connection.
The ramp detail I would revisit
My notes included a wish for a loading ramp, but LEGO lists an exit ramp among the set’s features. I did not record a separate test of that feature, so I would revisit it before calling a ramp missing. My confirmed access observations here are the opening cockpit and side hatches.
My Verdict: A Sleeper Set with a Strong Middle
My overall rating is 7.3/10. I would build this again. I did not start with especially high expectations, and the cockpit and wing-rotation assemblies gave me more to enjoy than I expected.
Bag 6 was my favorite, and repeating that mechanism in Bag 7 felt like another chance to enjoy it. The working landing gear was another welcome surprise. My least enjoyable stretch was working around the tall fin supports, followed by the demanding connections toward the end. The cramped interior is a limitation of the finished experience, even though the model itself felt sturdy.
I would recommend it particularly to Star Wars and Mandalorian fans who enjoy finding a worthwhile mechanism inside a recognizable ship. Just leave some patience for the last wing connections. The easy-looking white exterior does not tell the whole building story.
More from My Workbench
For another Star Wars ship with a mechanism at the center of the build, read my Luke’s Red Five X-Wing 75423 review. For a smaller Star Wars project, there is my Darth Vader’s Lightsaber 40897 review.
You can also browse all my LEGO Build Guides.
Need a Hand with Your Own LEGO Project?
If you have a new set waiting to be assembled, a damaged model to rebuild or a collection that needs sorting, I can help you work out the next step. The Bricksmith offers LEGO assembly, rebuilding and sorting services around Greater Portland, Maine, with selected mail-in projects considered after assessment.
Send a few photos and tell me what you would like to achieve. I will review the project and, when it looks like a good fit, provide a written scope and quote before any work begins.