
LEGO Darth Vader’s Lightsaber 40897 Review: A Hilt Worth Holding
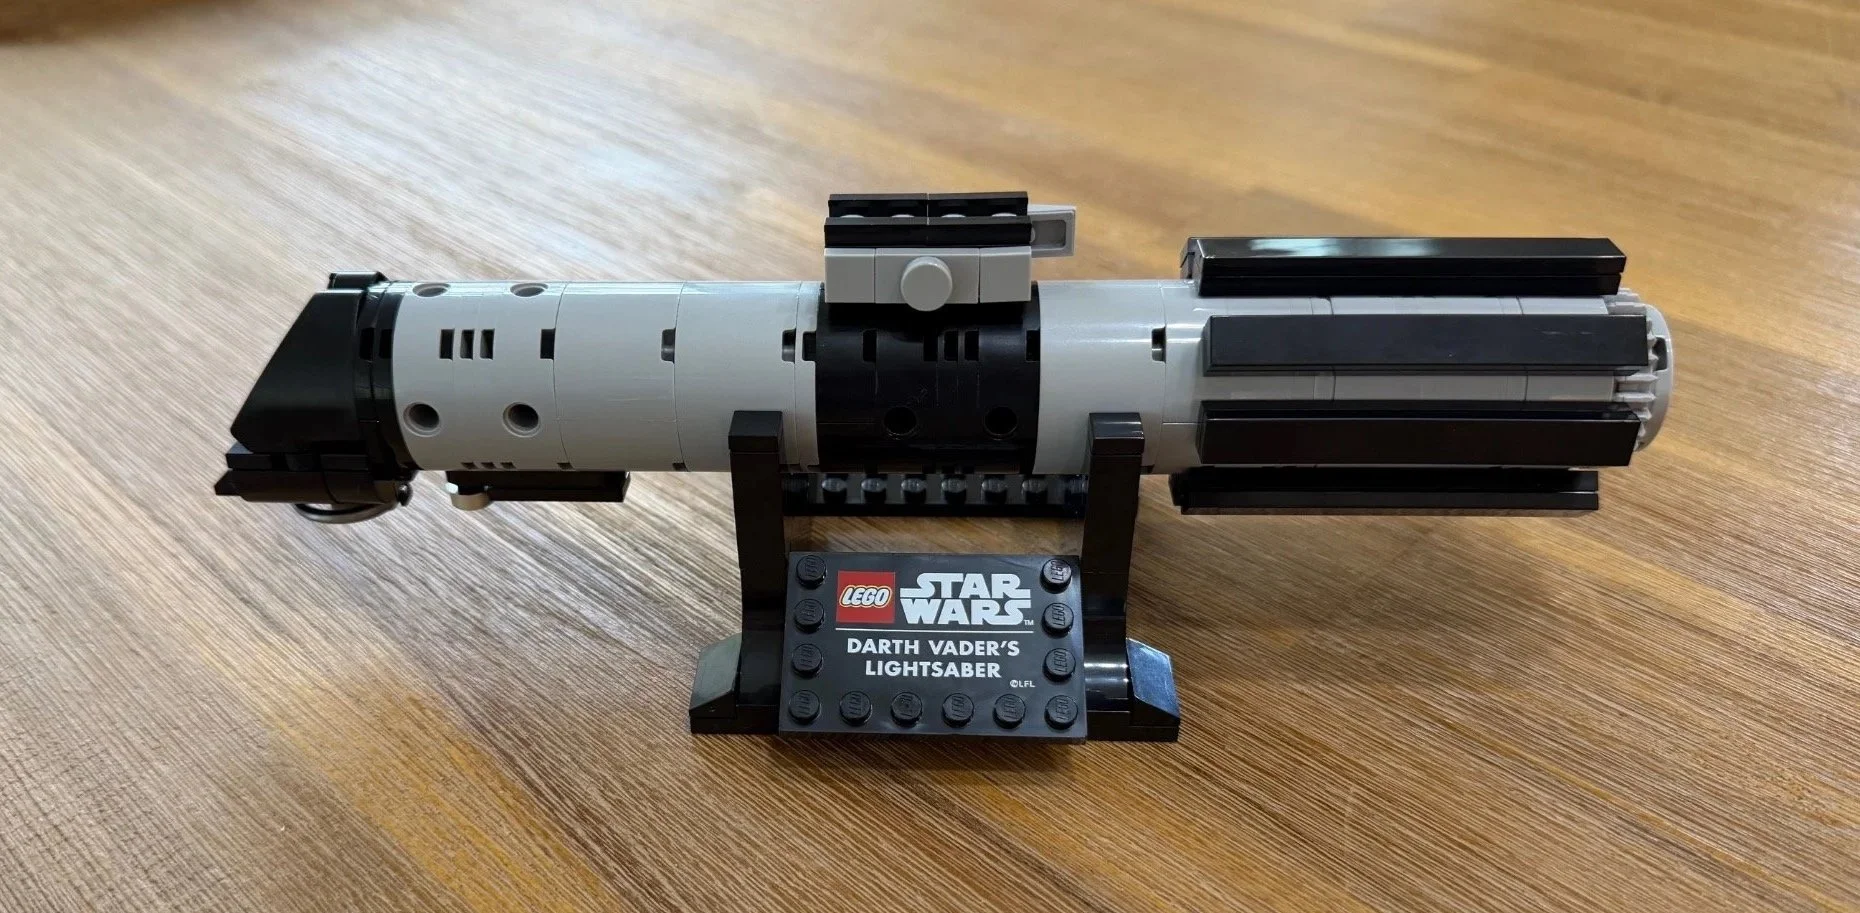
The completed hilt, control-box detail, and named display stand.
Some LEGO sets make you want to put them straight on a shelf. Darth Vader’s Lightsaber made me want to pick it up first.
Of course I had to hold it and pretend it was a real lightsaber. That is part of the review process, obviously.
For a 174-piece model, LEGO Darth Vader’s Lightsaber 40897 makes a convincing impression. The black grips, curved gray body, and finished control-box detail give it plenty of character. The display stand surprised me almost as much as the hilt itself.
I built it on October 11, 2026, and came away with an 8.7/10 overall rating. Here is what stood out during the build.
At a Glance
Set: Darth Vader’s Lightsaber, 40897
Theme: LEGO Star Wars
Pieces: 174
LEGO age recommendation: 18+
Numbered bags in the booklet: 3
My recorded build stages: 2
Recorded-stage subtotal: 22 minutes, 13 seconds; timing scope unspecified
Bag averages: Difficulty 2.2/10, repetition 3.7/10, dexterity 2.6/10; editorial estimates covering all three bags
My overall set rating: 8.7/10
Instruction complexity: 1.0/10
Stickers: No sticker applications in the supplied instructions; my bag sticker counts were not recorded
Booklet main steps: 67
Official hilt dimensions: Over 23 cm long, 8 cm wide, and 7 cm deep
View Darth Vader’s Lightsaber 40897 on LEGO.com
The Build, Bag by Bag
Bag 1: The hilt and its eight black grips
Recorded Bag 1 time: 9:07 · Difficulty: 2.0/10 · Repetition: 5.0/10 · Dexterity: 2.5/10
The first stage felt simple and straightforward. The hilt takes shape through stacked round sections, with connections around its outside preparing it for the long black grips.
The small stud-ended friction pins, including elements 6378120 and 6395635, did not give me much trouble. They help make the outward-facing attachment points for the grip sections. This was an interesting bit of construction without becoming a difficult part of the build.
My favorite detail here was the red, crystal-like construction hidden inside the hilt. It gives the impression that there is something inside powering the fictional weapon, even though the finished shell conceals it. I like that little bit of storytelling in the assembly.
The bag finishes with eight black grip strips around the lower hilt. The booklet builds them in two groups of four. Seeing those grips in place is where the model really starts to look the part.
Those repeated grip assemblies and round sections account for this bag’s higher repetition estimate. The low difficulty and modest dexterity estimates fit the straightforward construction and my notes about the pin connections.
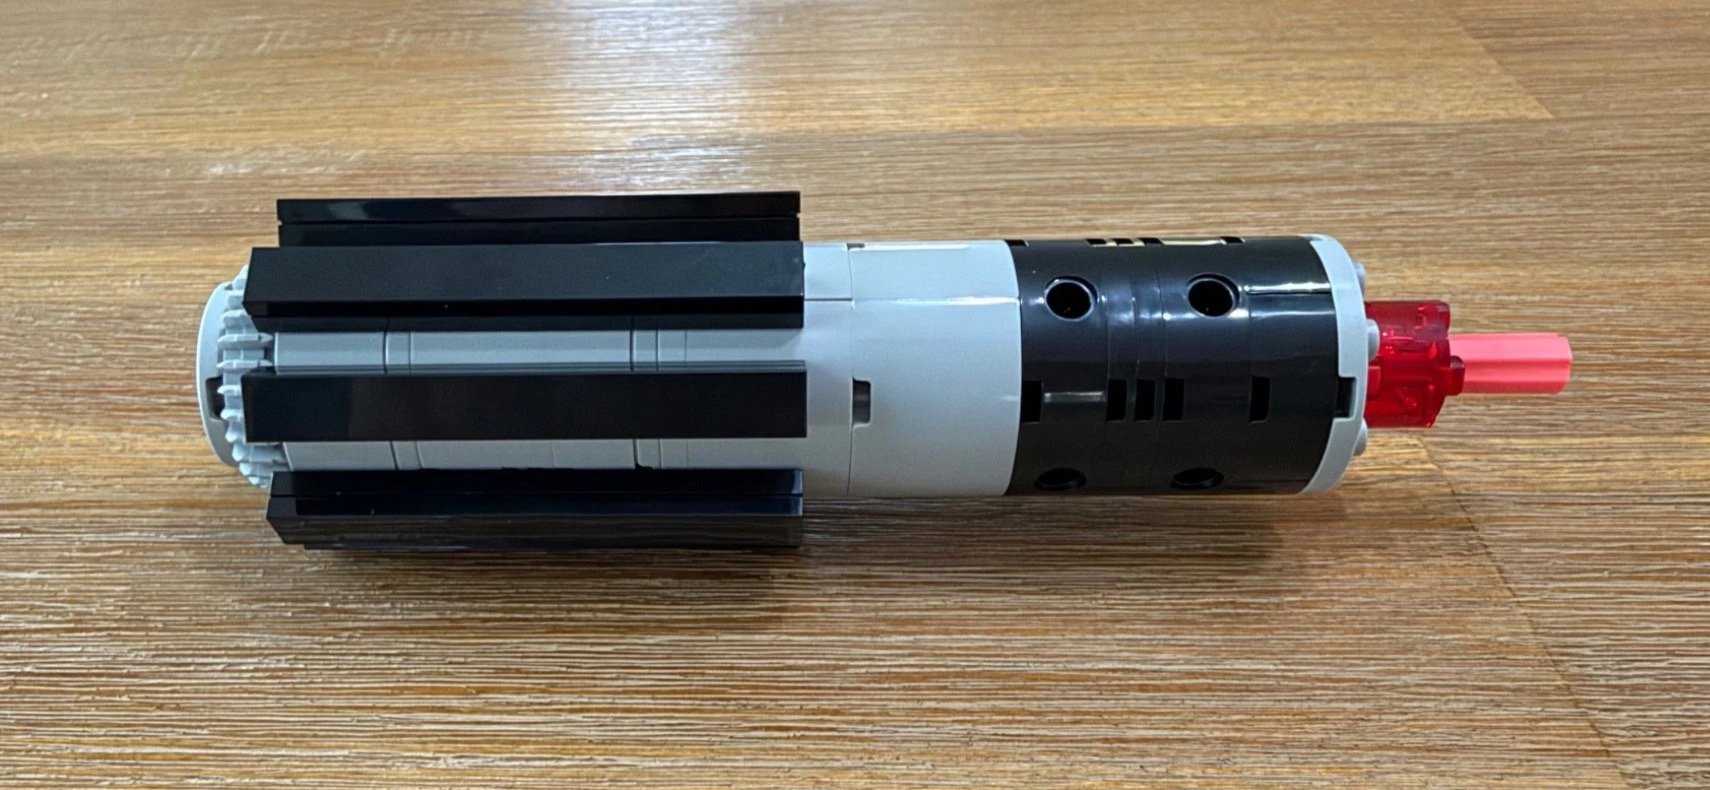
Stage 1 ends with the black grips in place and the upper hilt still unfinished.
Bag 2: Finishing the hilt and giving it a display
Recorded Bag 2 time: 13:06 · Difficulty: 2.5/10 · Repetition: 3.0/10 · Dexterity: 2.8/10
The upper hilt and emitter come together during the first part of this bag. With so few pieces, I was impressed by how authentic it looked and how convincing it felt to hold.
It also felt very stable when I picked it up. The temptation to pretend it was a working lightsaber was immediate. The model passed my very informal handling test.
The circular emitter, shaped black shroud, and smaller fittings introduce a little more orientation and finger precision than the lower hilt. The later control-box assembly adds another short section of small-part placement. Those features support this bag’s slightly higher difficulty and dexterity estimates.
The rest of the bag focuses on the display. I expected the stand to be a simple resting place, but its two curved supports held the hilt surprisingly firmly. Even carrying the display with the hilt still in it did not make the model feel loose on my copy.
An interesting part of the instruction sequence is that the hilt goes onto the stand before all its final details are attached. The last assembly is the raised control-box/button detail on top. The stand has already positioned the hilt for those finishing touches.
The round upper sections and paired stand supports repeat, but the emitter, plaque, hilt placement, and control box add variety across the bag. That gives it a lower repetition estimate than Bag 1’s eight-grip section.
This was my favorite bag. It brings together the finished appearance, the secure support, and the part where you get to admire what you have built.
Build Progress
The photos below follow the build from bagged pieces to the completed display, including the hilt before its final control-box detail was attached.

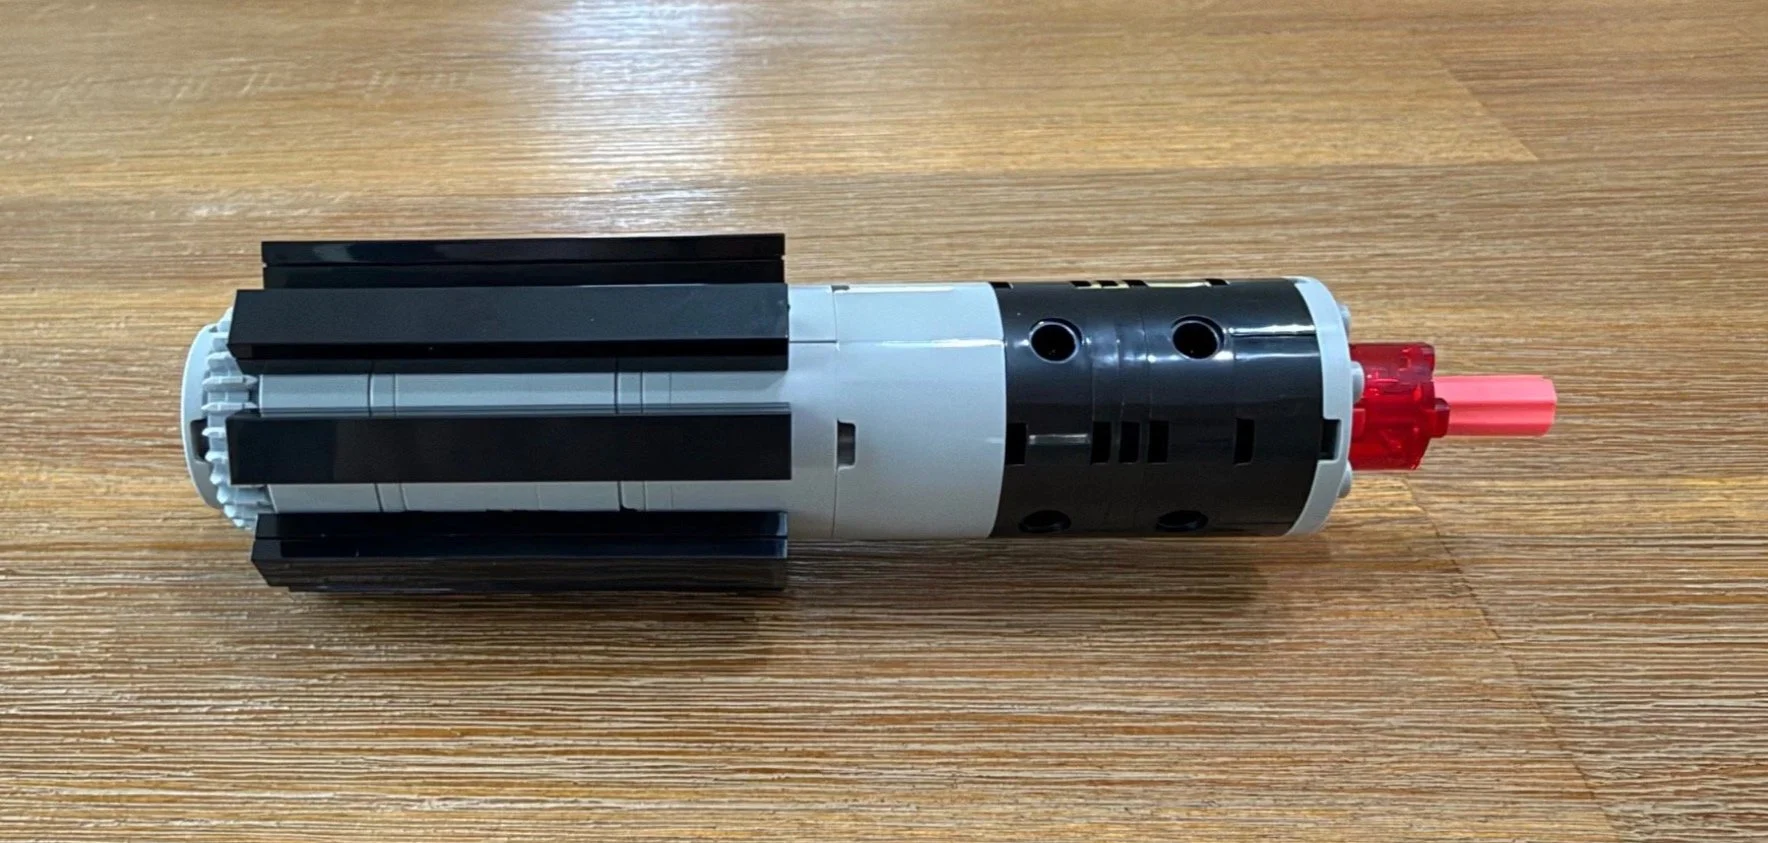
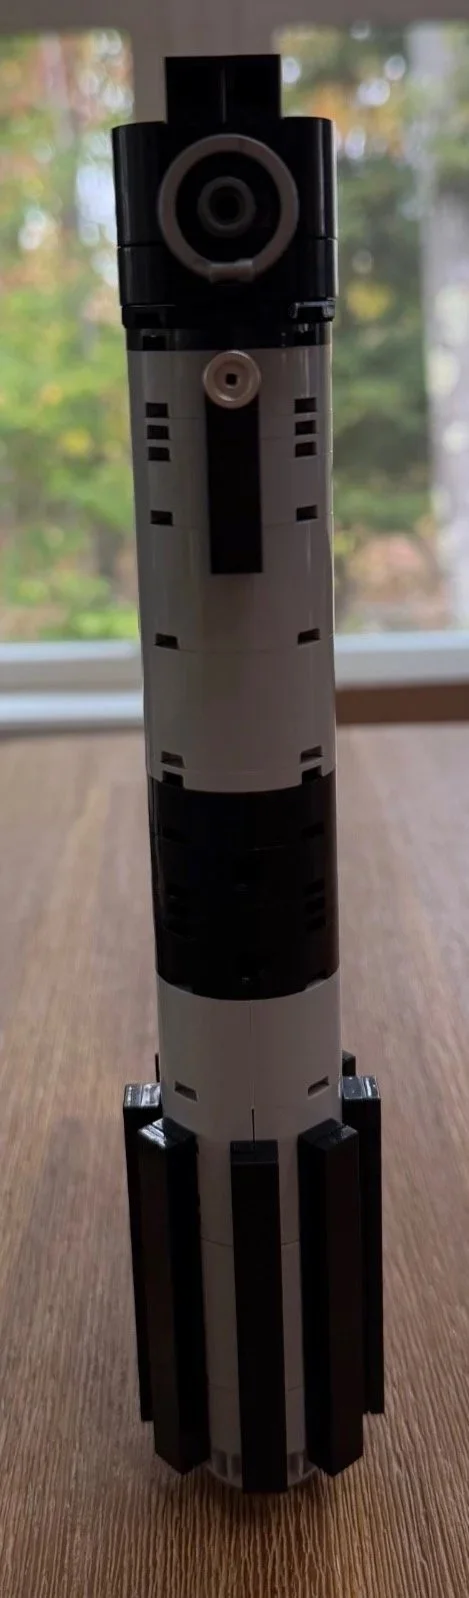
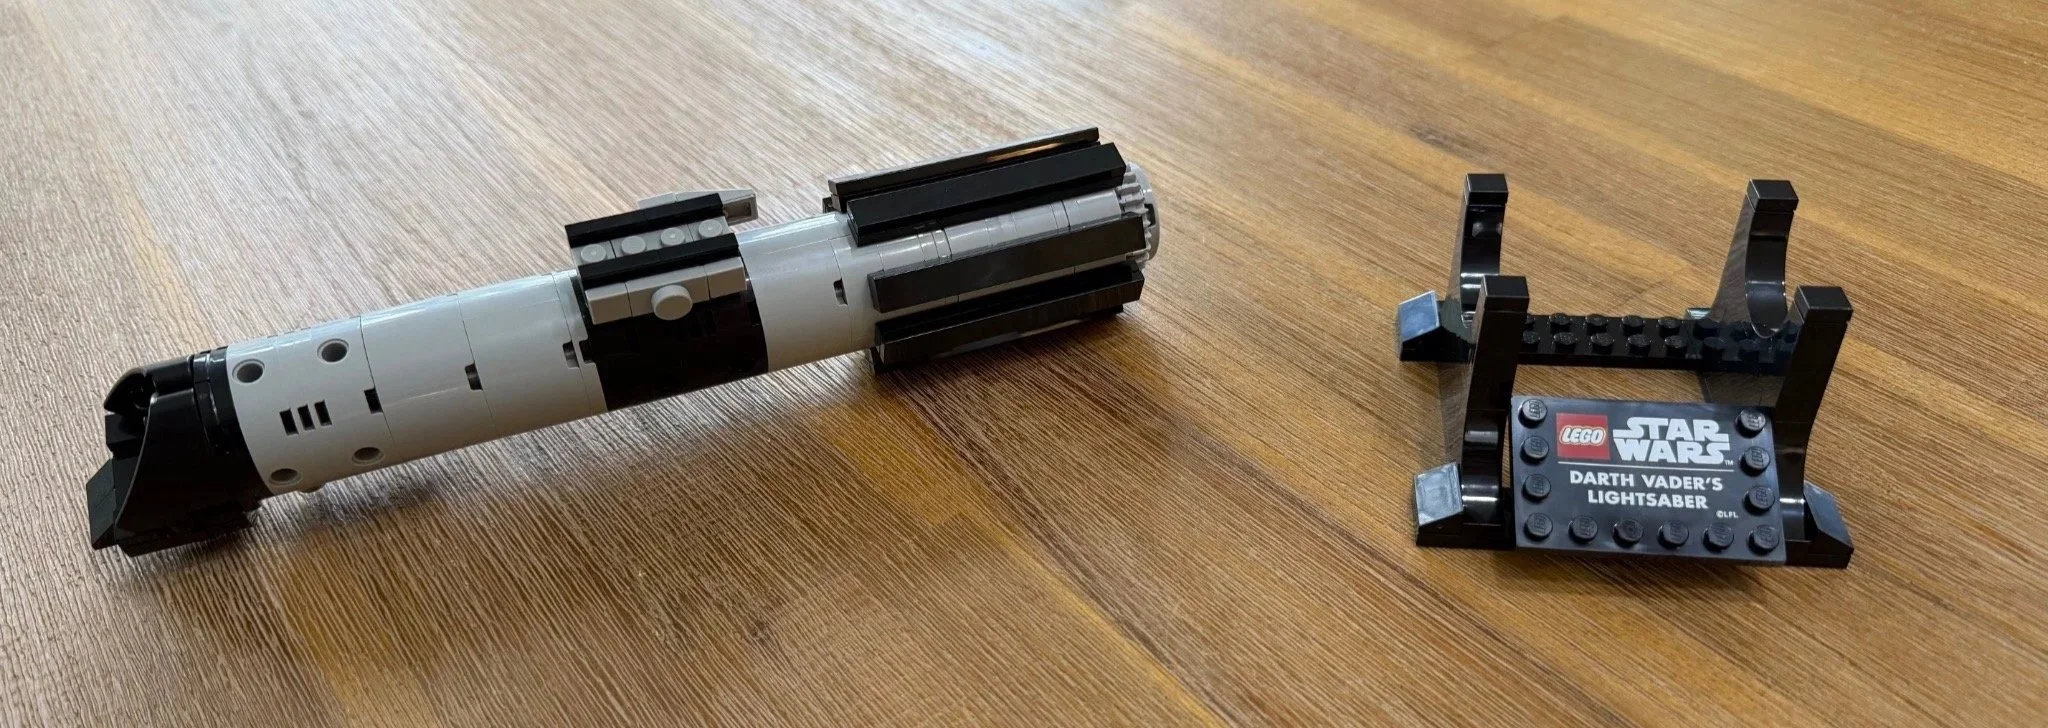
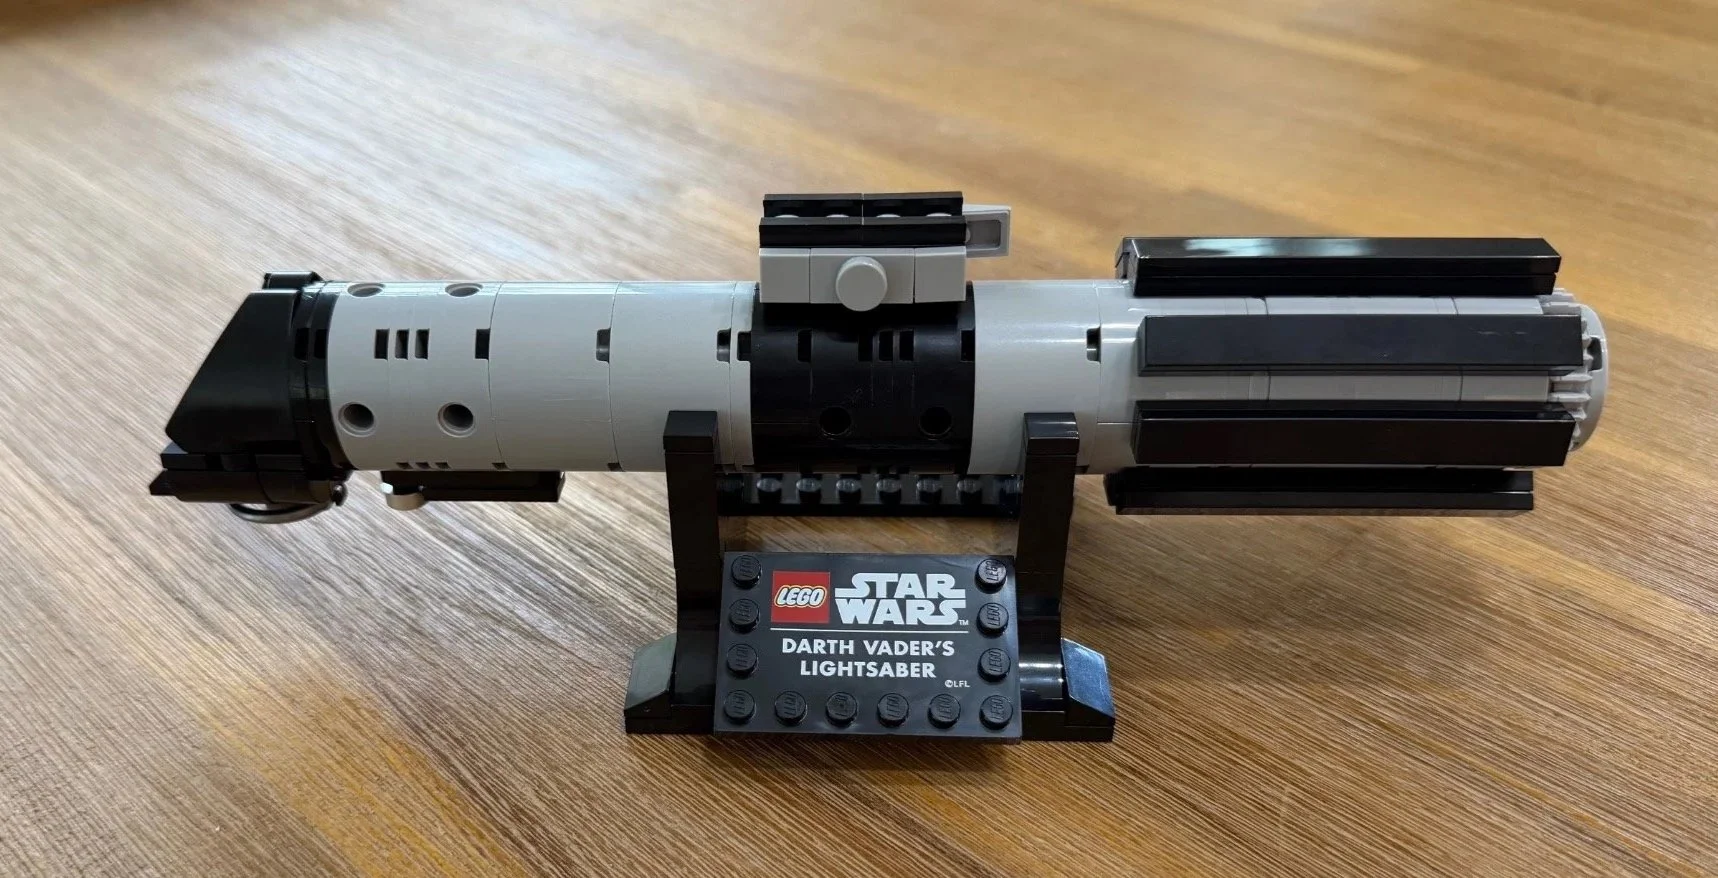
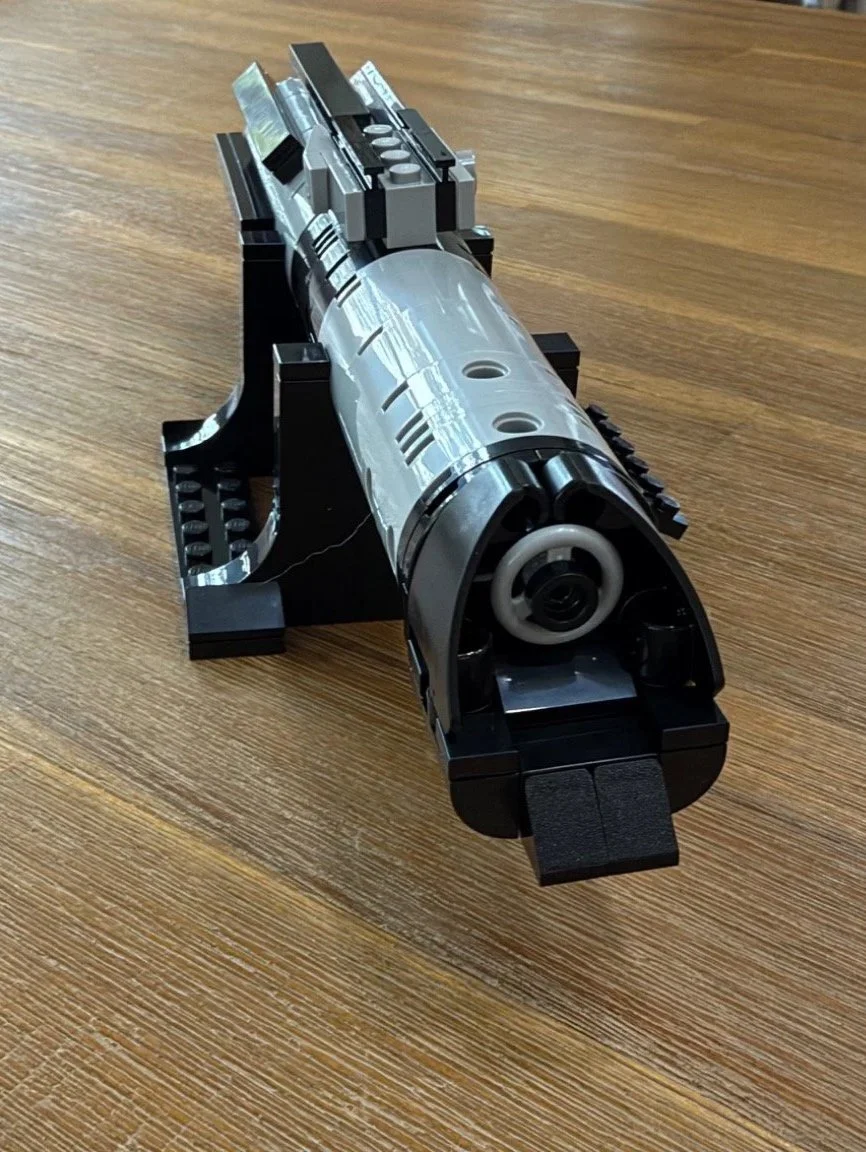
Photo sequence: 1. Pieces and booklet. 2. Hilt after Stage 1. 3. Standalone hilt. 4. Hilt beside its stand. 5. Completed display. 6. Emitter detail.
Details Worth Looking For
A hidden red core
The transparent red pieces inside the hilt were a lovely surprise. Once the model is finished, they are hidden, but I enjoyed the suggestion of a crystal-like core inside the weapon.
That is my interpretation of the internal detail. The booklet shows a central axle and transparent red elements; it does not identify a separate miniature lightsaber hidden inside the model.
Eight grips built in two groups
The long black strips give the hilt a strong, recognizable profile. The instructions add four grips, then another four, around the curved shell. The same small assemblies repeat, but I did not find that part challenging.
The circular emitter and black shroud
The finished angled view shows another detail worth a closer look: a circular center set within the shaped black emitter end. It is a small assembly, but it gives the end of the hilt a much more convincing appearance.
A stand that earns its place
The display arms were my biggest surprise. They hold the hilt more securely than I expected, and the named plaque gives the completed model a clear presentation.
It is easy to focus on the weapon itself, but the stand is a real part of why I like this set as a display.
Stability, Handling, and Display
The hilt felt very stable in my hands, and the stand held it firmly when I carried the assembled display. Those are observations from handling my own build.
I did not test an operating button or another play function. The model’s appeal for me is the hilt’s appearance, the feel of holding it, and its display.
The size is another strength. It offers plenty of visible detail without requiring a large display area, and the full side view makes the black grips and raised control box easy to appreciate. It felt convincingly sized in hand, although I did not measure it against a screen prop.
My Verdict
Overall set rating: 8.7/10
Darth Vader’s Lightsaber gives me a lot to enjoy in a small build. The assembly was straightforward, the finished hilt looks excellent for the piece count, and the stand holds it much more firmly than I expected.
No particular part stood out as unenjoyable in my notes. The hidden internal detail added interest during construction, and the finished model has the presence I wanted from a Vader display piece.
I would recommend it to Star Wars fans, Darth Vader fans, and anyone who enjoys compact LEGO display models. For me, its biggest success is simple: it looks good on the stand, and picking it up immediately makes me feel like I am holding a lightsaber.
The dark side is being considerate of shelf space for once.
More Build Reviews
For another small model inspired by a familiar screen prop, read my LEGO Back to the Future Time Machine 77256 review.
For another decorative build, try my LEGO Halloween Wreath 40825 review.
You can also browse all Bricksmith Build Guides.
Need Help With a LEGO Set?
If you have a new set waiting to be built, a display that needs rebuilding, or a collection that needs sorting, send me the set number and a few photos. I will help you work out what service fits your project.
The Bricksmith serves Greater Portland, Maine, with local handoff arranged for approved projects. Explore the services, or start with a free photo assessment.