
The completed Hubble on its stand, with the solar panels and communication antennas in place.
I expected the LEGO Hubble Space Telescope to look good on its stand. What I didn’t expect was to enjoy the hidden assemblies quite this much. Bag 4, with its little gyroscope builds and unusually satisfying connections, became my favorite part of the entire set.
As a space fan, I found this a lovely model to build and display. The printed Hubble images on the base, the astronaut with a repair tool, and the gold details give it plenty to look at before you even remove a panel. There is also a lot of curved gray shell to assemble. If you already enjoy placing curved slopes, Hubble has an opportunity for you.
My main reservations are the occasional delicate connection, one particularly awkward rear hose, and the solar panels. The finished panels look fine, but I would have enjoyed building their surfaces from bricks. Even with those reservations, this is a set I would happily build again.
At a Glance
Set: LEGO Icons Hubble Space Telescope 11382
Pieces / age mark: 1,252 / 18+
Build date: November 5, 2026
Numbered bags: 9
Builder app time: 3 hr 5 min 10 sec, as reported; timing scope not recorded
Bag times: Estimated from instruction-derived parts workload, scaled to the app total
Instruction counts: 644 Builder steps reported; 334 main steps in the booklet
Stickers: 10 reported in my overview; individual bag log incomplete
Difficulty bag average: 4.2/10, all 9 bags
Repetition bag average: 5.7/10, all 9 bags
Dexterity bag average: 5.3/10, all 9 bags
Favorite bag: Bag 4
See Hubble Space Telescope 11382 on LEGO.com.
The app time is a set-level record. The bag times below are editorial estimates based on the relative parts workload in the instructions, scaled to add up to that app total. I did not time each bag separately. These assume a consistent average pace, so a fiddly connection or a break could change the actual split. The seconds reflect the calculation rather than measured precision. I haven’t recorded whether the app total includes photos, notes, breaks or corrections.
The bag scores below are editorial estimates based on my build notes and a review of the instructions. I did not assign numerical scores during this build. Difficulty covers understanding, orientation and execution; repetition covers repeated placements and assemblies; dexterity covers precision, access and supporting delicate connections. The published averages give each bag equal weight. They are not an overall enjoyment score, and enjoyable repetition still counts as repetition.
Build Notes
Bag 1: A stand worth looking at
Estimated time: 15:31 · Difficulty: 2.0/10 · Repetition: 3.0/10 · Dexterity: 2.5/10
The display stand is a strong opening. The Pillars of Creation, Whirlpool Galaxy and Butterfly Nebula are printed images, and I was immediately glad they weren’t three more stickers to line up. They make the base feel like a meaningful part of the display.
There is still one large NASA and ESA information sticker for the plaque. I found that straightforward to place using the brick separator. The Technic supports are relatively simple, too. This is the kind of assembly where I appreciate being able to rotate the model in LEGO Builder and check the pin locations before committing to a connection. It is much nicer to get that orientation right the first time.
Bag 1: the printed Hubble images make the display stand feel like part of the model.
Bag 2: Building from the inside out
Estimated time: 23:56 · Difficulty: 4.5/10 · Repetition: 5.0/10 · Dexterity: 5.5/10
The astronaut joins the build here, along with the internal structure of the telescope’s wider end. I particularly like the little repair tool. It gives the figure a purpose alongside a model that is otherwise mostly about the telescope itself.
The circular structure develops through a mix of repeated and mirrored assemblies. It is worth checking orientation instead of assuming the next side is identical. The tall supports are delicate before the surrounding structure ties them together, and getting everything seated takes some care. I enjoyed the way this framework produces the telescope’s shape; it felt like an interesting variation on circular builds I have done before.
Bag 3: Mirrors, curved panels and careful connections
Estimated time: 24:32 · Difficulty: 4.5/10 · Repetition: 7.0/10 · Dexterity: 5.5/10
This is where I began to realize just how familiar I was going to become with the curved gray slopes, element 6132207. The inventory lists 102 of them across the set. They give the shell its smooth shape, but there is no escaping the repetition involved in getting them there.
The narrower strips that fill the gaps between larger shell sections are more interesting than they first appear. They need to engage properly at both ends, and I found them delicate while making those connections. Supporting the strip and checking the top and bottom is more useful here than simply pressing harder.
The first gold trim adds a welcome change of texture. Inside, the clear dish represents the primary mirror, while the stacked gray structure above it is the central baffle. Knowing what those parts represent makes the exposed interior more satisfying to follow.
Bag 4: My favorite hidden assemblies
Estimated time: 19:13 · Difficulty: 6.0/10 · Repetition: 6.0/10 · Dexterity: 7.0/10
I described these as “transistor-like” assemblies in my notes. The booklet identifies them as gyroscopes, and building them was the highlight for me. There is a connection where two small bars need to line up with the green connection points while the assembly also snaps together. It is a demanding little moment, but one I really enjoyed working through.
You build two similar units, so the repetition is real. That didn’t diminish the appeal. The layered components and small connections gave me the sense that I was building the inside of a telescope, rather than just working toward a smooth outer tube.
The collar pieces that finish the bag also bring some welcome stability. After the more delicate early stages, it is satisfying to feel the structure coming together. This is the bag I would point to first when explaining why I enjoyed the set.
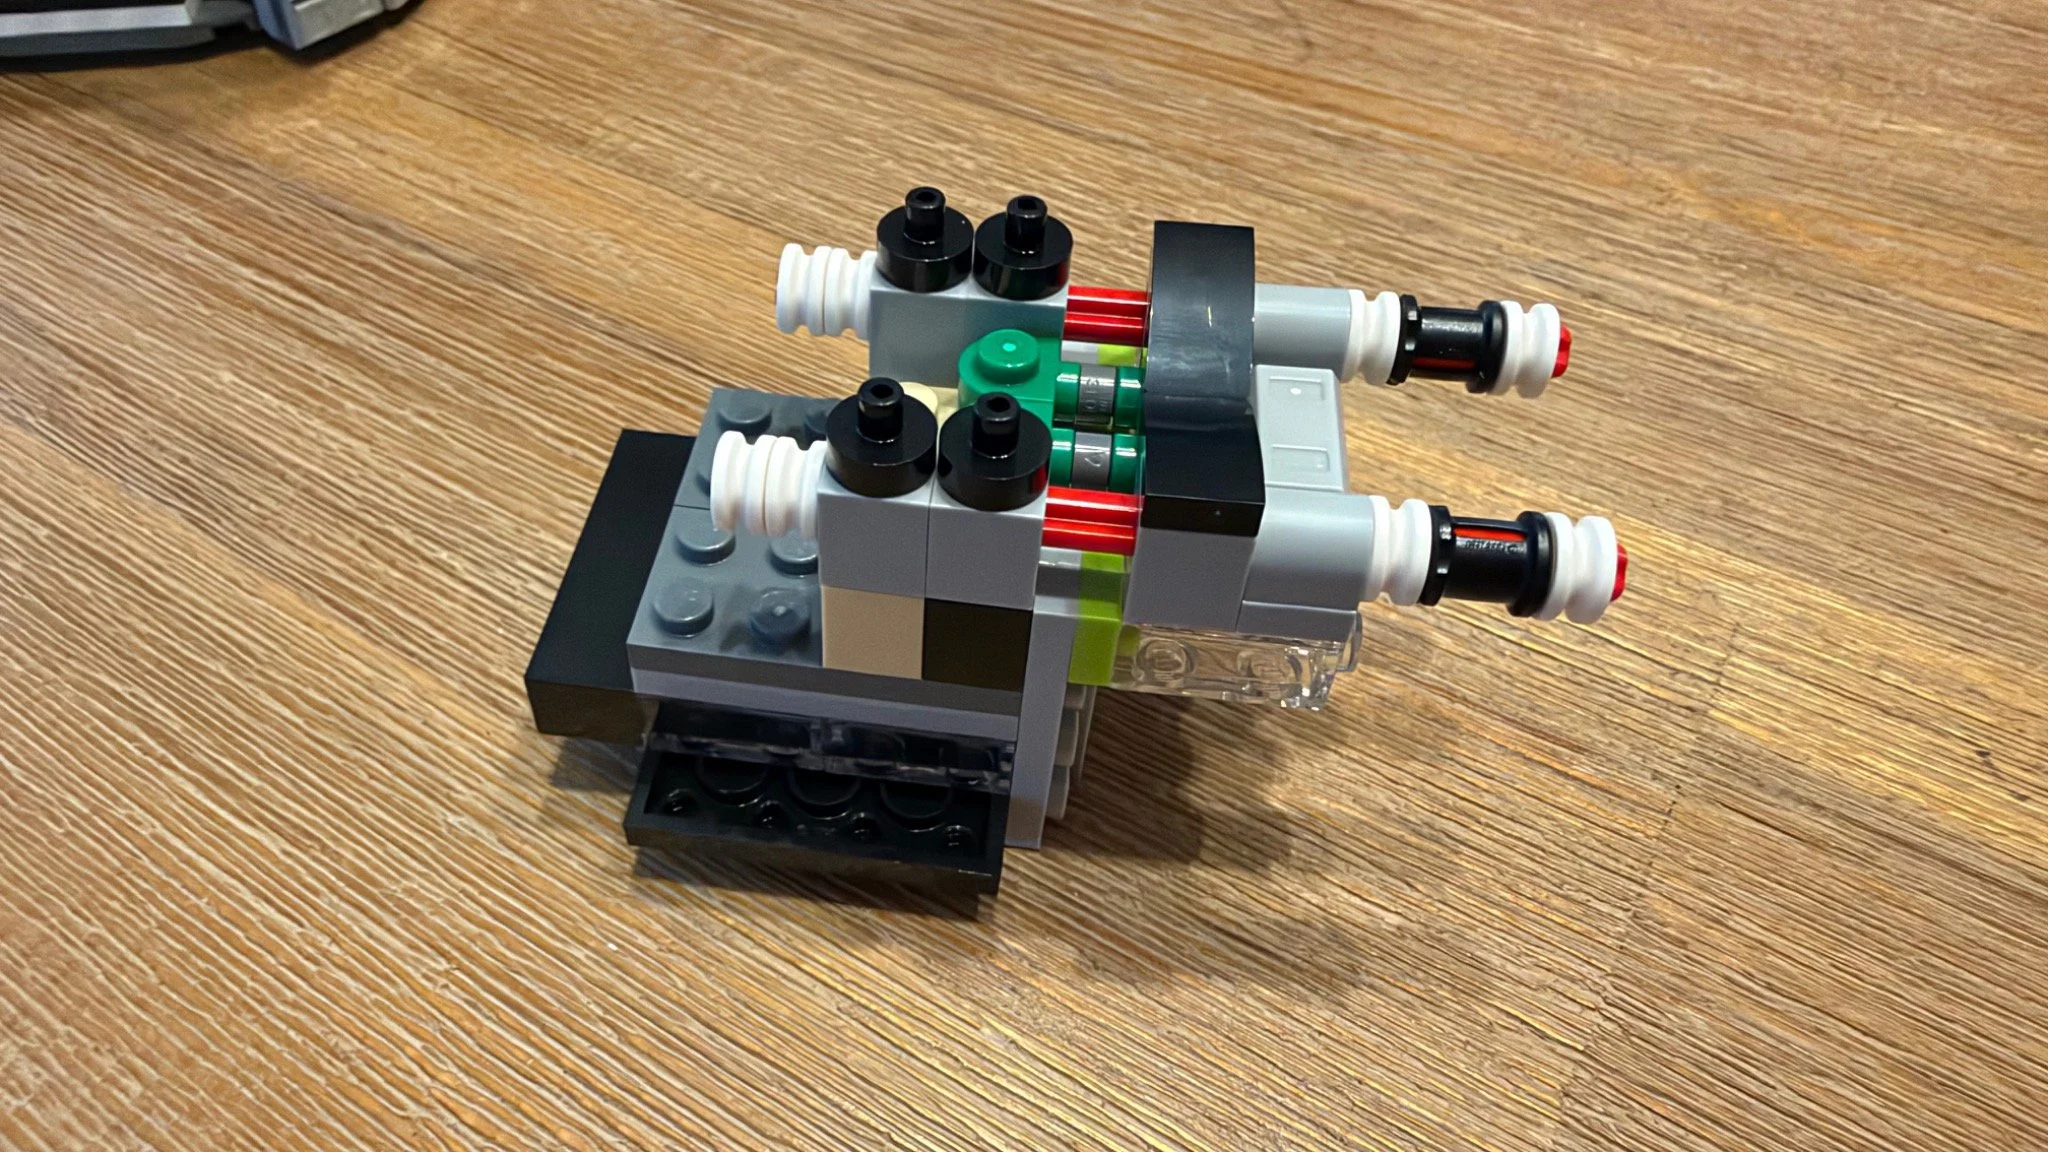
Bag 4: the gyroscope assembly was my favorite part of the build.
Bag 5: A lot of gray, with enough variety
Estimated time: 18:55 · Difficulty: 3.5/10 · Repetition: 7.0/10 · Dexterity: 4.5/10
More curved slopes complete the exterior of the wider body. This is repetitive work, although I didn’t find it especially tiring. There is enough variation in the panels, handholds and surface details to give each side a slightly different character.
The small sloped grille pieces, element 4540386, add a convincing vent-like texture. Four stickers also go on during this stage. The contrasting white panels and dark oval details help break up the gray. I wasn’t certain what all those exterior features represented, but visually they give this section considerably more interest than a plain cylinder.
Bag 6: Hubble gets taller
Estimated time: 22:10 · Difficulty: 4.5/10 · Repetition: 6.0/10 · Dexterity: 5.0/10
The frame extends upward through an assembly that joins side-studded bricks with short bars. I enjoyed how later connections tighten and support the earlier ones. The structure starts to feel more convincing as the bag progresses, which is a rewarding change after the delicate sections below.
There are more curved panels and gold details, but the small assembly inside the upper tube caught my attention most. It looked a little like a miniature satellite to me during the build. It represents the secondary mirror, positioned inside the telescope rather than outside it.
This was also the point where I realized Hubble was going to be larger than I had expected. That was a pleasant surprise. The growing length gives the model real presence without making the build feel unwieldy at every step.
Bag 7: Slow down when attaching the long panels
Estimated time: 23:56 · Difficulty: 5.0/10 · Repetition: 7.5/10 · Dexterity: 7.0/10
The two large shell sections continue the curved-slope theme, now mixing the familiar wider pieces with narrower curves. Their surfaces take repeated placements, but the attachment is the part that deserves the most attention.
I had to be careful with the internal support while getting the three contact points to engage. A large panel can make it tempting to apply pressure over a wide area, yet the connections themselves need more precise support. Go slowly and check that each point is seated. The higher dexterity estimate here reflects that handling demand, not a claim that every step in the bag is difficult.
Two long gold trim tubes finish the stage. They make a visible difference to the silhouette and help the increasingly complete shell look like one coherent model.
Bag 8: Great details and my least favorite connection
Estimated time: 22:10 · Difficulty: 5.5/10 · Repetition: 4.0/10 · Dexterity: 8.0/10
There is a lot of variety in this bag: more shell, the NASA and ESA branding, the aperture door, rear details, a removable panel and the two long communications antennas. I particularly liked the tiny gold revolver-shaped elements used in the circular side details at booklet step 289. It is a clever use of a familiar-looking shape in a completely different context.
The aperture door is another highlight. On my copy, it can stay open without immediately falling closed. The small clip piece added along the bottom edge made the model less balanced while I was still working upright, though. I found myself wishing it came later in the sequence. I haven’t tested that change, so my practical advice is simply to support the model carefully through this stage.
Mounting the telescope on the stand gives access to the rear, which had been facing the table during much of the build. That leads to my least enjoyable connection: the long gray hose, element 6210590. I found it tight and awkward to orient, with nearby details easy to knock off. It looks good once installed, but this was the point where I most wanted a little more room for my fingers.
The telescope is then rotated into its display orientation, and the final removable shell panel lets you return to the interior. The dish-tipped pieces at the end of this bag are communications antennas; the solar panels arrive next.
Bag 9: A gentle finish, with one preference
Estimated time: 14:47 · Difficulty: 2.5/10 · Repetition: 6.0/10 · Dexterity: 3.0/10
The paired solar-array frames make a simple, satisfying final stage. After the careful connections in Bag 8, I appreciated finishing with something more straightforward. Attaching the specialized panel pieces completes the silhouette immediately.
The panels look fine on the finished model. My preference would still be for a more substantial brick-built treatment. So much of the interior had been enjoyable to construct that I wanted a similarly satisfying finish for these prominent surfaces. That is a preference about the building experience, rather than a problem I observed with their function.
Build Progress
Follow the build from the printed display stand to the finished telescope. The close-ups sit beside their matching stages, with the completed views at the end.
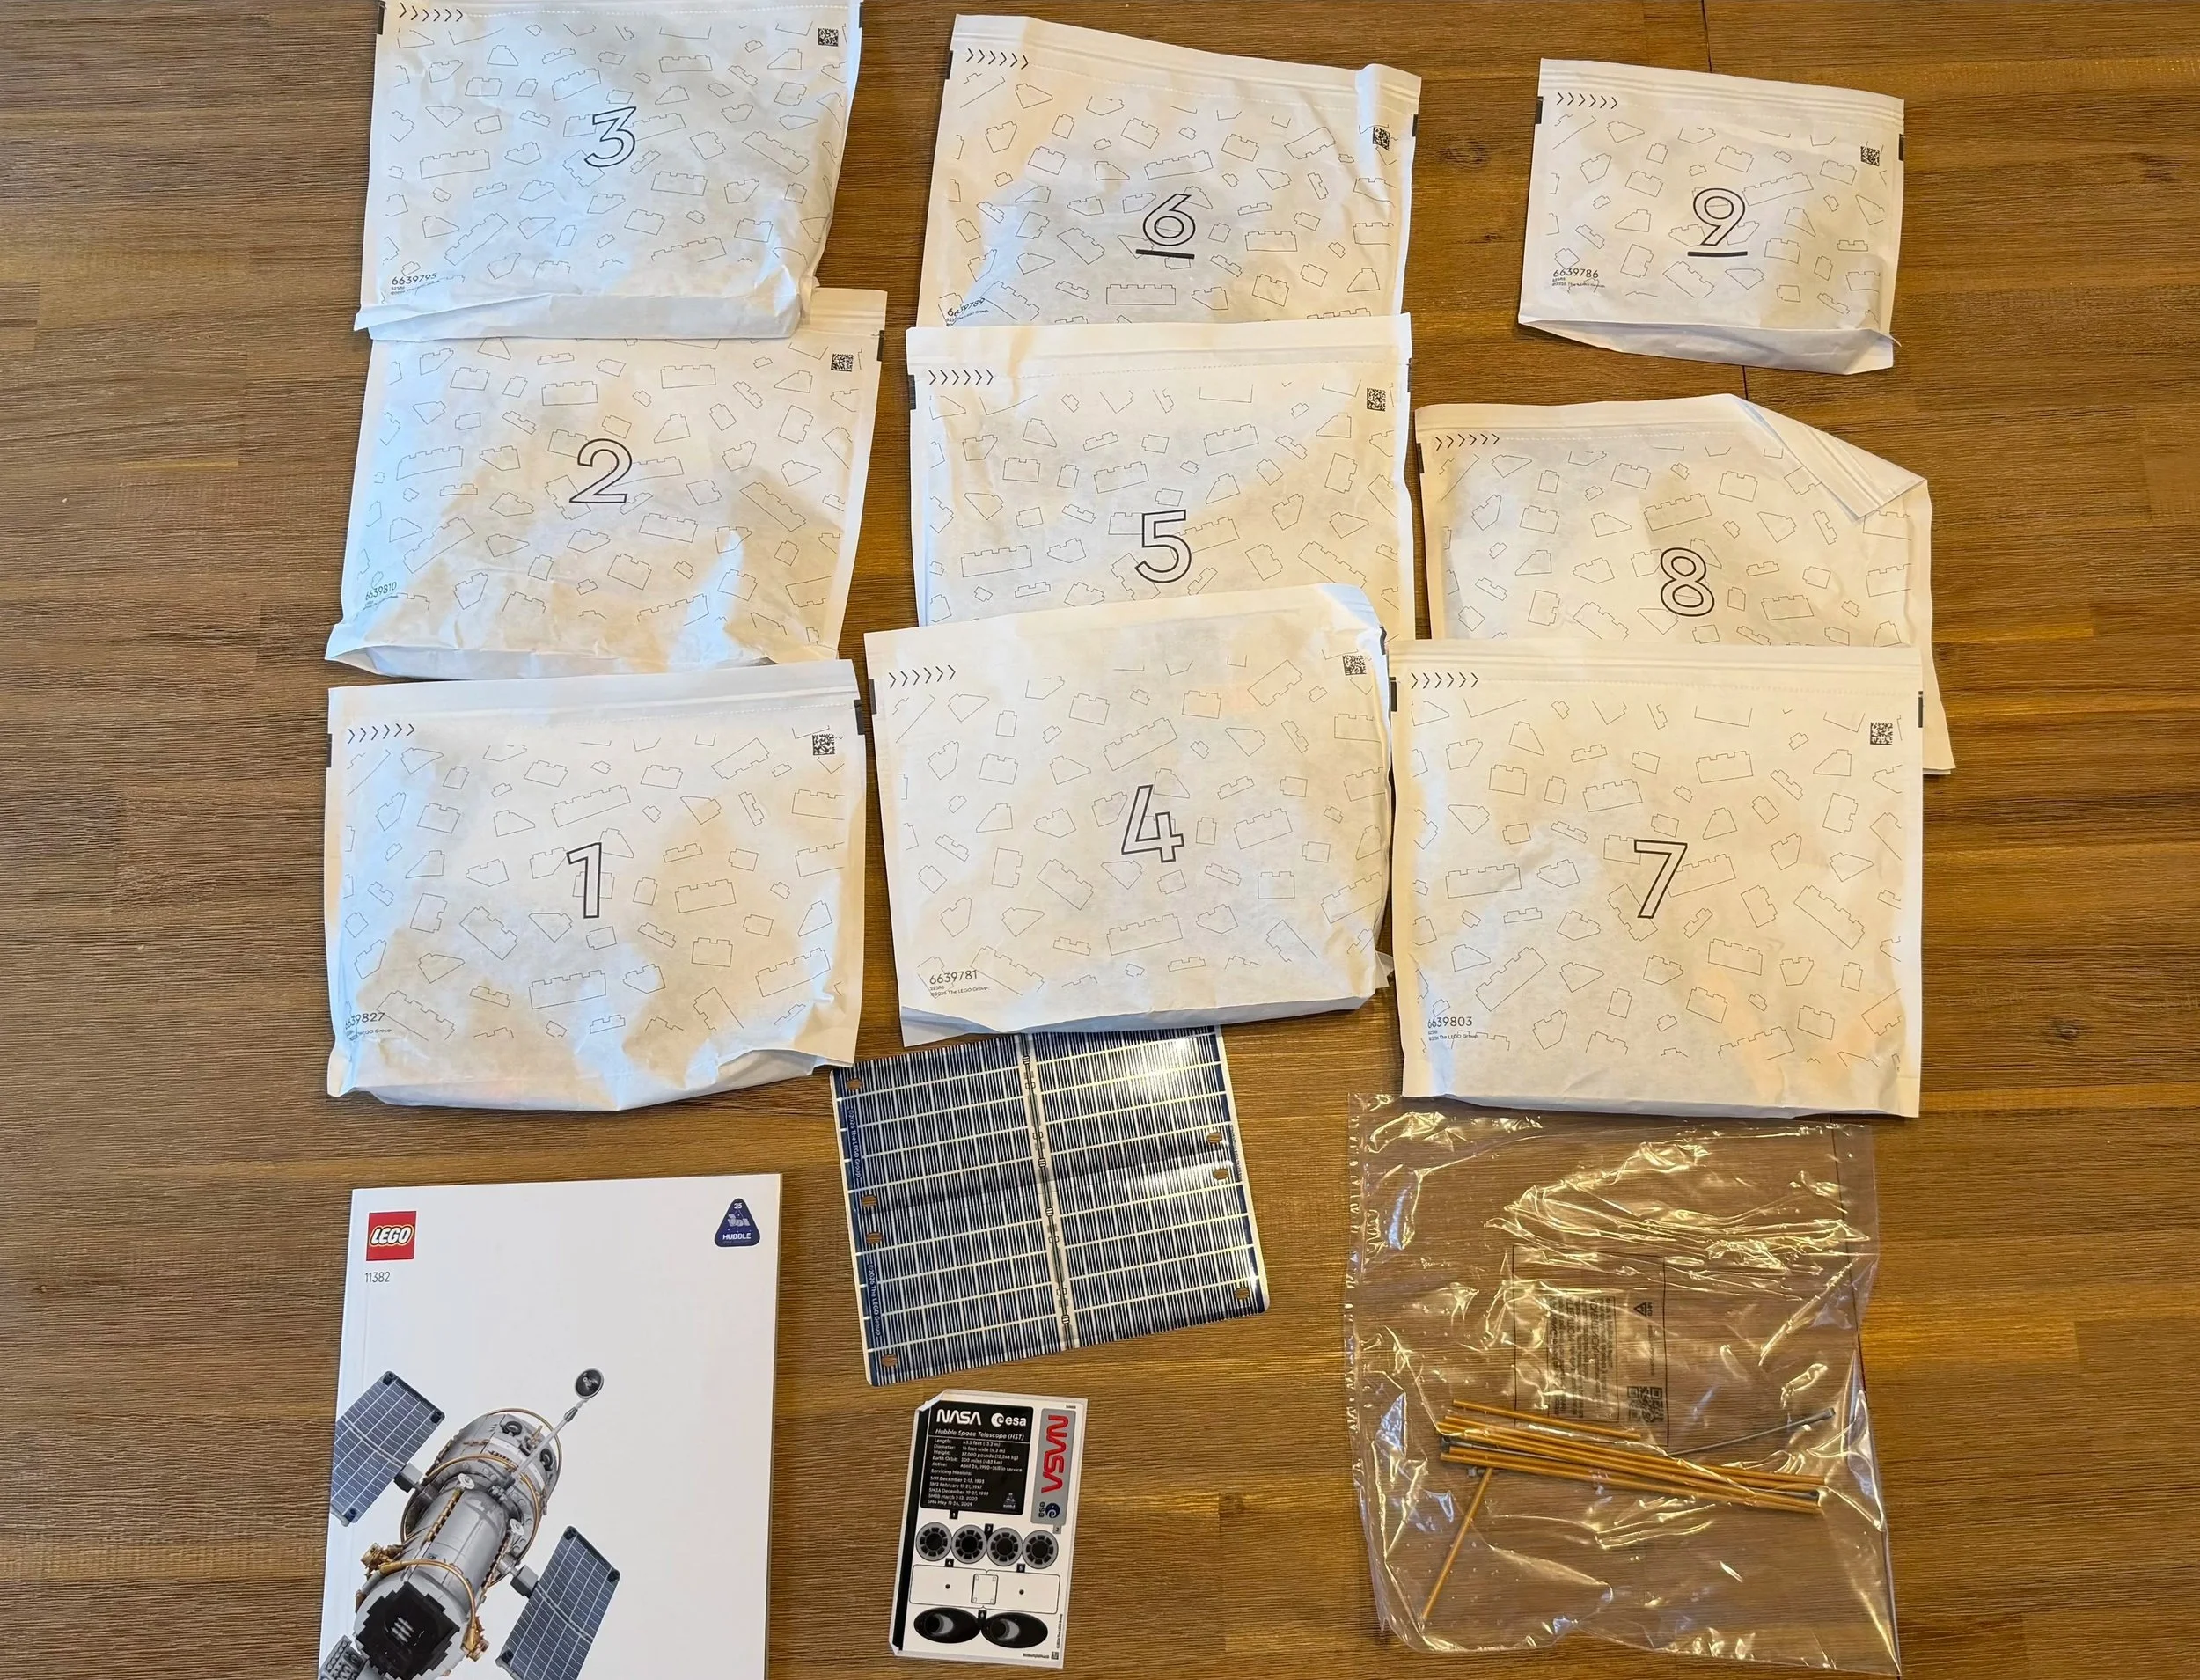
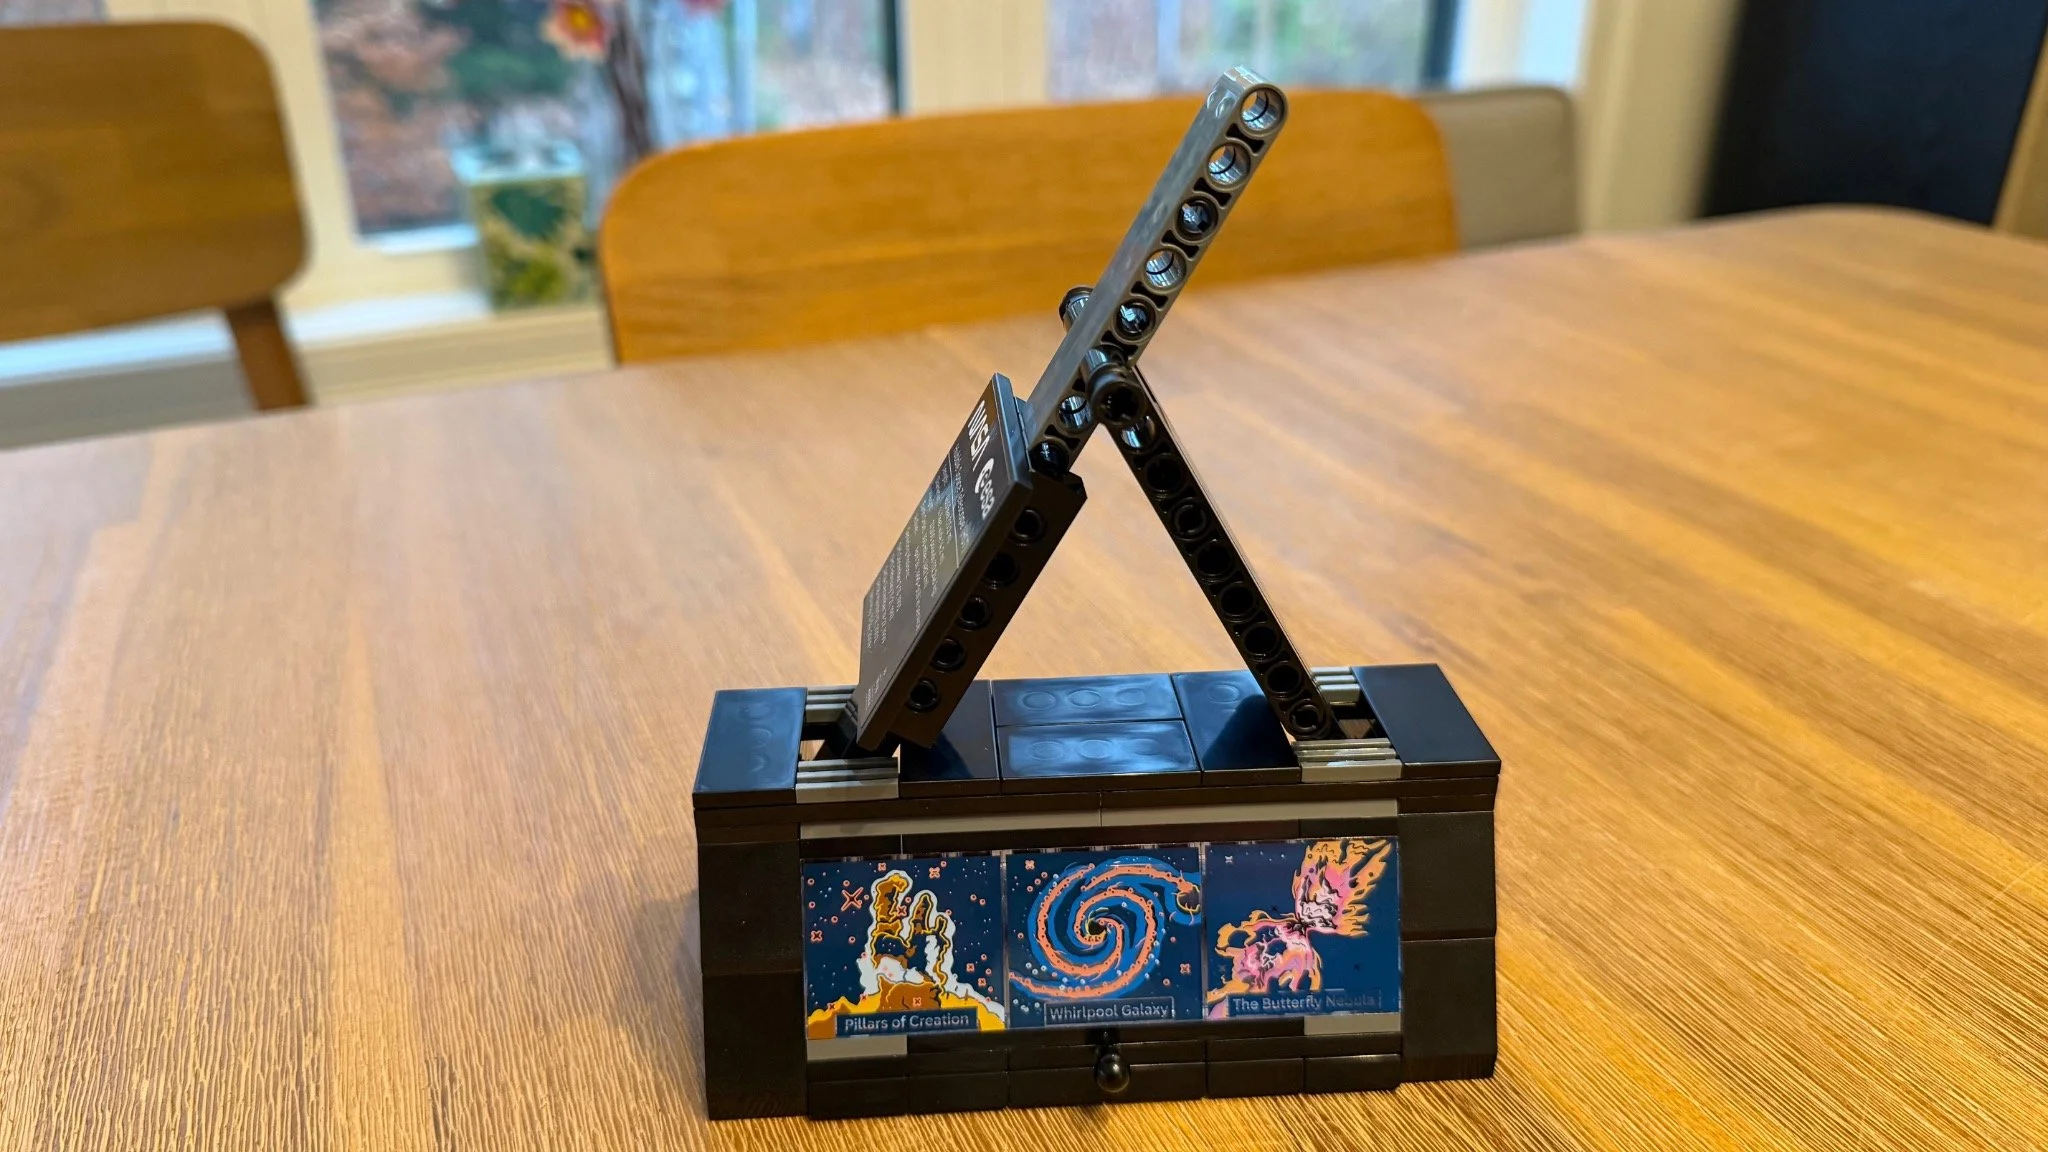
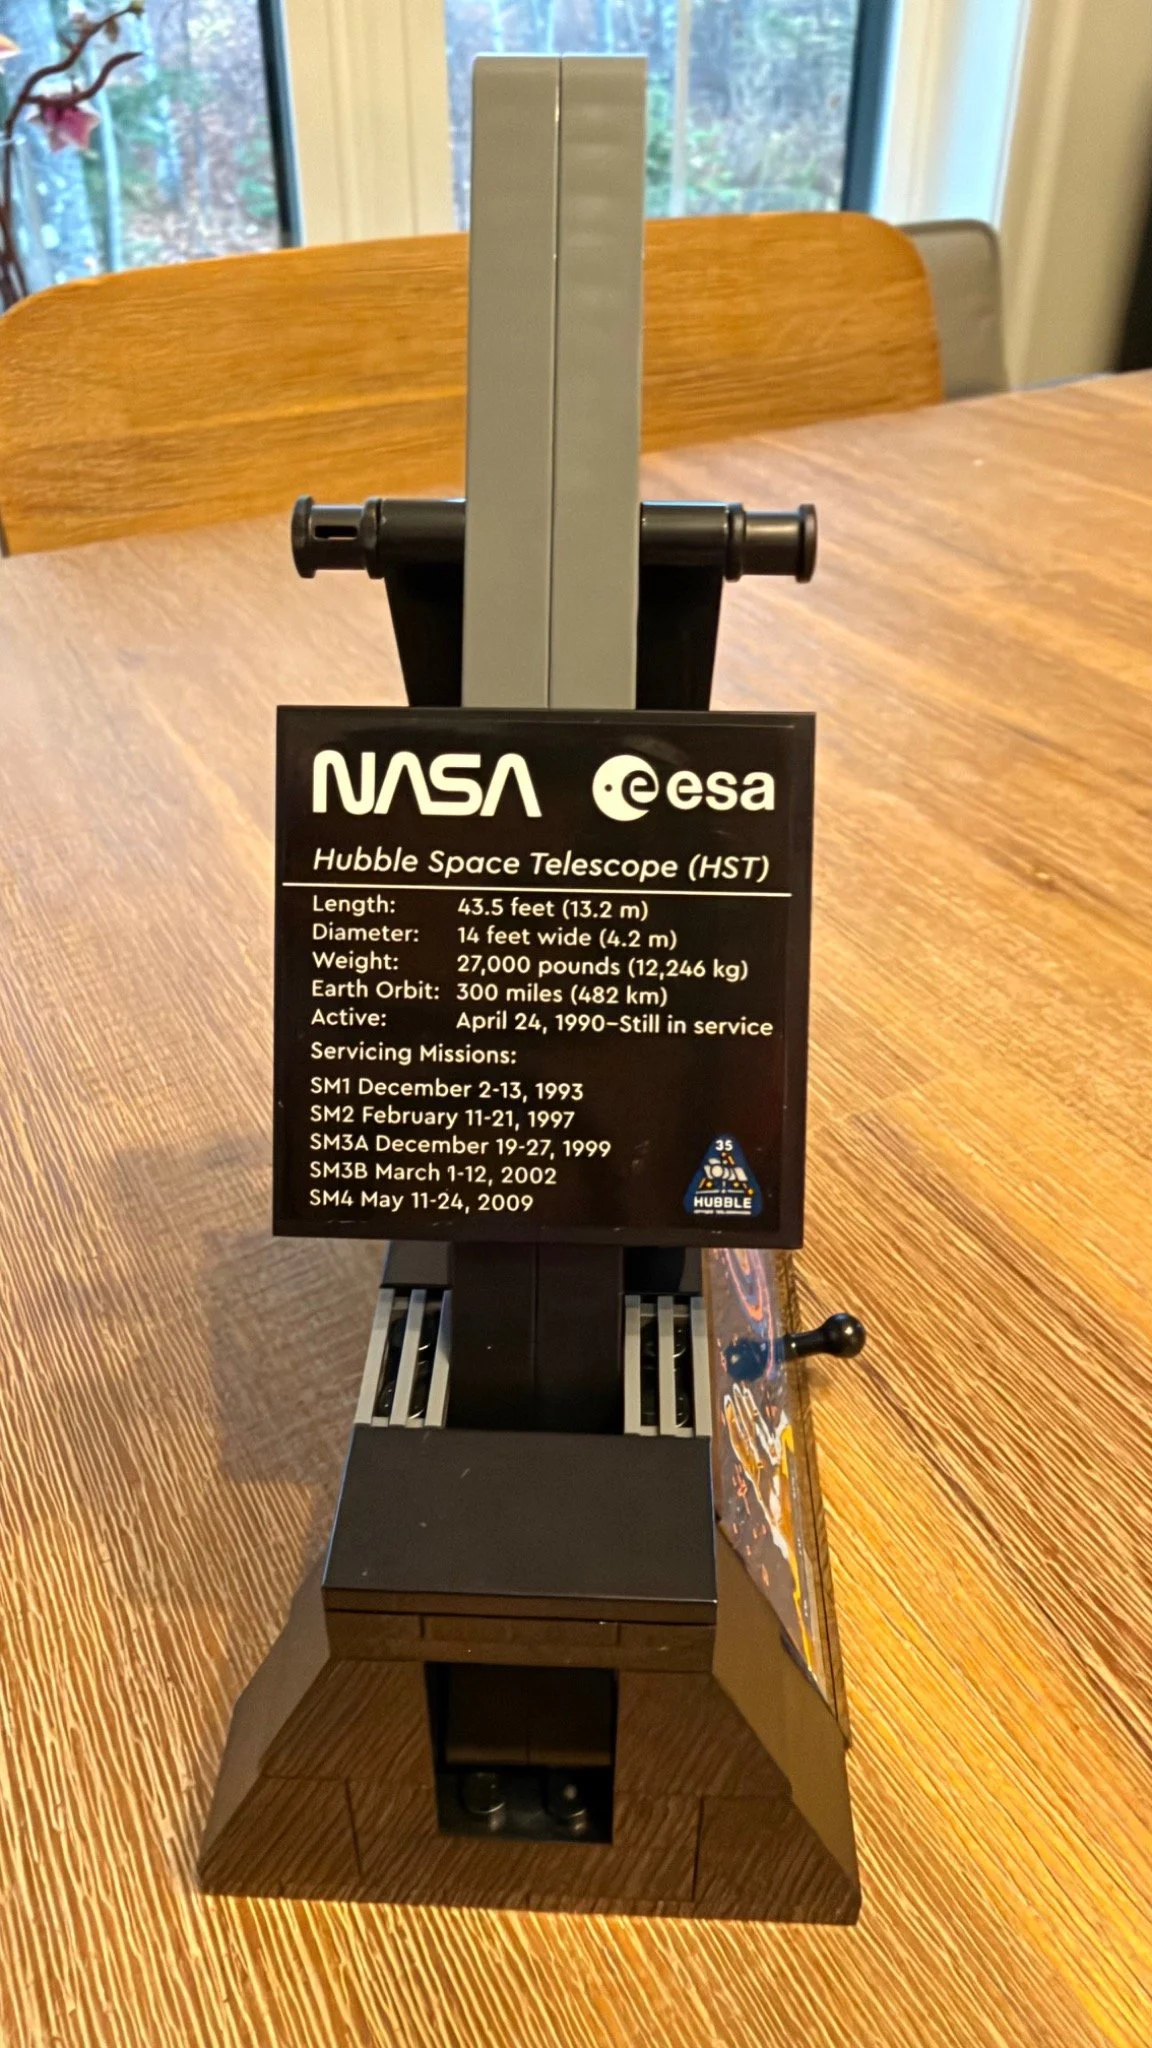
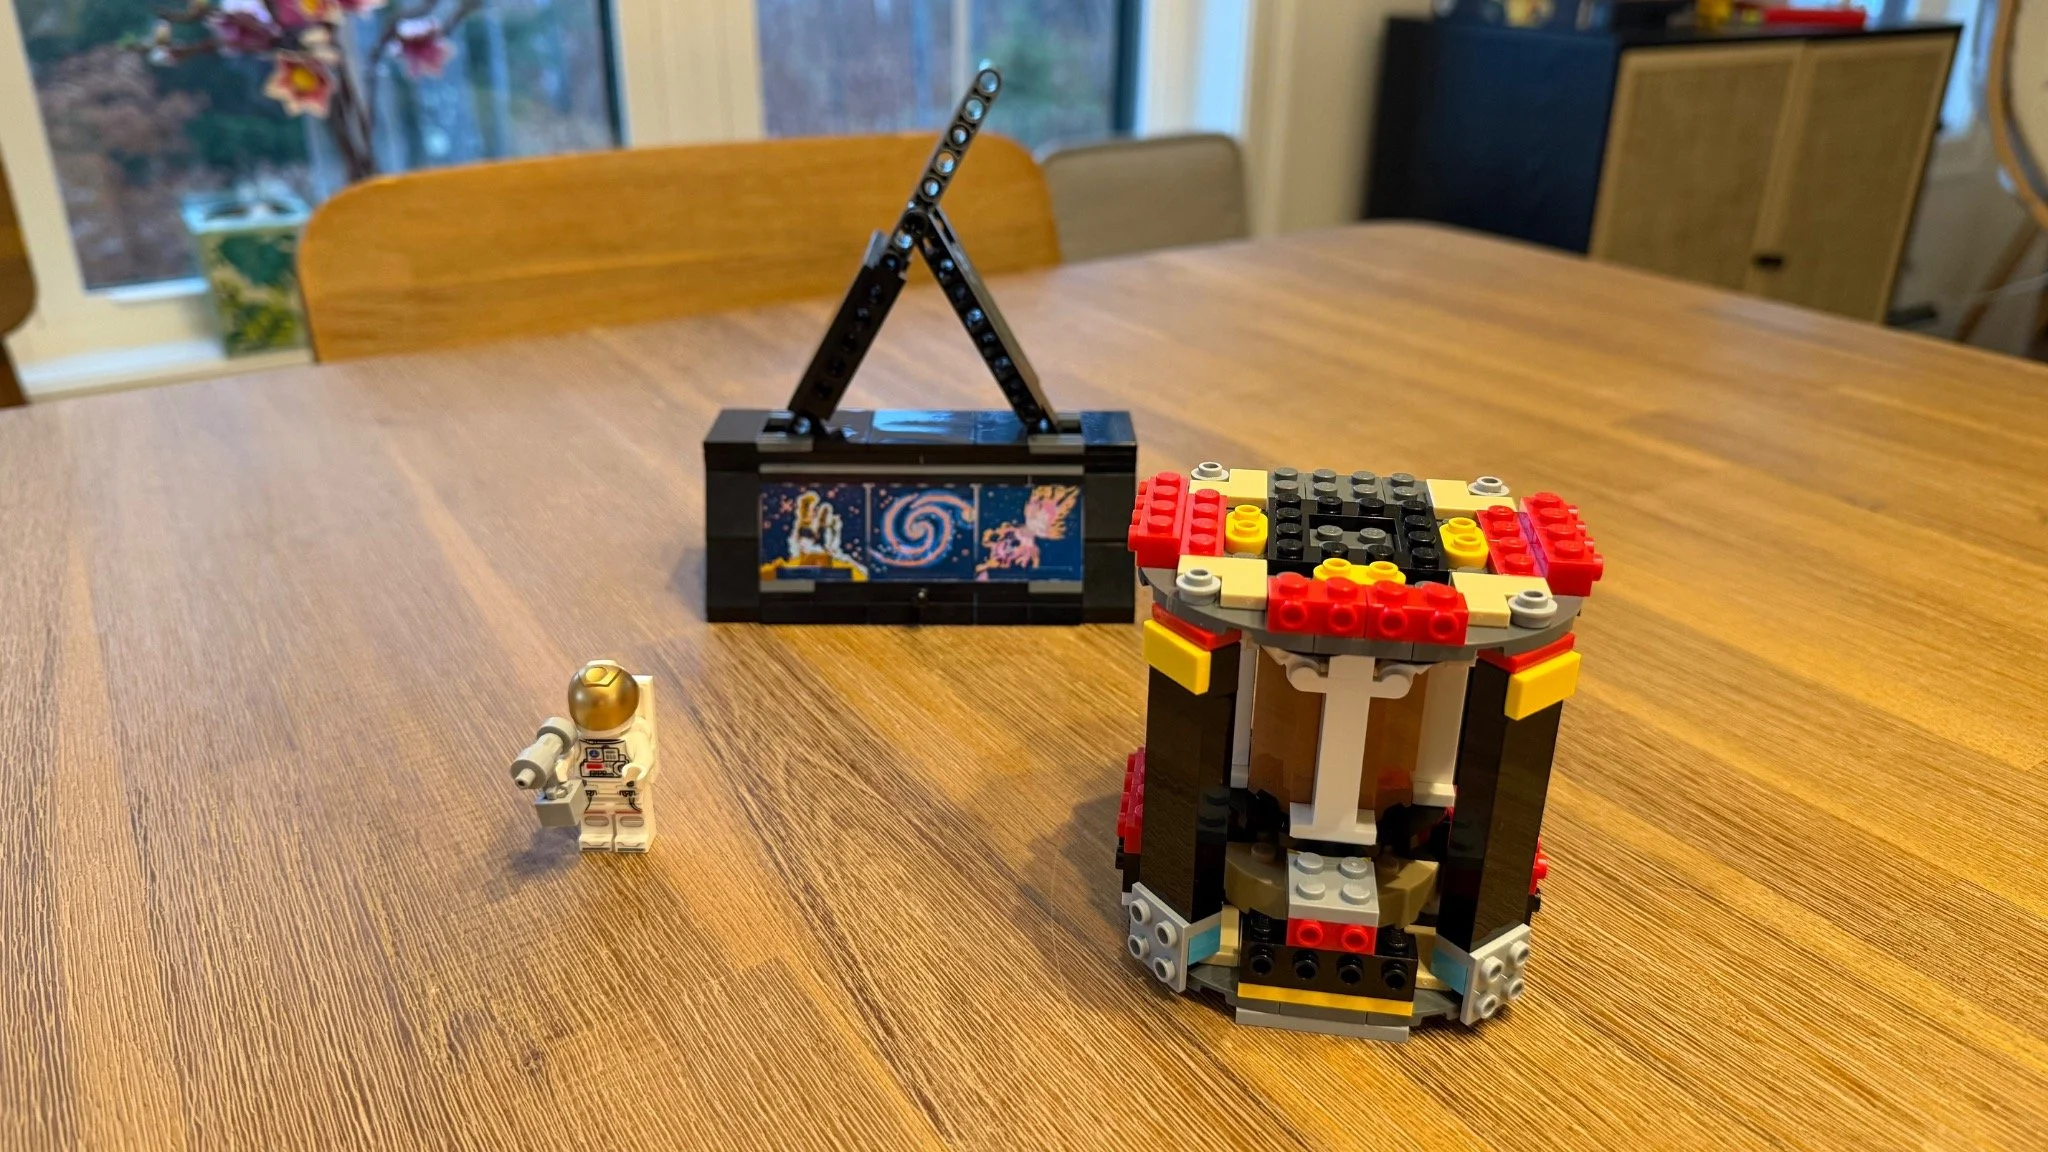
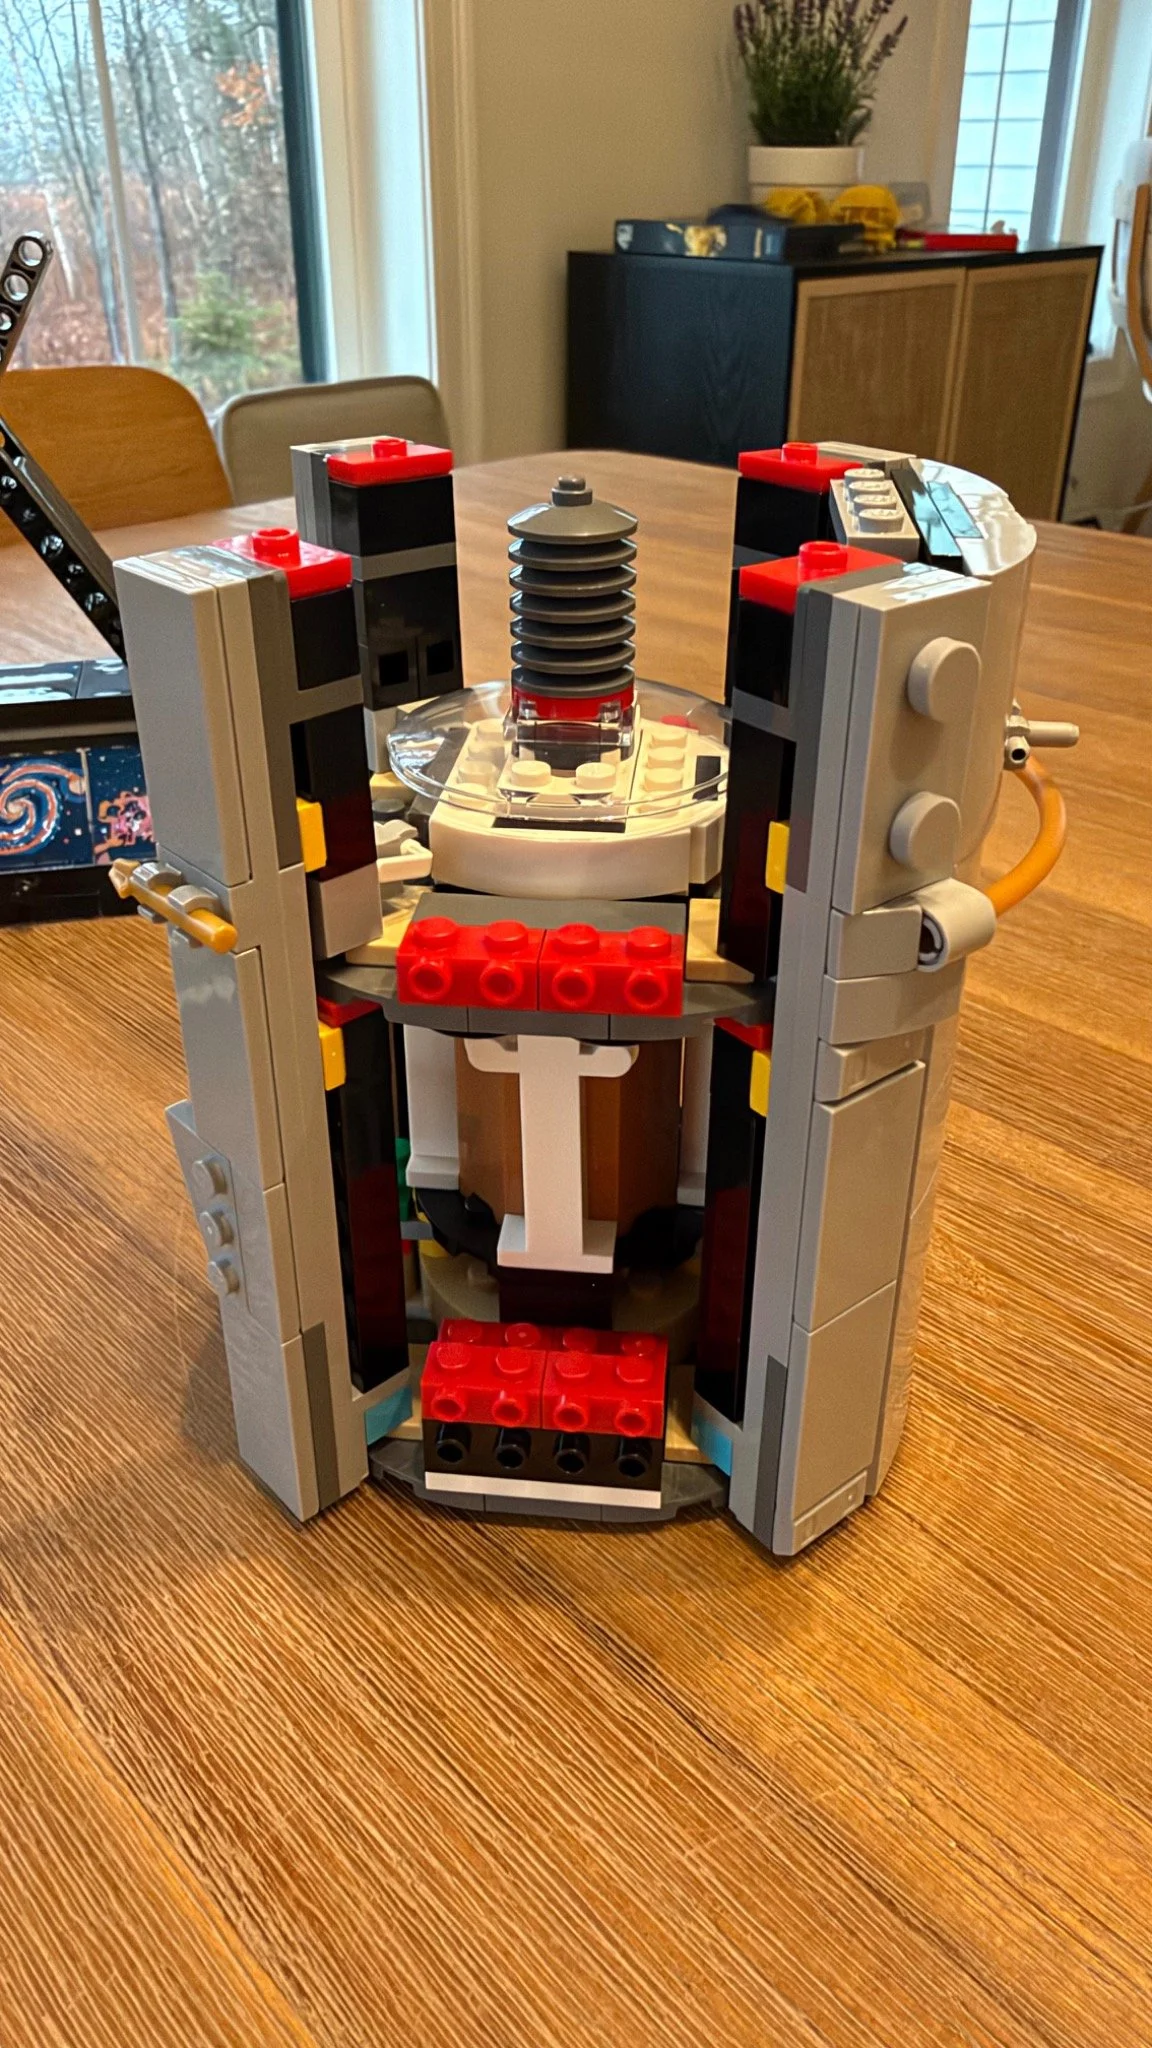
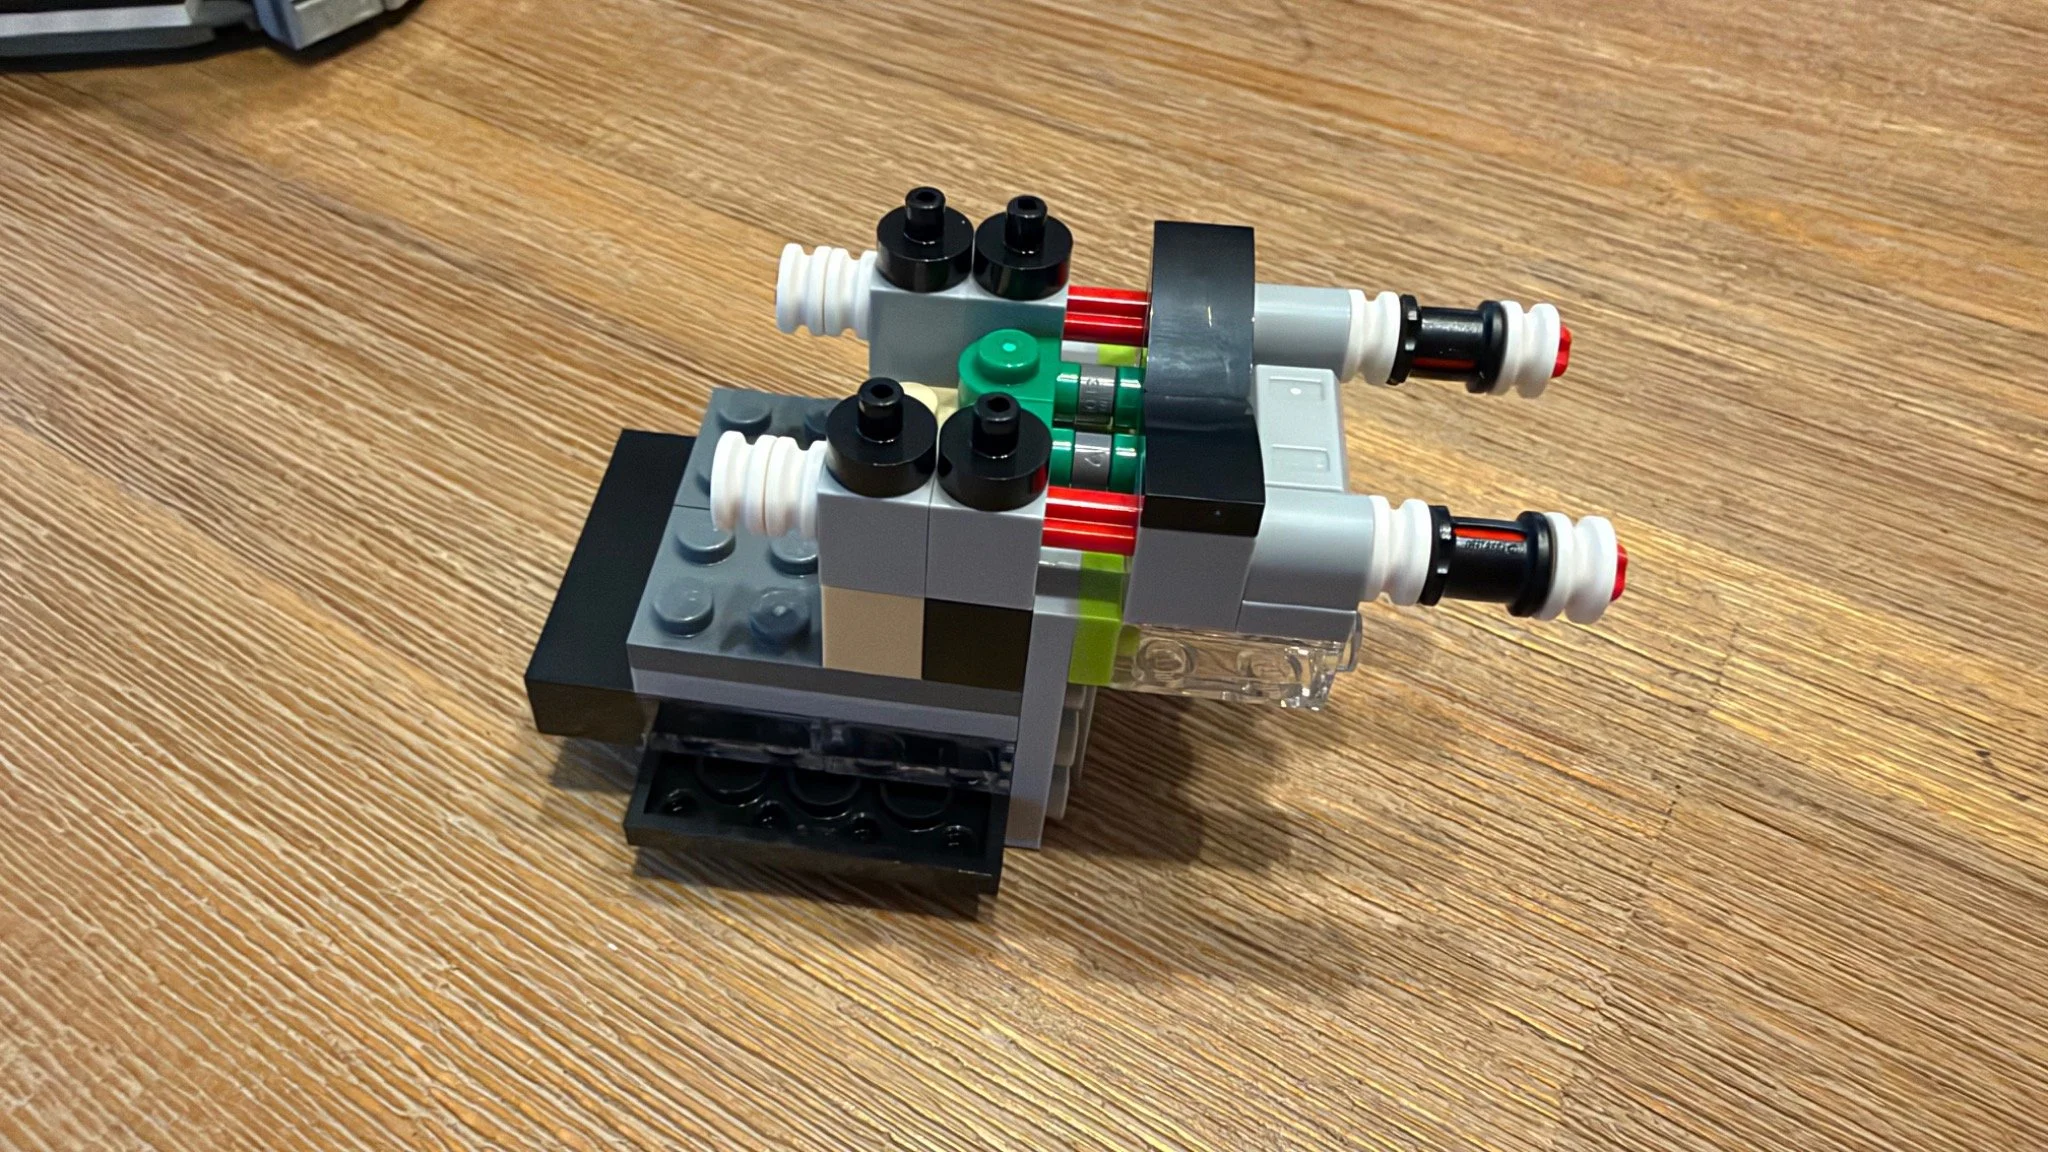
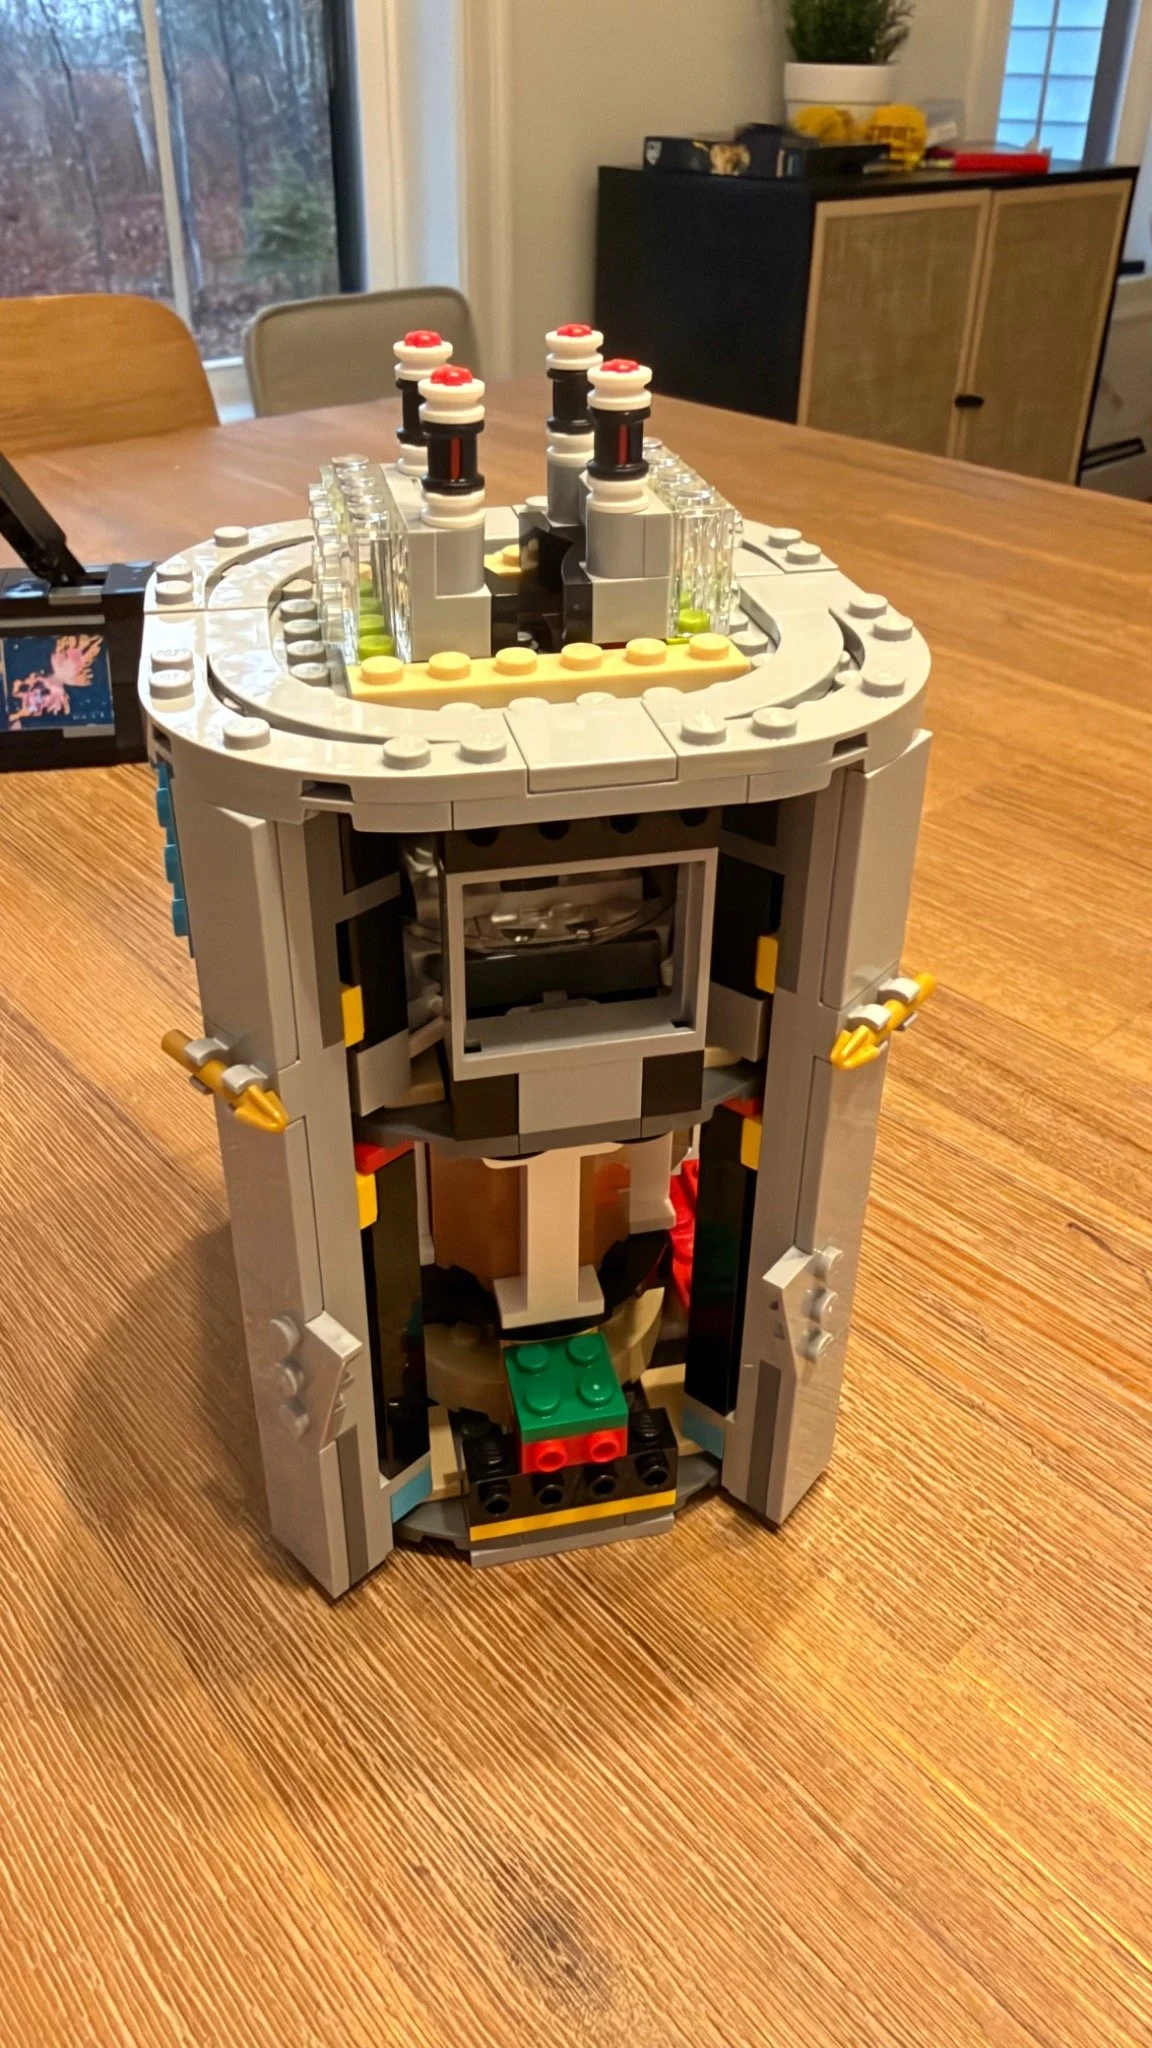
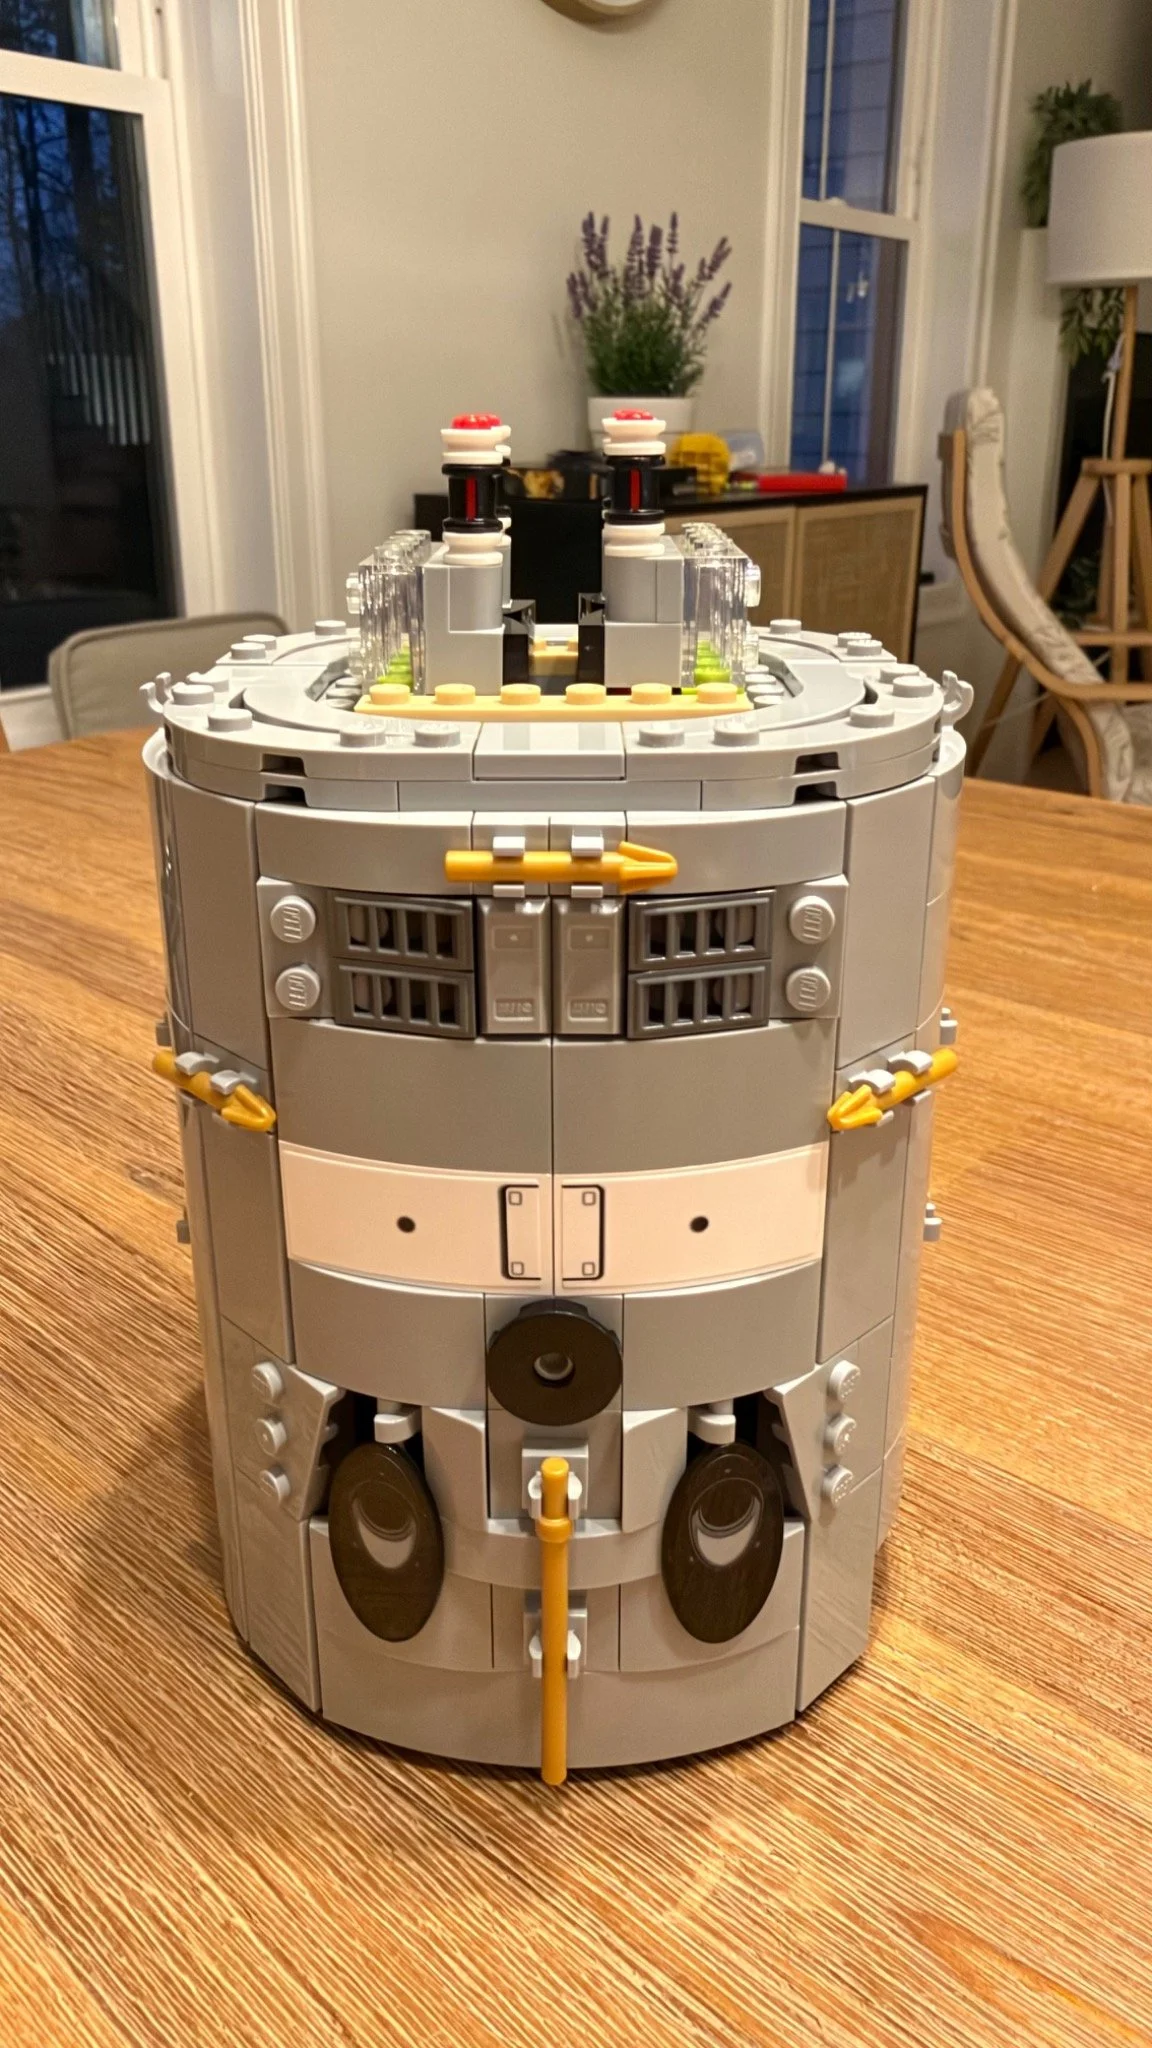
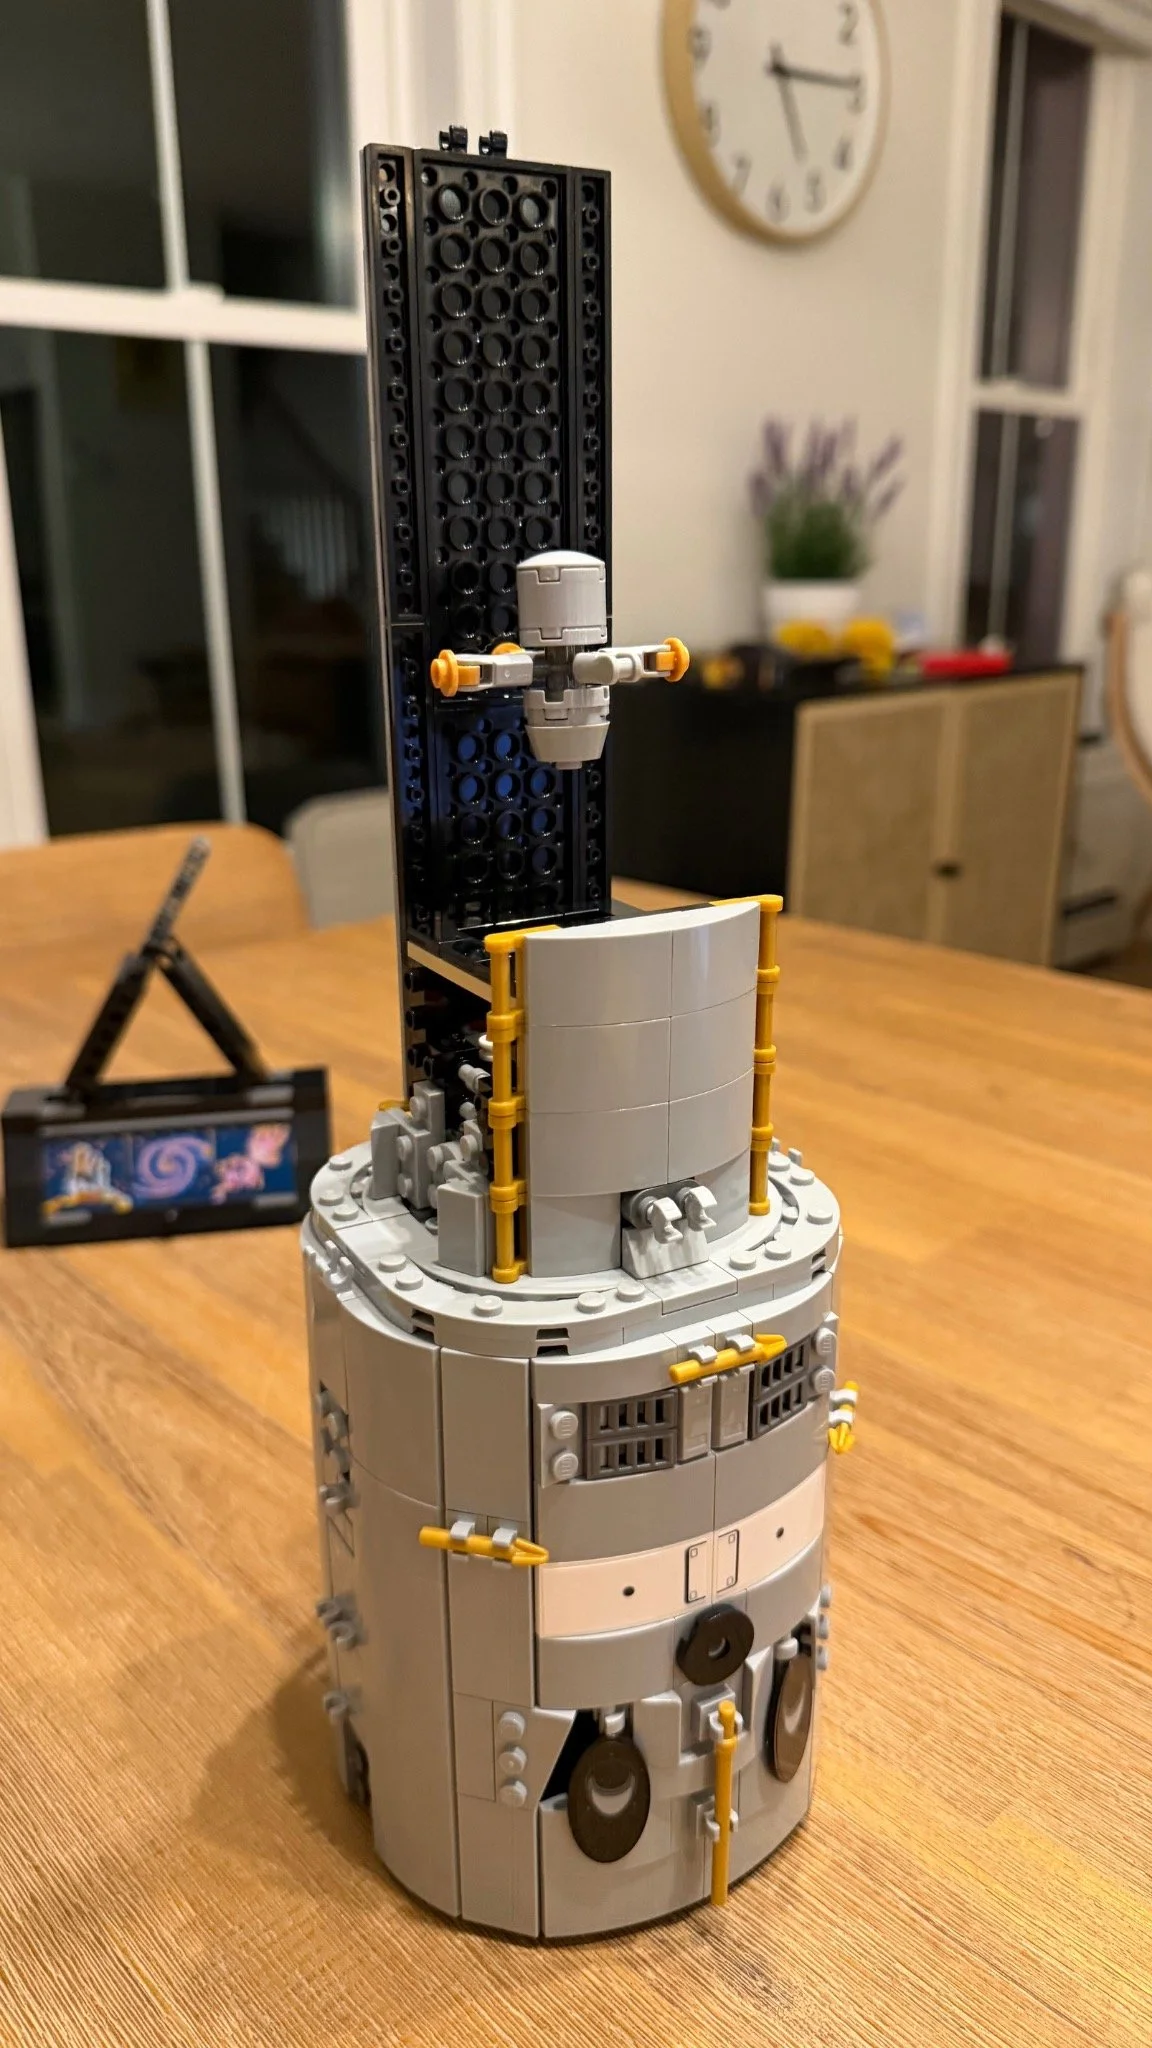
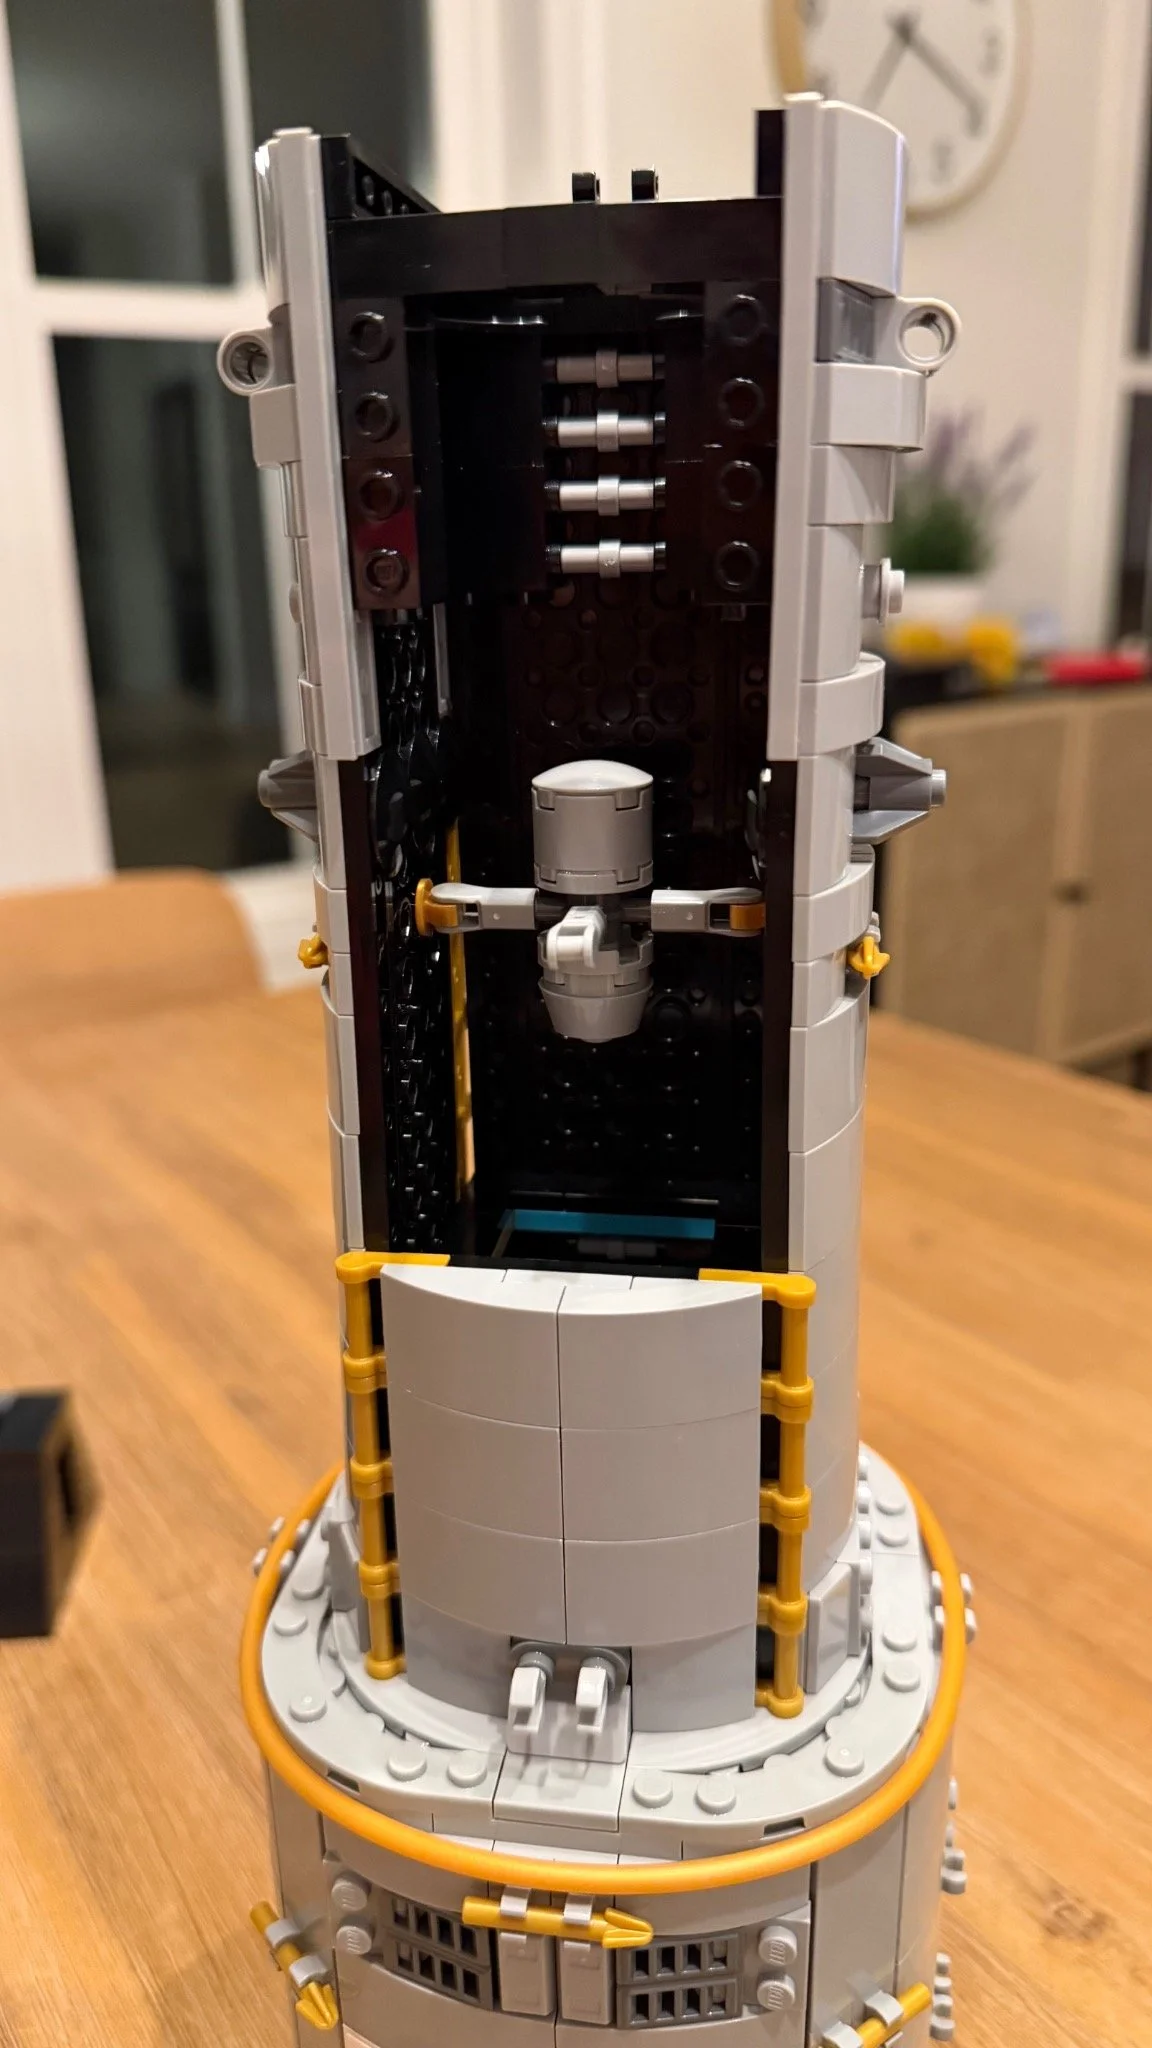
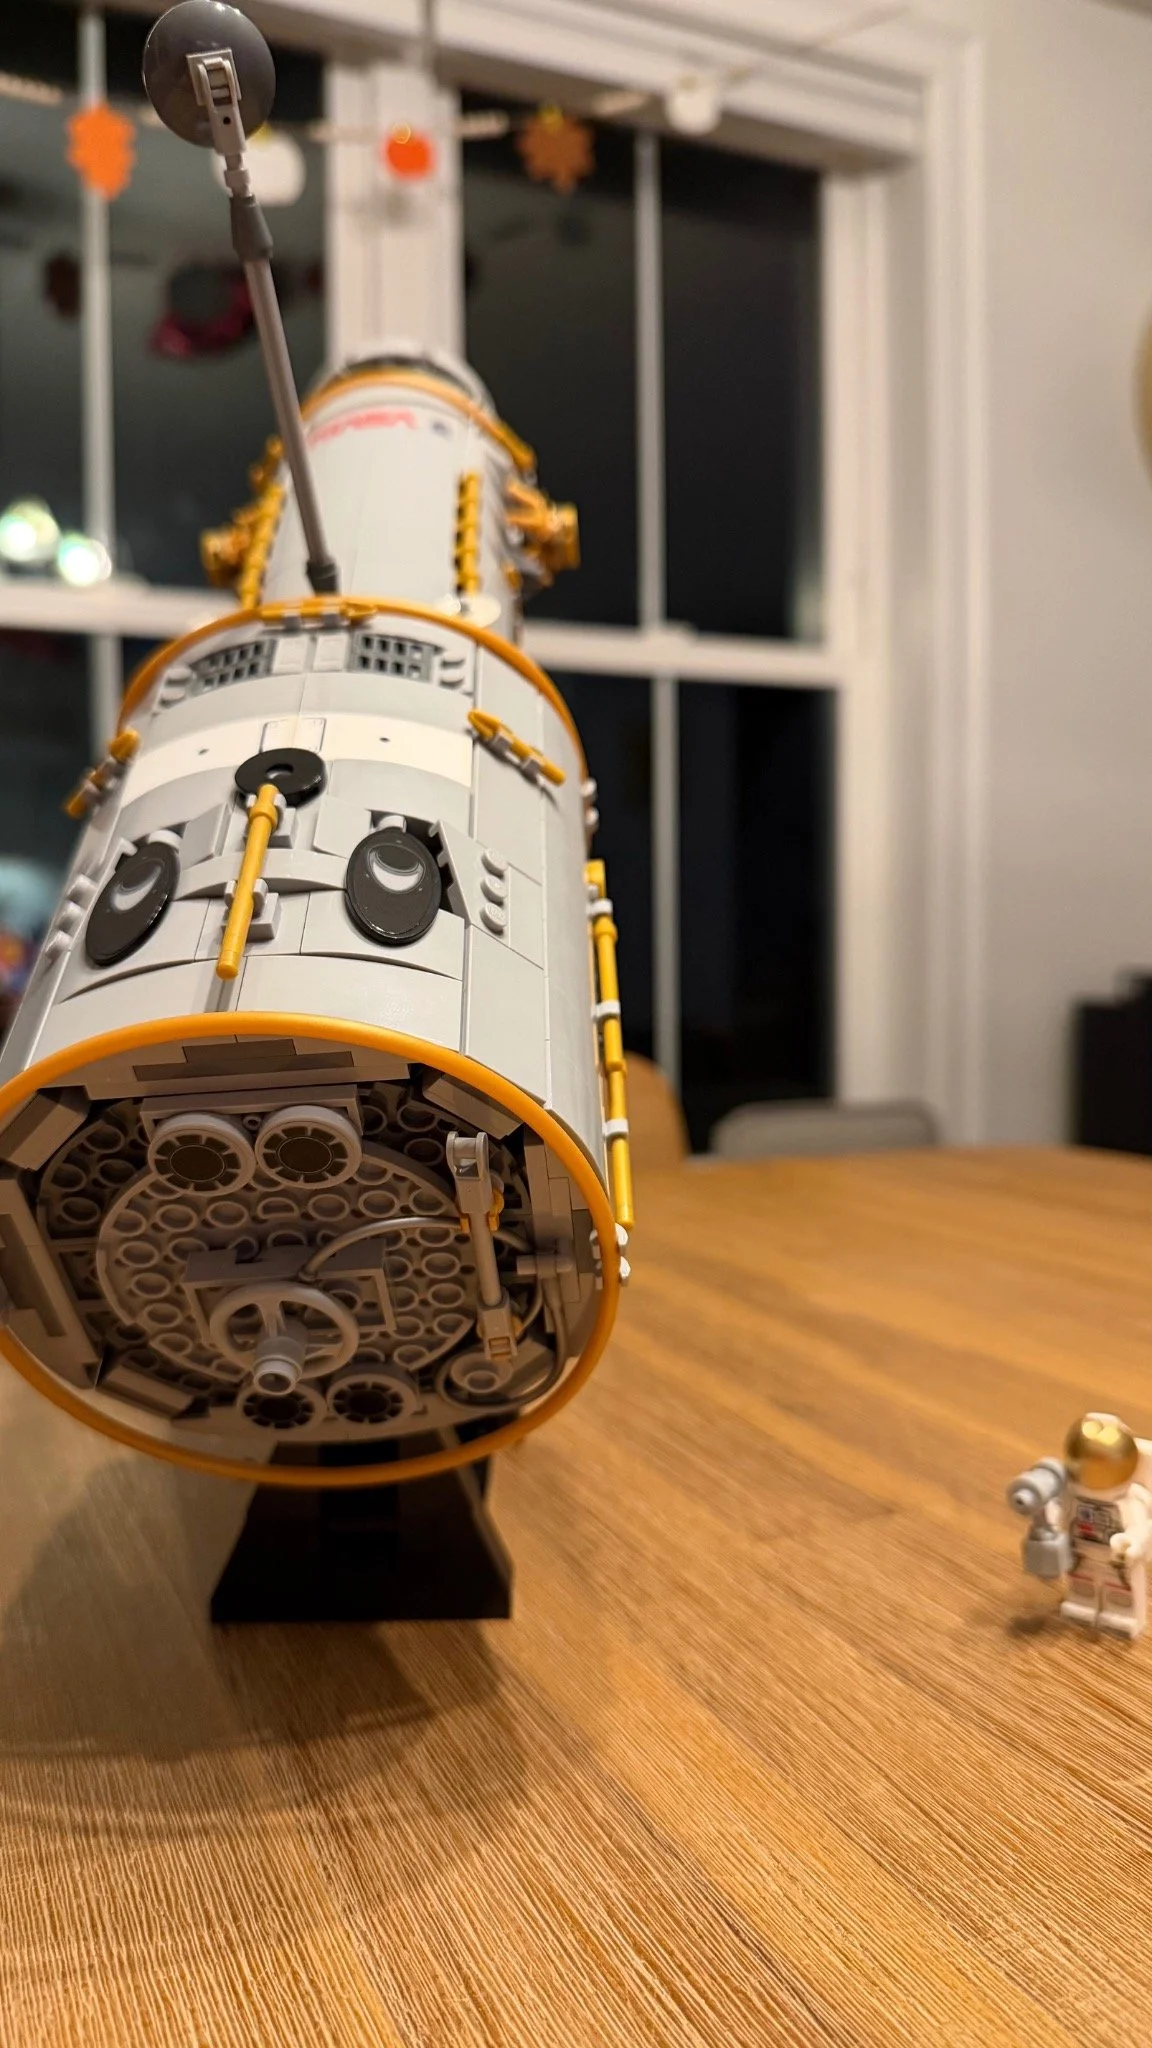

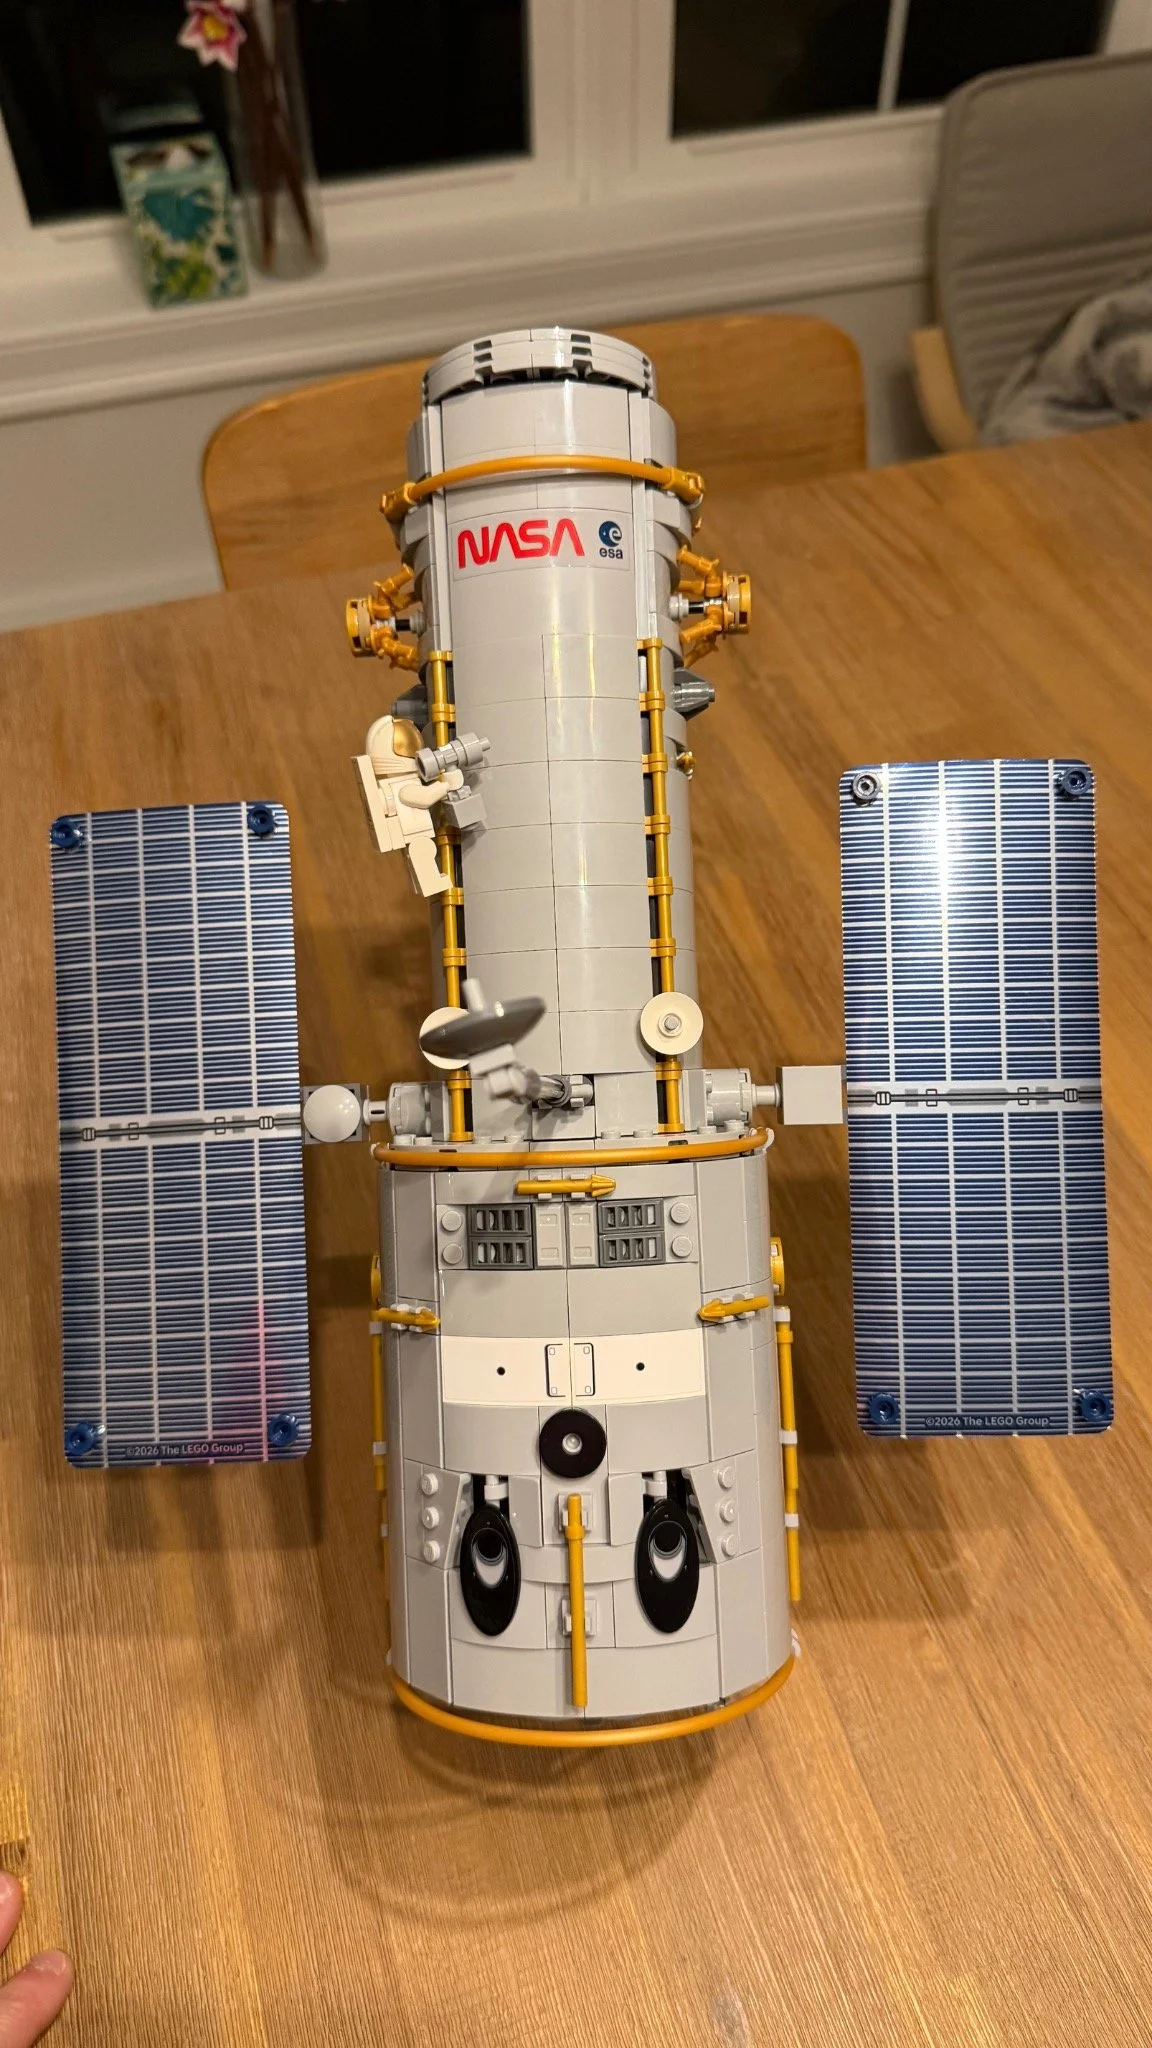
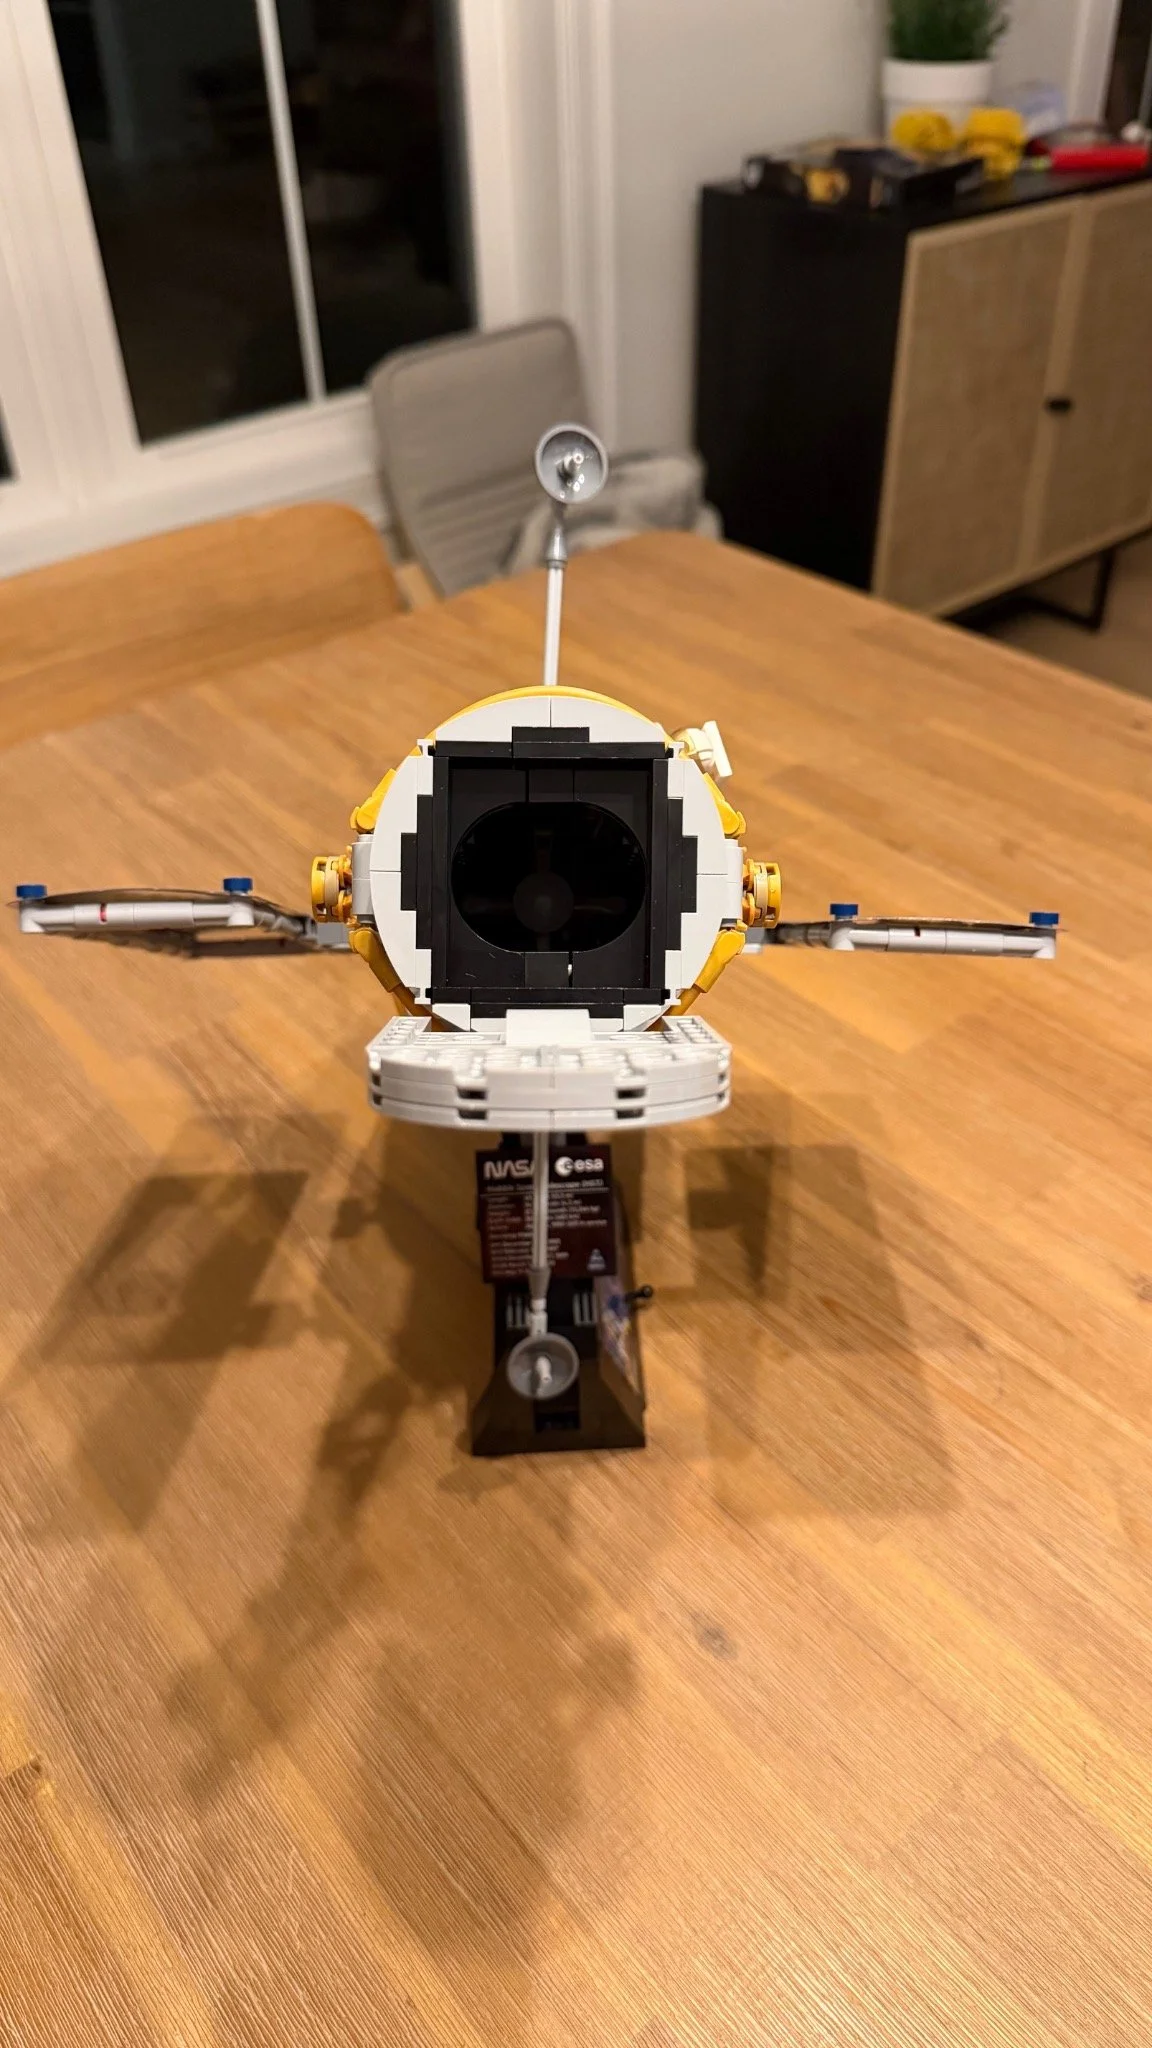
Stage key: Slides 1–2: stand and plaque. 3: inner core. 4: primary mirror. 5–6: gyroscopes. 7: lower shell. 8: upper frame and secondary mirror. 9: long shell panels. 10: rear detailing. 11–13: completed display.
Details Worth Looking For
The printed images on the base
The three space images were an immediate favorite. They give the stand something to contribute beyond simply holding the telescope up. I am particularly glad these were printed, even though the separate information plaque uses a sticker.
An interior with recognizable components
The booklet identifies the primary and secondary mirrors, central baffle, gyroscopes and science instruments represented inside the model. That gives the unusual little assemblies some context. The gray stack over the primary mirror is a baffle, for example, rather than the antenna I first thought it might resemble.
My favorite remains the paired gyroscope builds. They are a good reason to pause for a look before covering the internal structure. Being able to remove panels afterward also makes the interior feel worth the effort.
Small gold details and a working astronaut
The gold trim provides a welcome contrast to the gray shell, and the little revolver-shaped pieces at step 289 are a particularly enjoyable bit of part reuse. Alongside those details, the astronaut and repair tool help make the display feel connected to Hubble as something people have worked on, rather than an anonymous satellite shape.
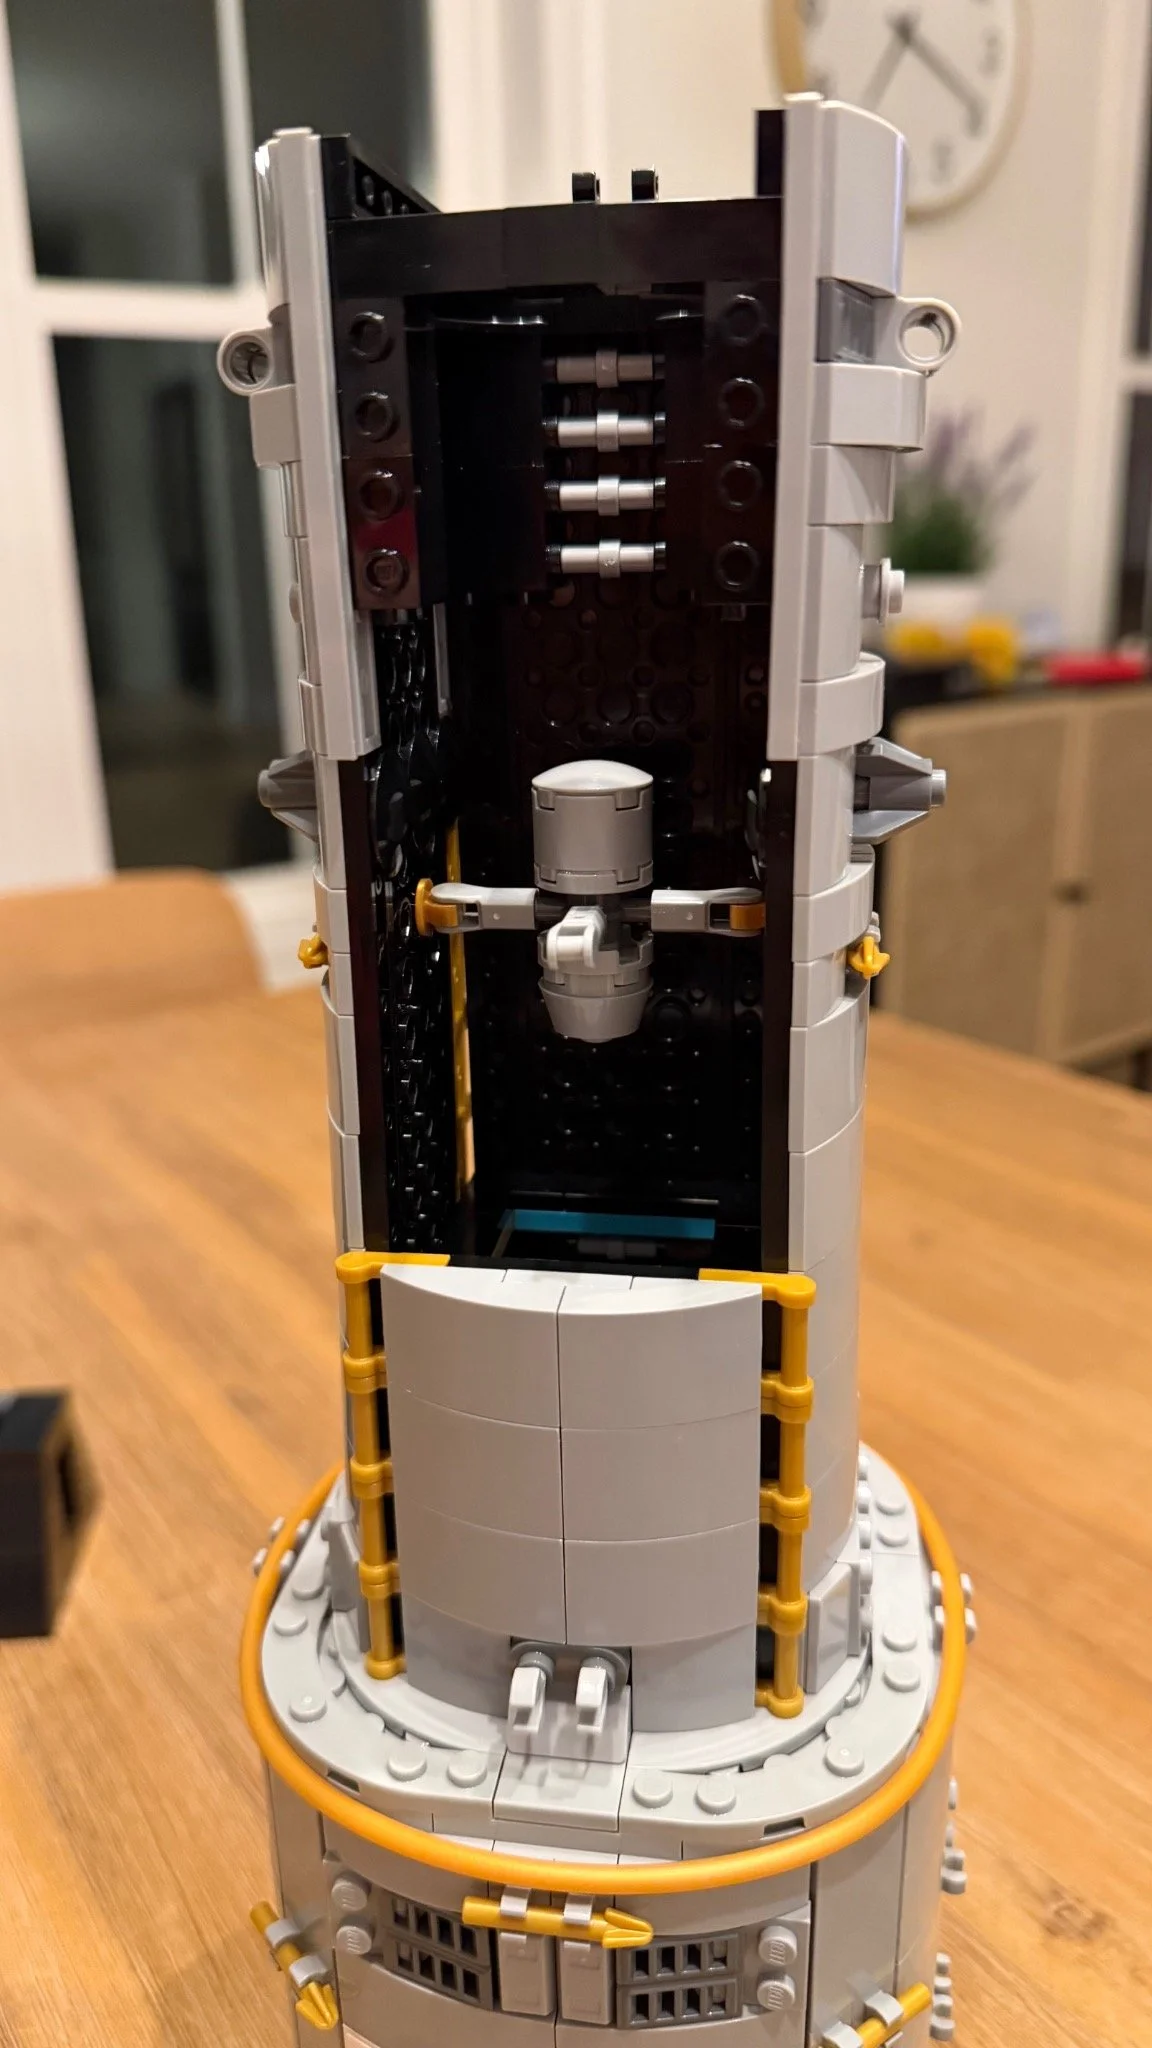
Bag 7: this open view shows the secondary mirror before the remaining shell closes around it.
Stability, Handling and Functions
My finished model felt very stable once I had taken the time to ensure the connections were properly seated. That does not mean every stage was equally sturdy. The early supports, narrow strips and long shell attachments needed care while the surrounding structure was incomplete.
I tried removing the access panel, folding the communications antennas and opening the aperture door. I could also look inside to appreciate the internal detail. The door stayed open on my copy. These are observations from my build, not a guarantee about every copy or every position.
LEGO also describes the solar arrays as posable. I haven’t recorded a separate range-of-motion test for them. With this much small exterior detail, I would support the main body and stand when moving the display rather than lifting by an antenna, handhold or panel.
I found it easy to display and liked the amount of presence it had. For a real shelf check, LEGO’s listed dimensions with the aperture door open are over 32 cm high, 38 cm long and 38 cm wide. Measure the space you intend to use, including the spread of the arrays and antennas.
Final Verdict
The Hubble Space Telescope was a very enjoyable build for me. Its hidden assemblies were the highlight, but the printed display images, gold details and unexpectedly substantial size gave me plenty to appreciate once it was finished, too.
What I Liked
The interior was worth building carefully. The gyroscope assemblies in Bag 4 were my favorite. Their layered construction and precise connections made the telescope feel interesting from the inside out.
Printed Hubble images on the stand. The Pillars of Creation, Whirlpool Galaxy and Butterfly Nebula give the base real character. I was particularly glad these were printed rather than three more stickers to align.
Creative use of small parts. The gold revolver-shaped pieces in the circular side details were a standout. Discovering those unexpected uses was part of what kept the build enjoyable.
The astronaut and repair tool. This little addition gives the display a sense of activity and was one of my favorite small details.
More display presence than I expected. Hubble grew larger than I had anticipated, in a good way. The smooth shell and gold trim look great together, and I still found the finished model easy to display.
What I Didn't Like
So many curved gray slopes. They do an important job shaping the shell, but placing them becomes repetitive. The varied exterior details helped keep me interested, but the repeated panel-building was less memorable than the internal assemblies.
The solar panel surfaces left me wanting more. The specialized panels look fine on display, but I would have enjoyed a more substantial brick-built finish after all the interesting construction inside the telescope.
A few awkward connections. The rear gray hose was my least enjoyable part: tight access made it difficult to orient without disturbing nearby details. The delicate supports and large shell attachments also rewarded patience.
Some steps felt as though they could come later. Adding the small bottom clip piece made the upright model less balanced while I was still working on it. I would have preferred a different sequence there, although I haven't tested an alternative order.
Would I Build It Again?
Yes. As a space fan, I found Hubble a satisfying tribute to the telescope and a build I would happily revisit. I would recommend it most to builders who enjoy hidden detail and careful assembly. Less experienced builders may appreciate a second pair of hands for the delicate supports and larger panel connections.
And if curved gray slopes are your favorite LEGO pieces, you are particularly well catered for.
Keep Exploring
For another space-themed display build, read my Imperial Lambda-Class Shuttle 75459 review. You can also explore my PlayStation 72306 review, or browse all of The Bricksmith’s build reviews and guides.
Need a Hand With Your LEGO Set?
If a build has stalled, a finished set has come apart, or you are unsure what help you need, The Bricksmith can assess your project from photos. I offer LEGO assembly, rebuilds and collection recovery, with local pickup and return in Greater Portland, Maine. Mail-in projects are considered after assessment.
Explore the services, or request a free photo assessment to discuss your set and the work involved.