
LEGO Speed Champions Bugatti Vision Gran Turismo 77253 Build Review
The LEGO Speed Champions Bugatti Vision Gran Turismo 77253 packs a lot of detail into a small car. I enjoyed the variety across its five bags, and the finished model looks good on display while remaining stable when rolled around and played with.
My overall set rating is 7/10. The build is interesting without feeling overly repetitive, but the sticker placement deserves some patience. Bag 3 was the clear challenge: its unusual assembly and ten stickers made it the most demanding part of the process.
My set rating: 7/10 • My recorded build time: 47 minutes 29 seconds
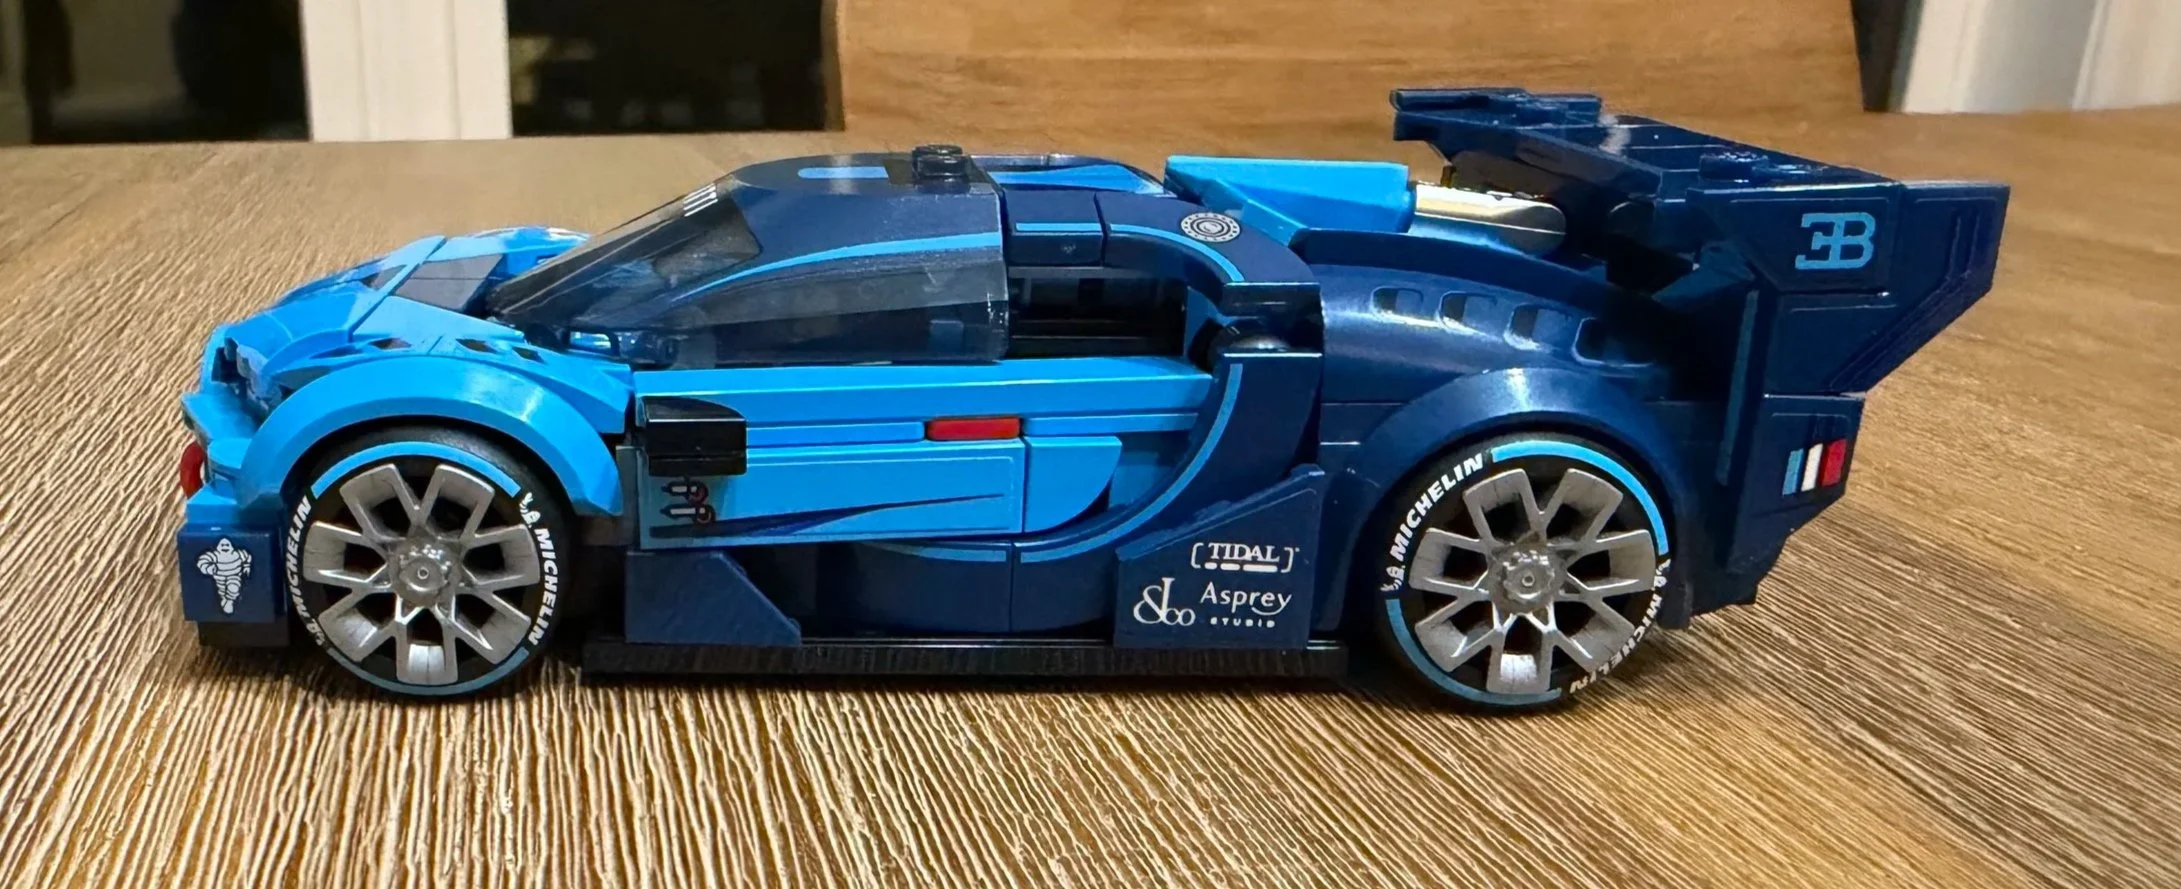
The completed Bugatti Vision GT, with its blue bodywork, detailed wheels, and large rear wing.
At a Glance
Set: 77253 • LEGO Speed Champions
Official product name: Bugatti Vision GT Hyper Sports Car
Pieces and bags: 284 pieces • 5 numbered bags
Instructions and stickers: 200 steps • 16 stickers
My recorded build time: 47 minutes 29 seconds
My overall set rating: 7/10
Main challenge: Bag 3 assembly and sticker alignment
Finished stability: Stable in use and rolls well in my build
Minifigure and age guidance: 1 Bugatti driver with helmet and alternate hair • LEGO age recommendation: 9+
LEGO listed dimensions: Over 1.5 in. / 4 cm high, 5.5 in. / 14 cm long, and 3 in. / 8 cm wide
LEGO US price: US $27.99, checked September 27, 2026; prices may change
Official set information: LEGO Bugatti Vision GT Hyper Sports Car 77253
What Is the Bugatti Vision GT Like to Build?
This is a compact car build with something different happening in each bag. The early stages establish the body and rear structure, the middle adds the wing and interior, and the final stages bring the distinctive front end and wheels together.
The main demand is precision. There are sixteen stickers across the build, and some need to line up with the trim on nearby pieces. Bag 3 concentrates much of that work into one section. I found the overall repetition fairly low, even though the wheels and a few matching details naturally repeat.
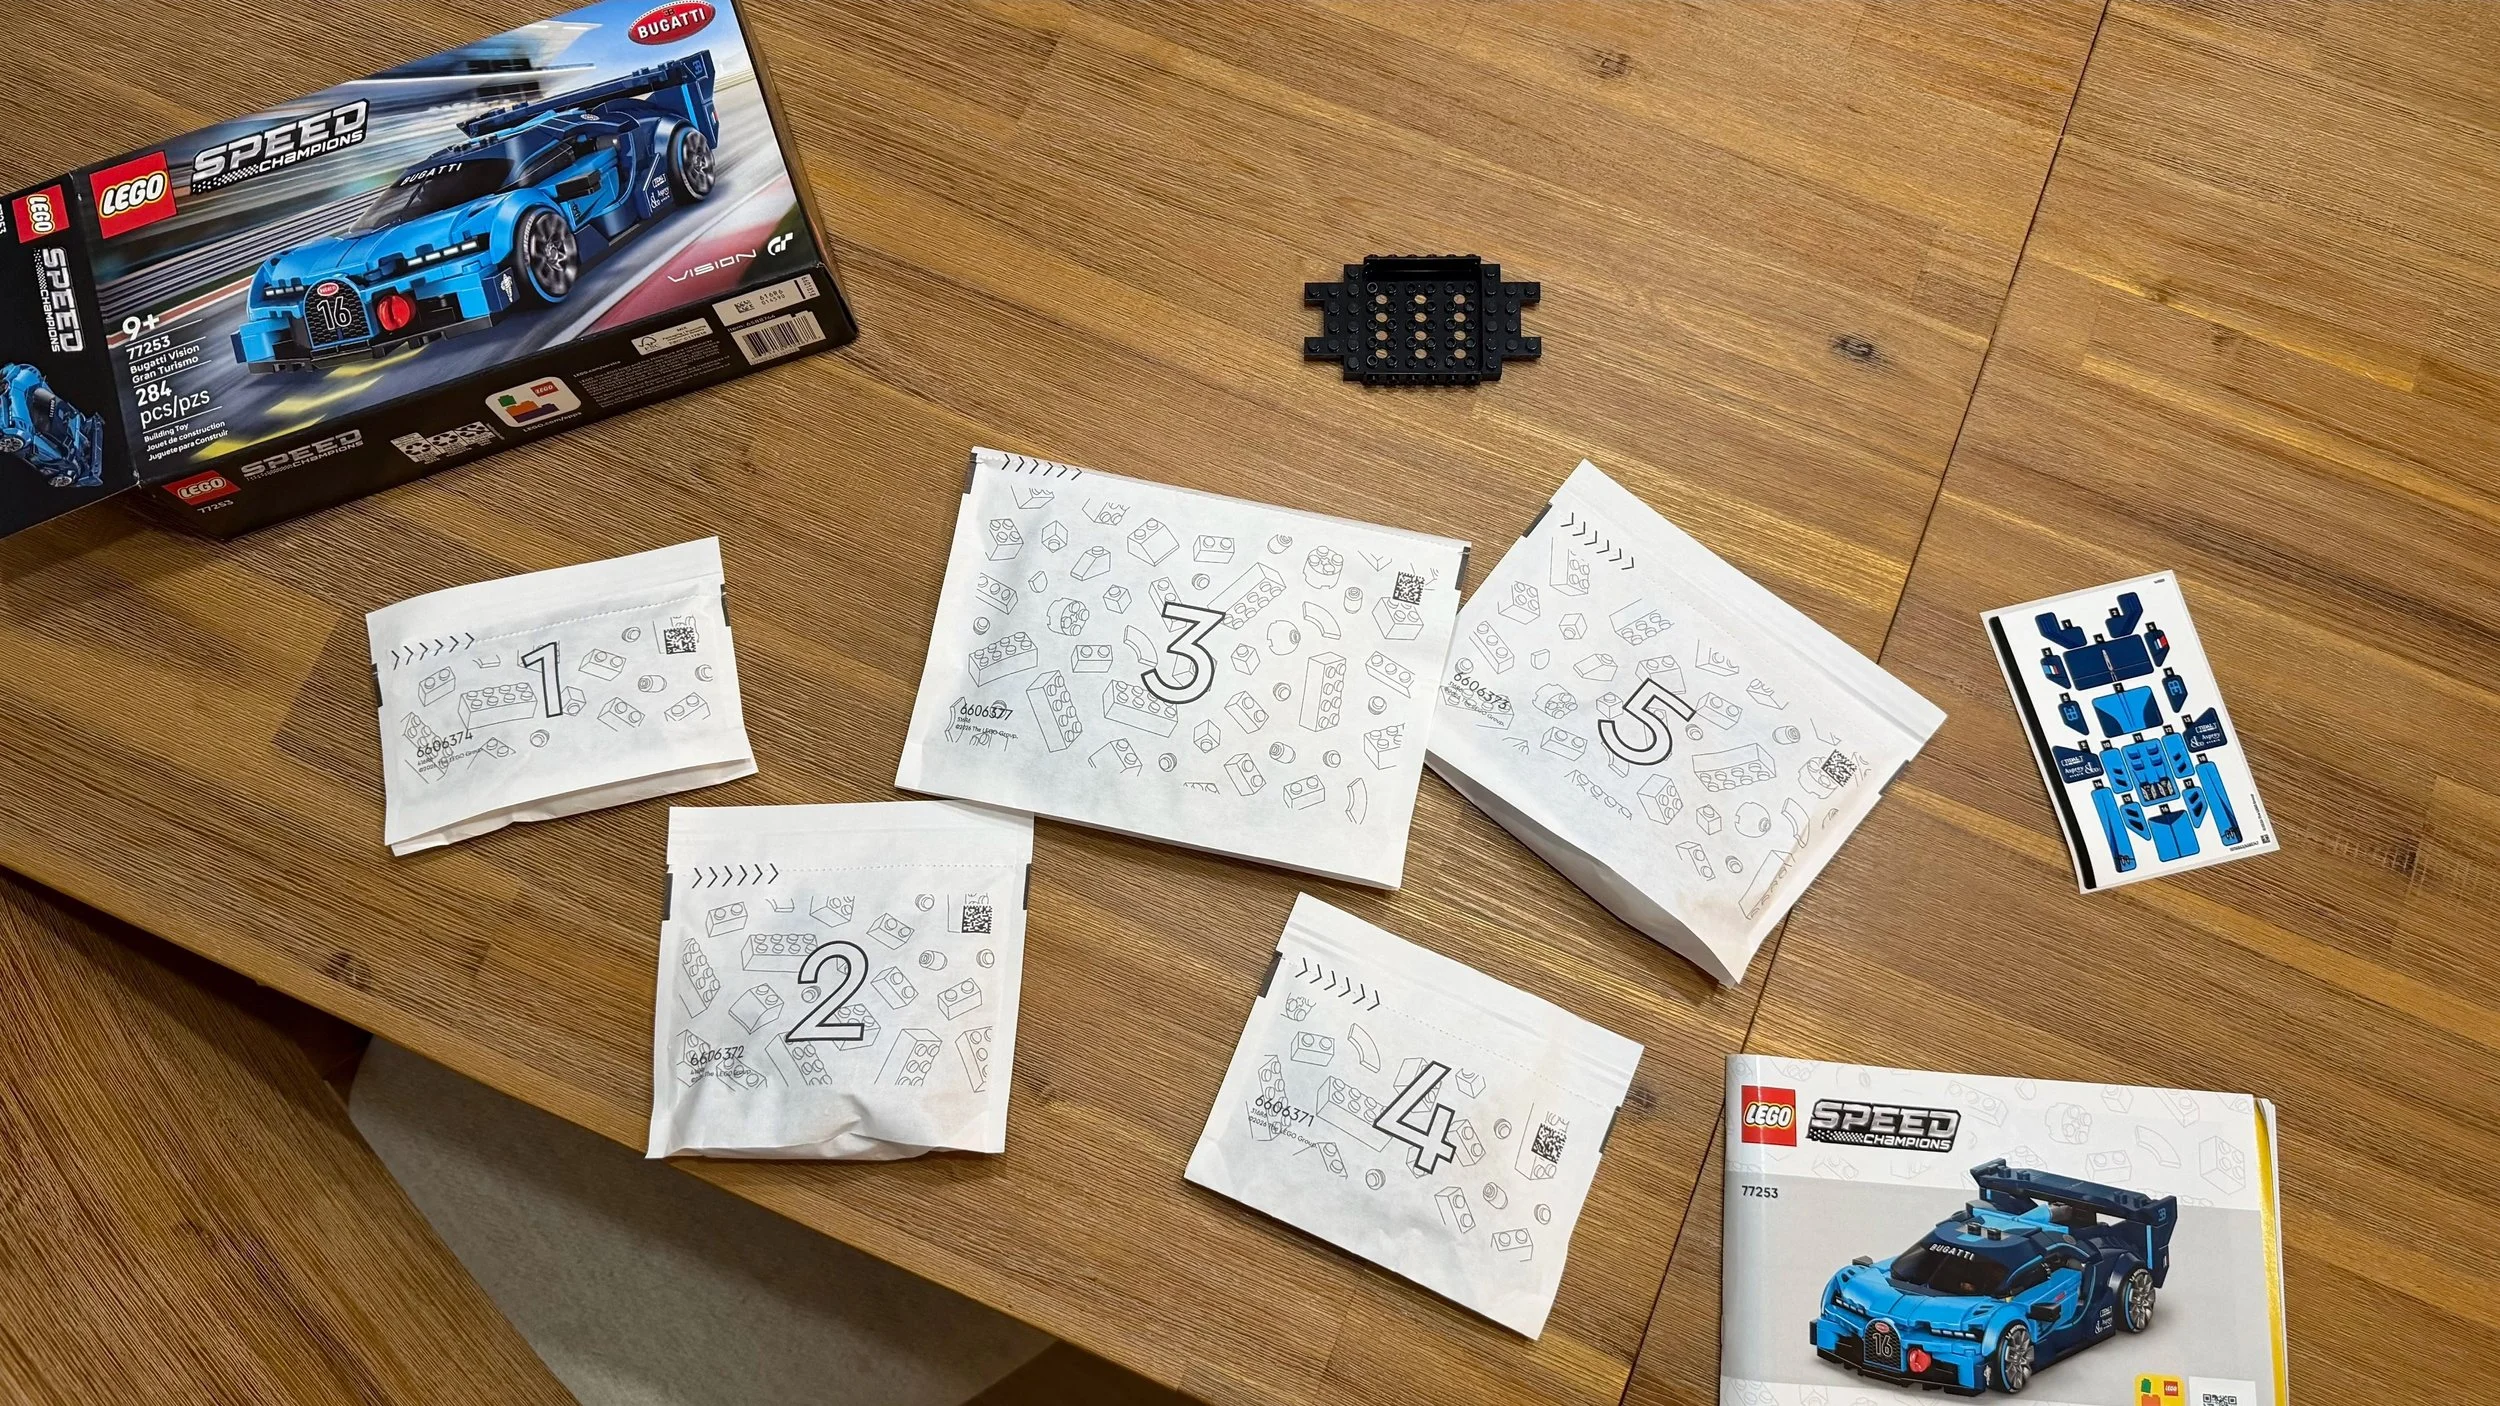
The box, five numbered bags, instructions, sticker sheet, and loose chassis before the build begins.
Bag-by-Bag Build Notes
Bag 1: Driver and Interior Structure
Ratings: Difficulty: 2/10 • Repetition: 1/10 • Dexterity: 4/10
Bag 1 begins with the Bugatti driver, who can wear either the supplied helmet or hair piece. It is a nice little choice before getting into the car itself. Most of the remaining work establishes the interior body structure.
This was the easiest bag by my difficulty scores, but the trim decals still need attention. Check which way the piece faces before applying a sticker, and look at how the trim should continue onto the surrounding bodywork. A small orientation mistake can interrupt that line later.

The driver and alternate hair piece beside the early chassis and interior body structure.
Bag 2: Rear Bodywork and Bumper
Ratings: Difficulty: 3/10 • Repetition: 2/10 • Dexterity: 4/10
The second bag focuses on the back of the car. The distinctive left and right wedge-shaped spoiler elements stood out to me as an interesting part of the assembly. They help the rear bodywork take shape before the larger wing is completed later.
Sticker 11 was one of the easier placements. The rear bumper and more of the frame finish this section, making it a steady step forward without much repetition.
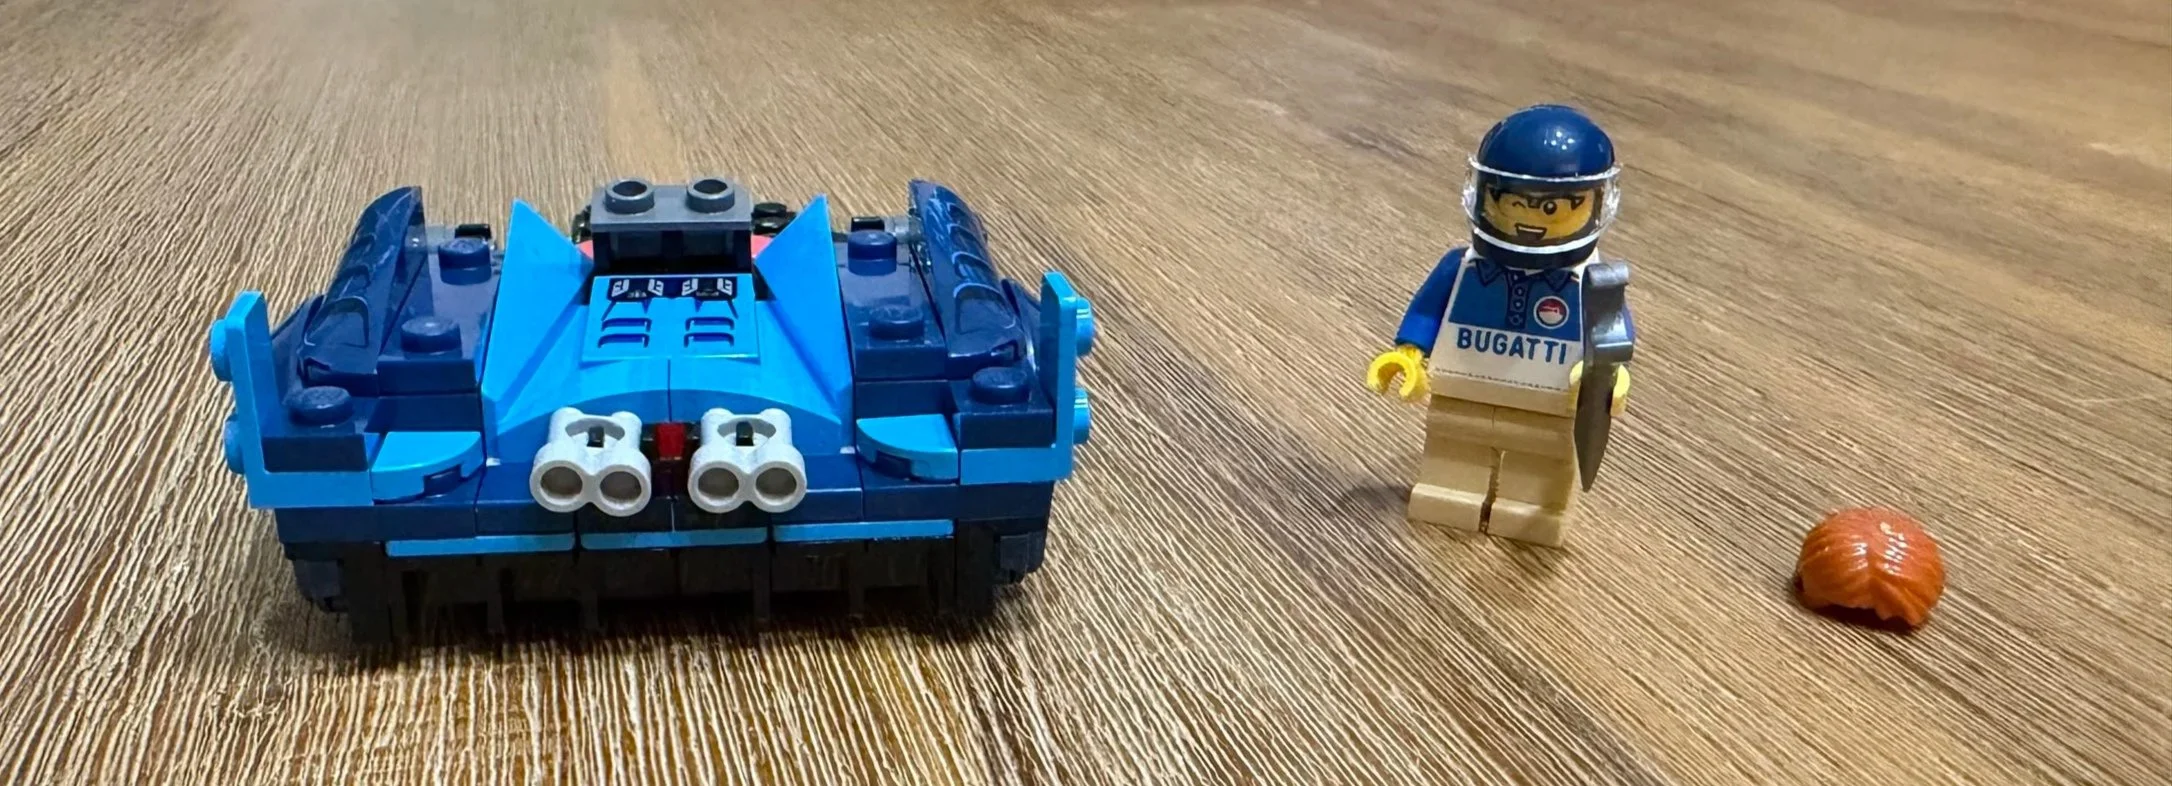
The rear bodywork and exhaust outlets are in place before the large rear wing is added.
Bag 3: Rear Wing, Doors, and Ten Stickers
Ratings: Difficulty: 5/10 • Repetition: 4/10 • Dexterity: 8/10
Bag 3 was clearly the most challenging section for me. It brings together the rear wing, interior, and doors, with the seats finishing the bag. The assembly has an unusual shape, and there are ten stickers to place along the way.
That sticker work is the main reason for my 8/10 dexterity score. The challenge is careful positioning and alignment. I would take this bag slowly, check each sticker number against the instructions, and confirm the orientation before pressing it down. The finished details add a lot to the car, but this is the section where patience matters most.
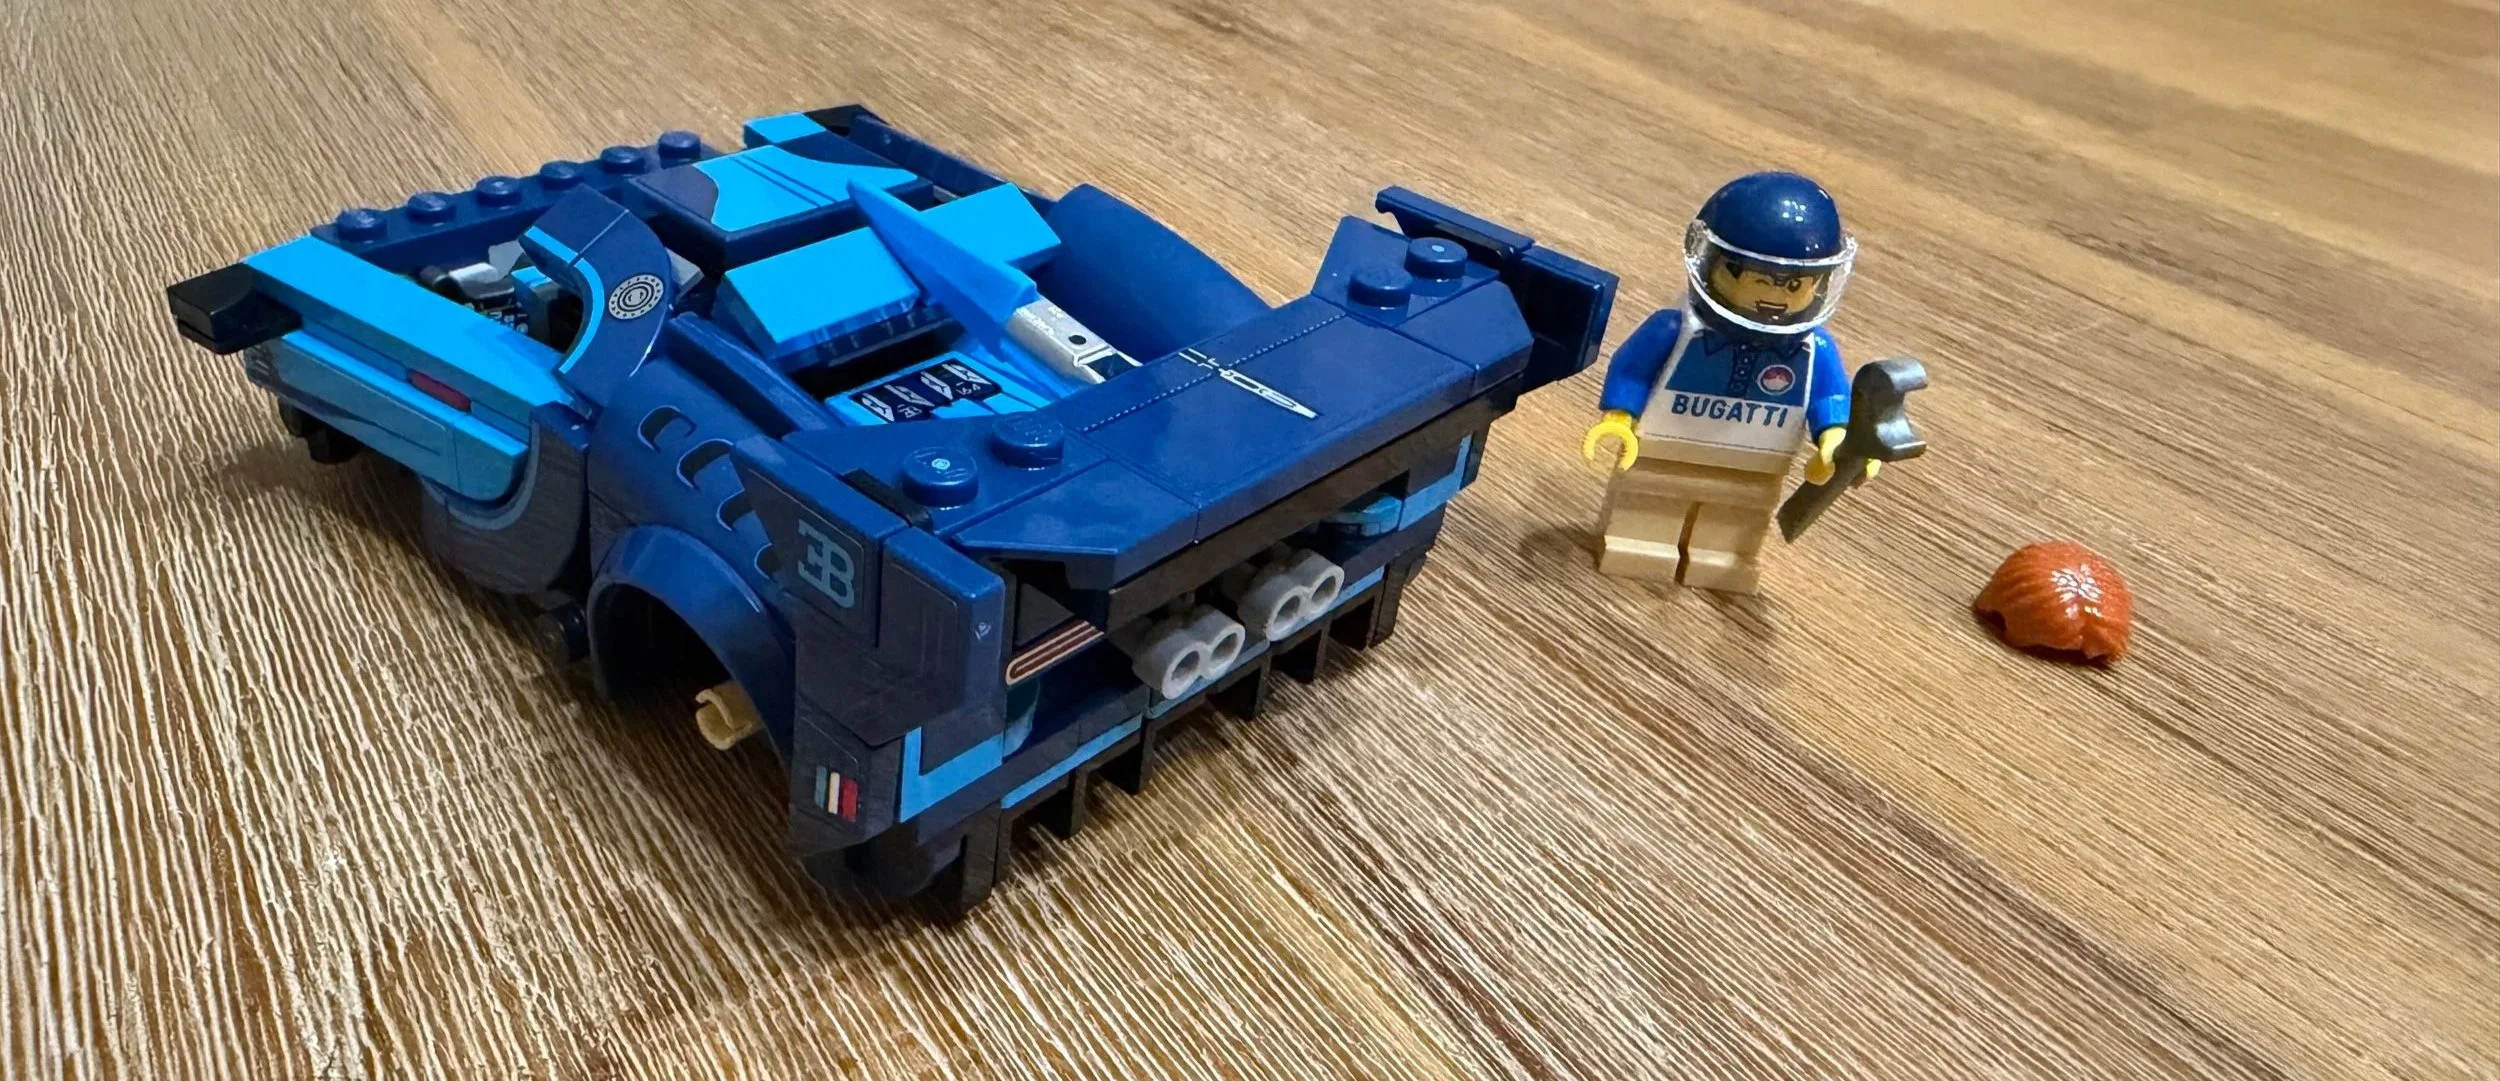
The large rear wing and decorated body sections are taking shape during the most demanding bag.
Bag 4: The Distinctive Bugatti Front End
Ratings: Difficulty: 5/10 • Repetition: 4/10 • Dexterity: 4/10
Bag 4 was a quick breather after all those stickers. It focuses on the front structure and bumper, using a creative assembly to start giving the car its recognizable Bugatti face.
The printed Michelin Man details are a great touch. I enjoyed seeing the front take shape without another long stretch of sticker placement. Although my recorded difficulty score is still 5/10, this section felt much lighter on the fingers than Bag 3.
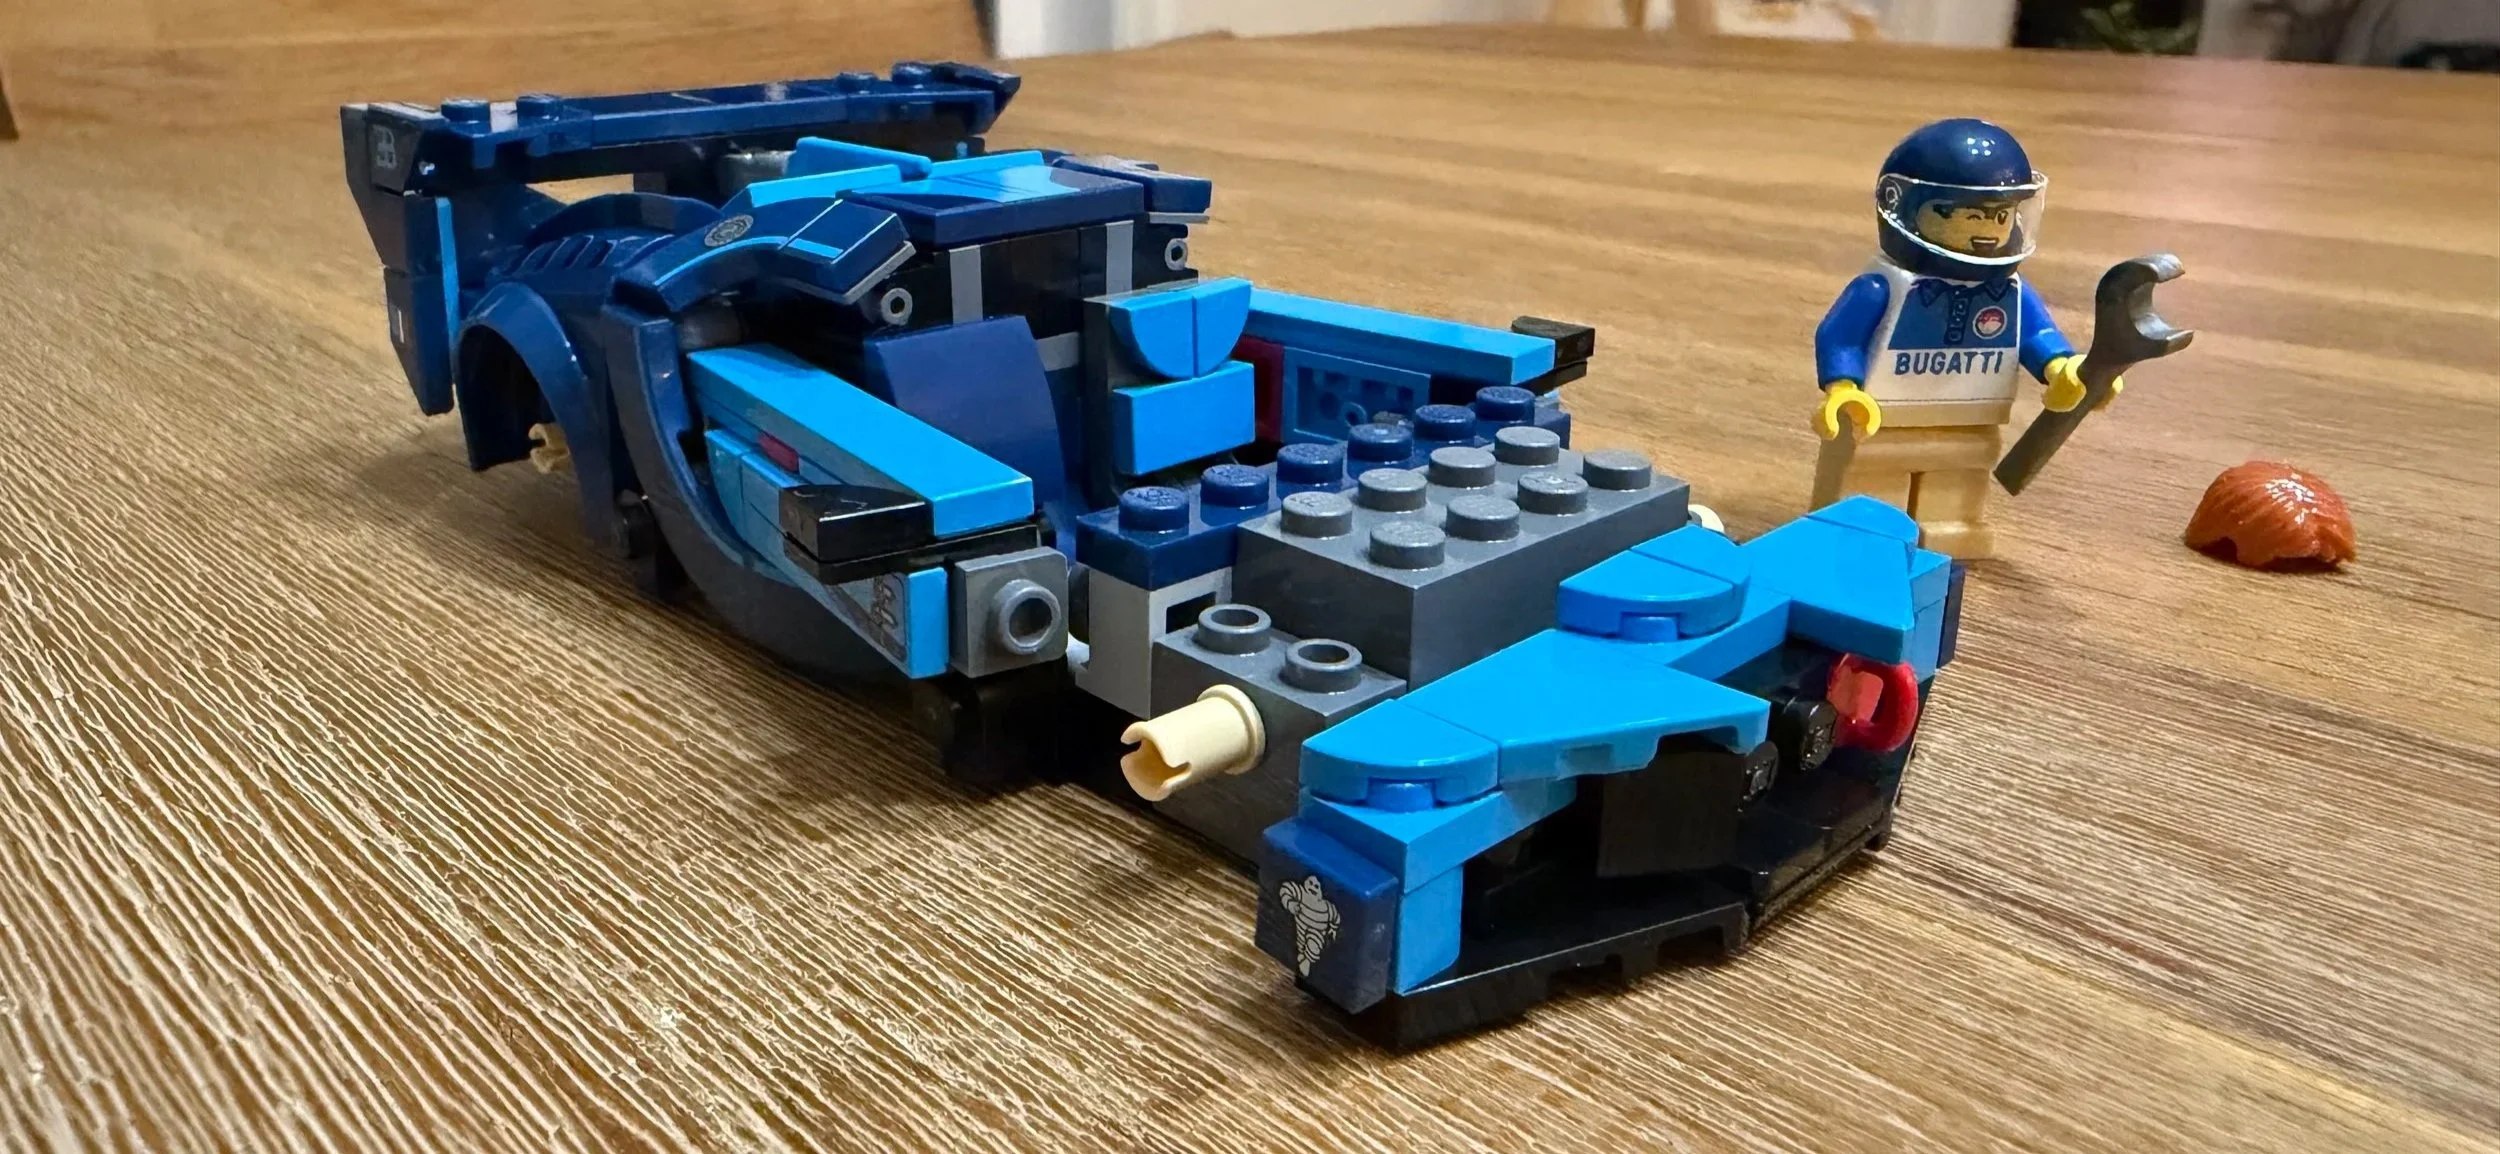
The front bumper takes shape, with the printed Michelin Man detail visible beside the unfinished hood.
Bag 5: Grille, Wheels, and Final Details
Ratings: Difficulty: 5/10 • Repetition: 2/10 • Dexterity: 4/10
The last bag completes the car and uses the remaining four stickers. Keep checking the sticker number and the direction of the piece before applying each one. The printed Bugatti grille finishes the front end particularly well.
The wheels and rims are the main repetitive work here, but they look excellent once fitted. When adding the lower side runners, check that the plates sit clear of the tyres. Before calling the build finished, give each wheel a gentle spin and make sure the nearby trim is not rubbing against it.
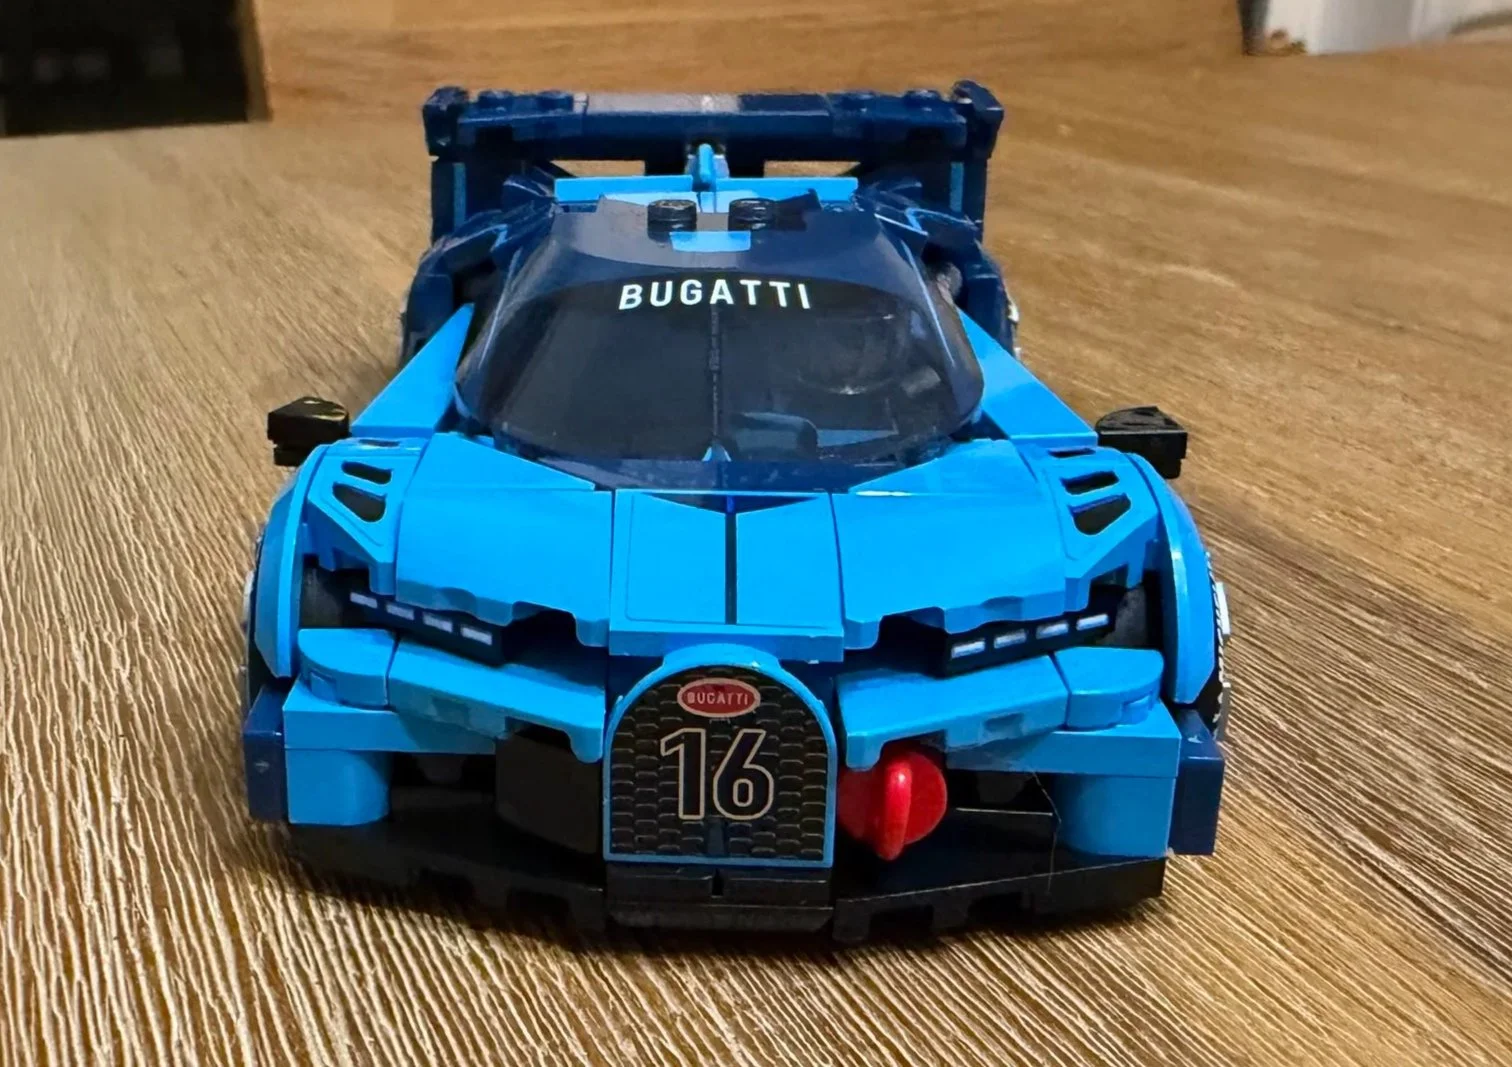
The completed front end, including the printed number 16 grille and the distinctive headlights.
What Could Someone Struggle With?
The biggest potential obstacle is the amount of careful sticker placement concentrated in the middle of the build. Someone comfortable assembling small LEGO models may still find that section fiddly.
Keeping the trim continuous. The direction of a decal matters as much as its position on the individual piece. Check the surrounding bodywork before pressing it down, particularly on the early trim and the final decorated panels.
Working through Bag 3. Ten stickers and an unusual assembly made this the most demanding bag. Builders who find fine hand movements tiring may prefer to divide this section into shorter sessions or get help with the stickers.
Matching the correct sticker and side. Use the numbered sticker sheet alongside the instructions. Similar-looking left and right pieces can make it easy to orient a detail incorrectly if you rush.
Leaving the wheels free to turn. The lower side trim needs to sit clear of the tyres. Check each wheel after fitting the runners so a misplaced plate does not spoil the finished car’s rolling action.
Display Quality and Stability
The finished car is very detailed for its size. The two shades of blue, broad rear wing, printed grille, and decorated wheels give it plenty to look at from the front, side, and rear.
It also works well as a small rolling car. My model stayed stable during use, and I did not experience any broken pieces while playing with it. For me, that makes it an appealing combination of display detail and a finished build that can still be enjoyed on the table.
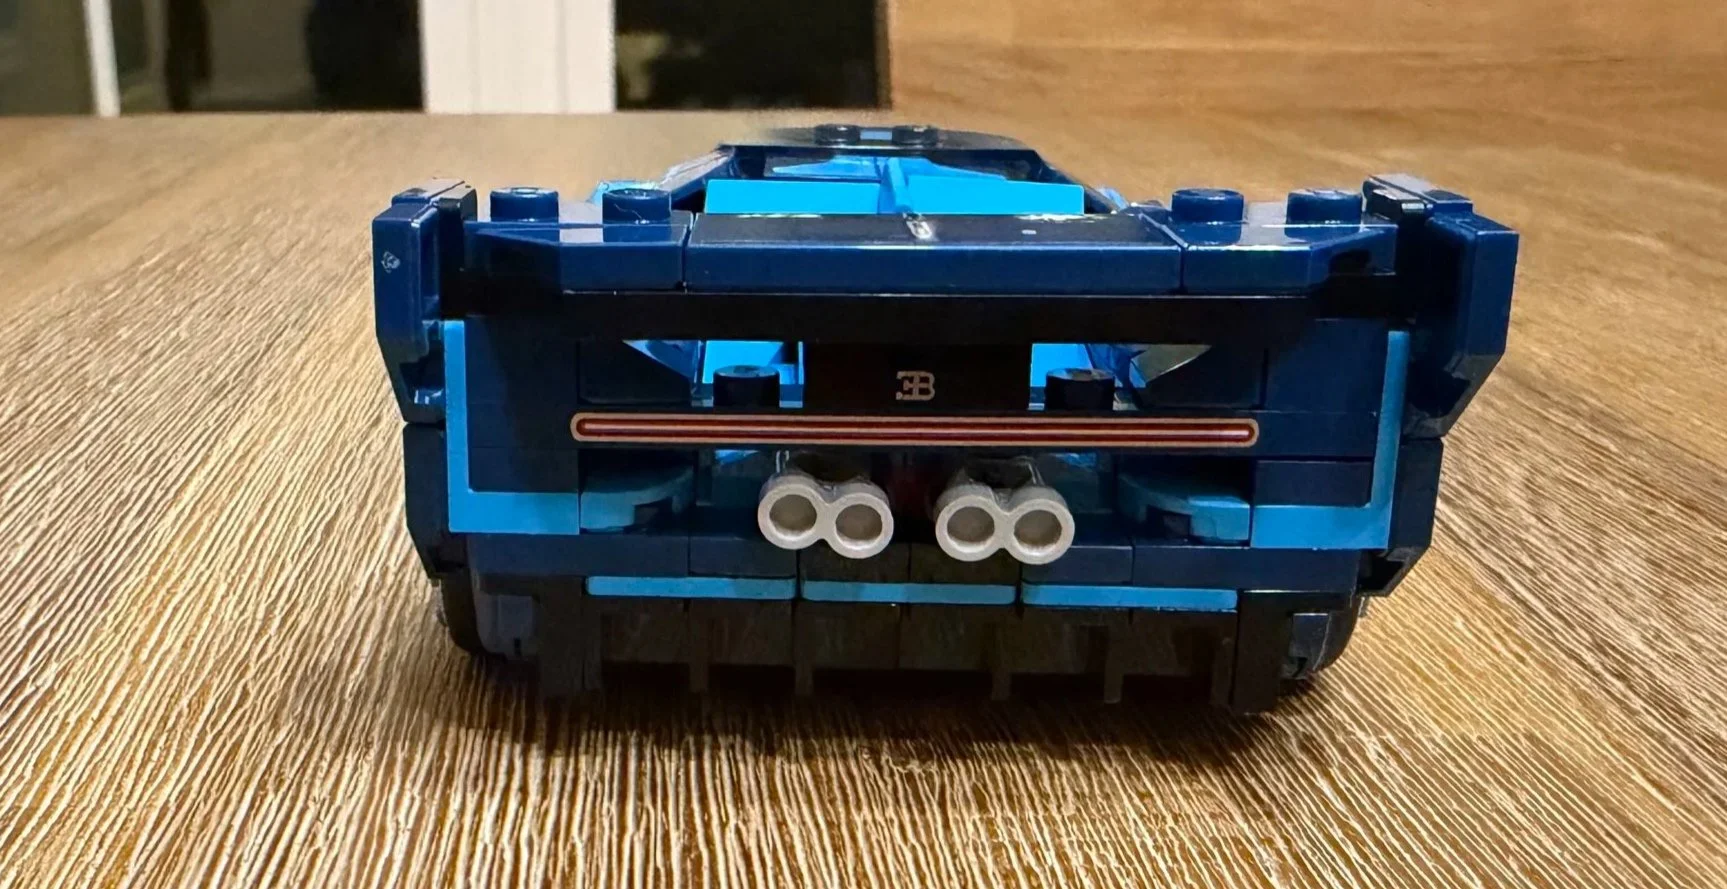
The finished rear wing, narrow taillight strip, and four exhaust outlets give the back of the car plenty of detail.
Moving, Rebuilding, and Disassembly
If I were preparing this model for a customer handoff, I would support it underneath the chassis and protect the rear wing, mirrors, and low front and side trim from pressure. The finished car was stable in my use, but I would still give those projecting details space in any packing arrangement.
For a partial rebuild, I would pay particular attention to Bag 3’s wing and door assemblies, the orientation of decorated pieces, and clearance around the wheels. During disassembly, I would keep matching body sections organized and take care around stickered surfaces. For shipping or a more extensive rebuild, I would assess the actual condition and packing needs before estimating the work.
Who Would I Recommend LEGO 77253 To?
I would recommend this to car enthusiasts and Speed Champions collectors who want an interesting small build outside the Technic range. It is especially appealing if you like detailed bodywork and a car you can roll around after building. Anyone who dislikes applying stickers should know that they are a significant part of the experience, especially in Bag 3.
Final Verdict
My overall rating is 7/10. Each bag brings something interesting, the build avoids excessive repetition, and the finished Bugatti looks detailed and stays stable in use. The main trade-off is the patience needed for the sticker-heavy middle section. For enthusiasts looking for a compact car build, I would recommend it.
Overall set rating: 7/10
Most challenging bag: Bag 3, especially its assembly and ten sticker placements
Easiest bag: Bag 1, based on my 2/10 difficulty score
Standout details: Printed Bugatti grille, Michelin Man details, and finished wheels
Want the Finished Set Without the Build?
The Bricksmith helps with LEGO set assembly, rebuilding, disassembly, sorting, and re-bagging. If you would like help with this Bugatti or another set, send the set number and a few photos. You will receive a written scope, price, estimated timing, and handoff plan before deciding whether to proceed.
Local pickup and return are available around Greater Portland, Maine. Mail-in projects are considered individually and require approval before shipping.